Log Cabin Christmas Coasters Tutorial
Now that Thanksgiving has passed and Christmas lights are popping up, it’s time to take out that gift list. Some people, I’m sure we all know at least one, are tough to gift. Socks? A new shirt? Did I give them that last year?
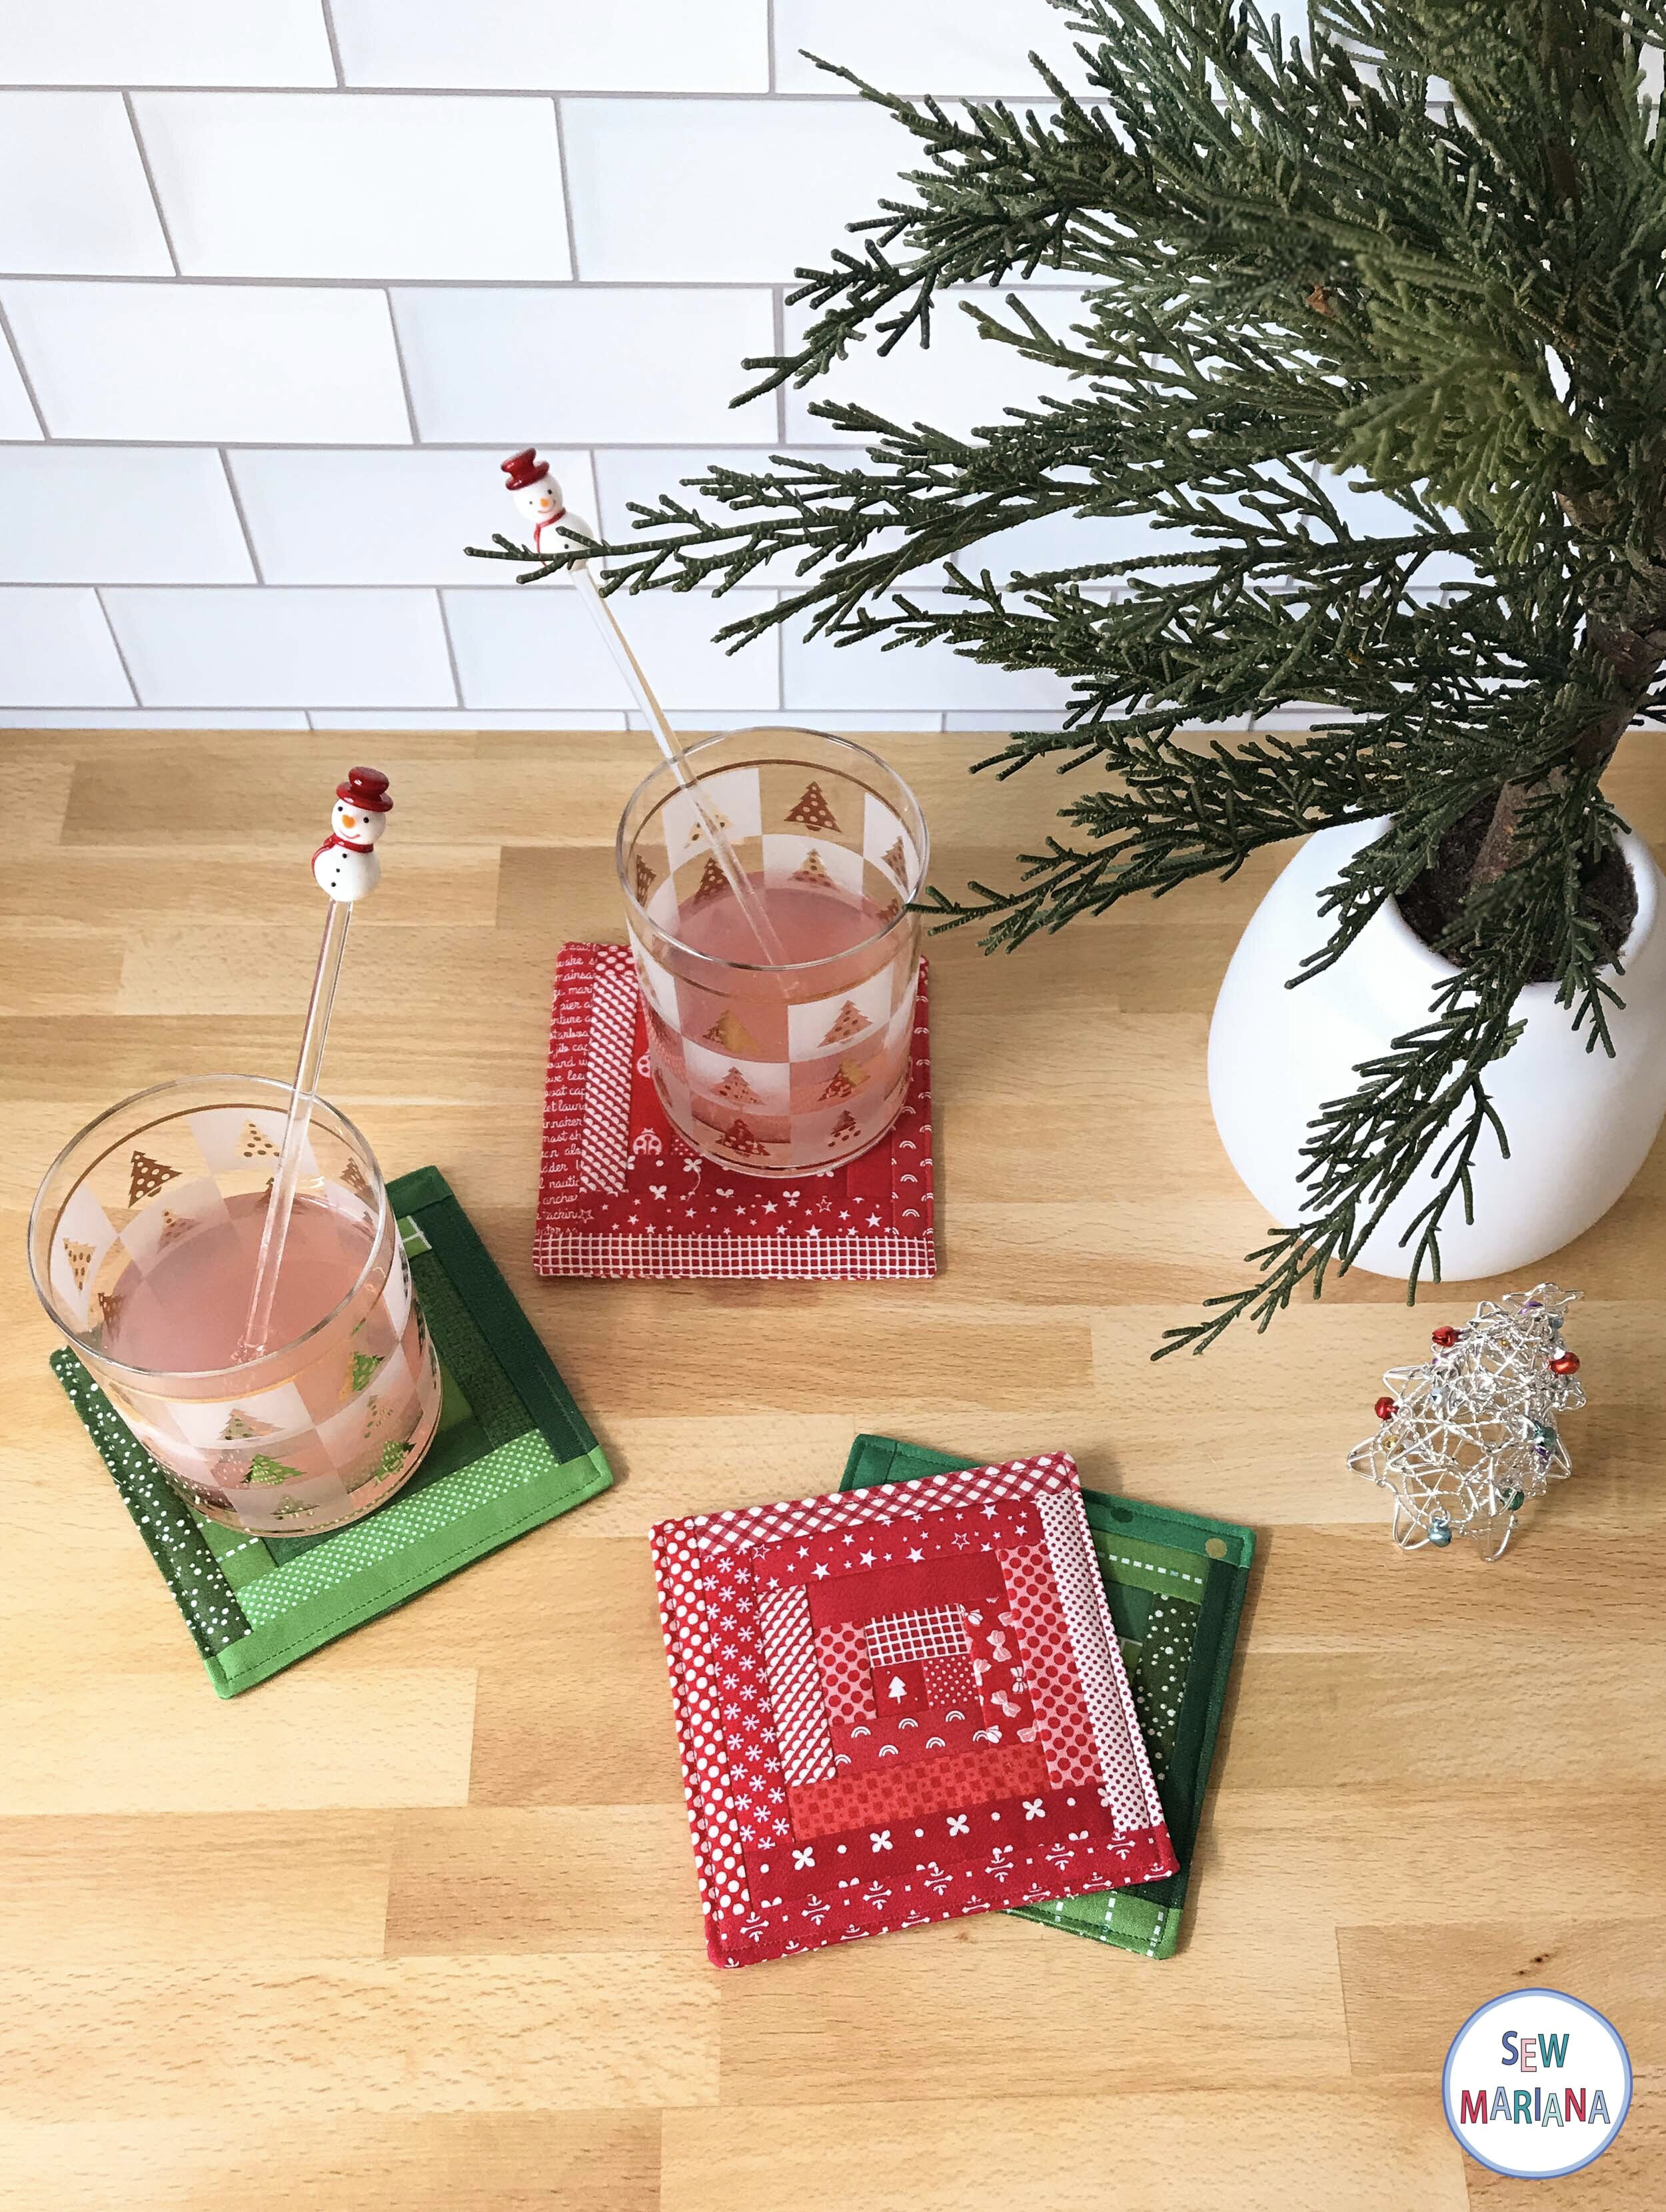
What better time to make some coasters? Everyone has use for a coaster, especially handmade ones. My kids like to pick out their favorite and keep it on their bedside table. This time of year, I make plenty!
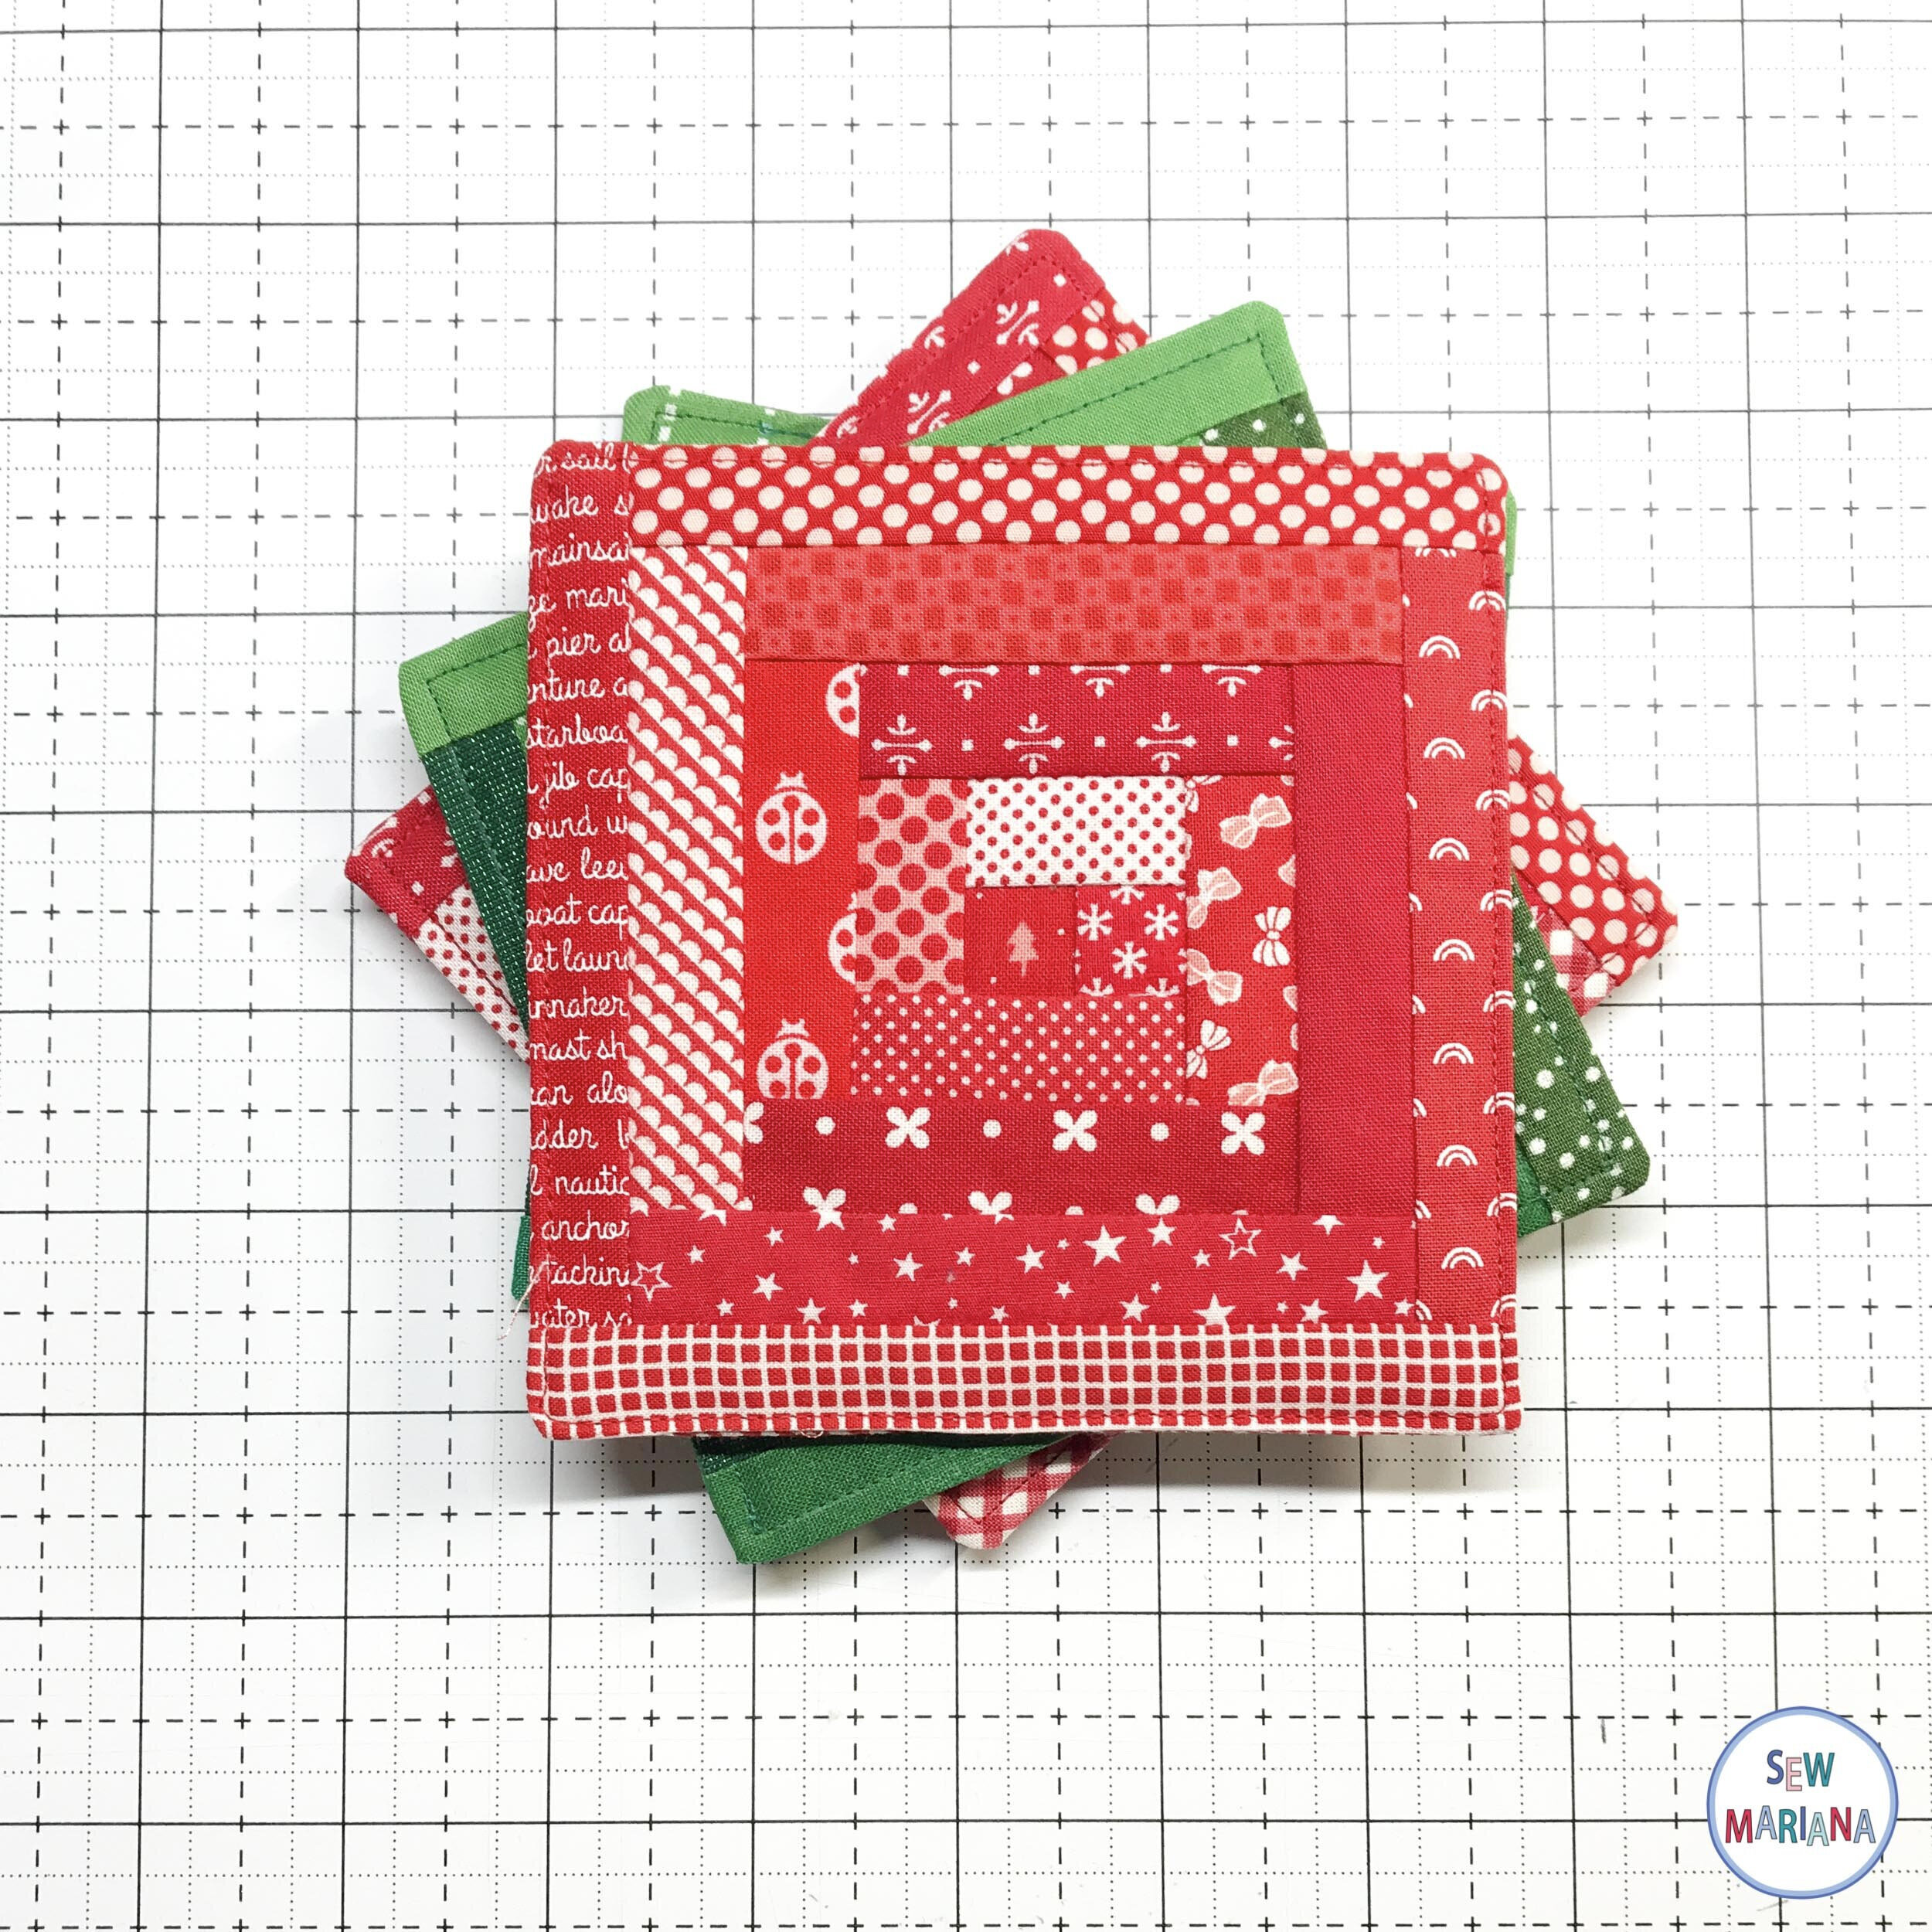
These coasters finish at approx. 5” square, the logs are 1/2“ wide finished and the center is a 1/2” square finished.
The log cabin block is one of my favorites, maybe because it’s simple and versatile. It’s just straight line sewing and so easy to make as big or as small as you want, just by changing the width of the logs or adding more logs. (LOG: each rectangle that makes up the log cabin block).
For this tutorial, go grab your scraps; you can make each coaster one color or mix as many as you want. For each coaster you’ll need:
One 5-1/2” square for the backing
Scraps for the logs (need to be strips at least 1-1/8” wide).
Two pieces of batting 5-1/2” each.
A ruler longer than 5-1/2” or a Blocloc log cabin ruler. (Not sponsored, I just really like their rulers!)
Next, starch all your fabric. This really helps with accuracy, especially when working with small pieces. If you don’t like to starch, just skip this step but still iron all your pieces really well.
Cut a 1” x 1” square. This is going to be the center of the block.
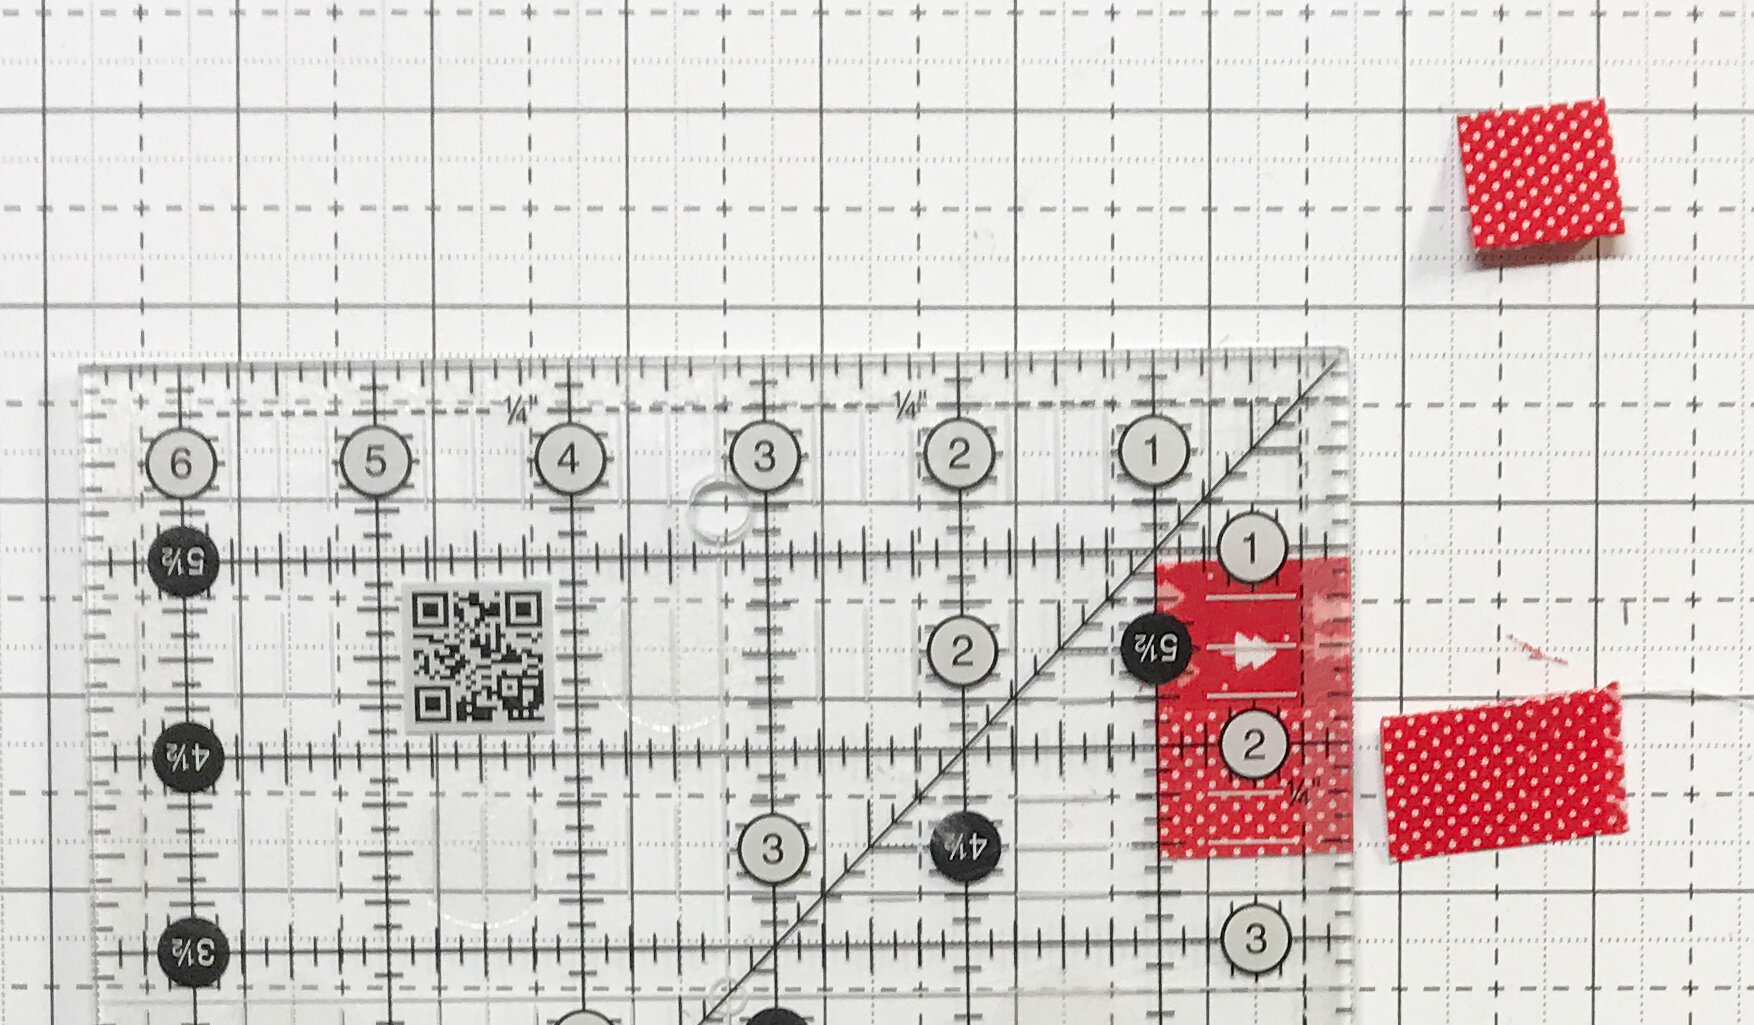
Add a log to the right, which doesn’t need to be an exact length since we’ll trim it in the next step. (It does need to be longer than the side you’ll sew it to).
Sew with a SCANT 1/4” seam allowance and press the seam away from the center.
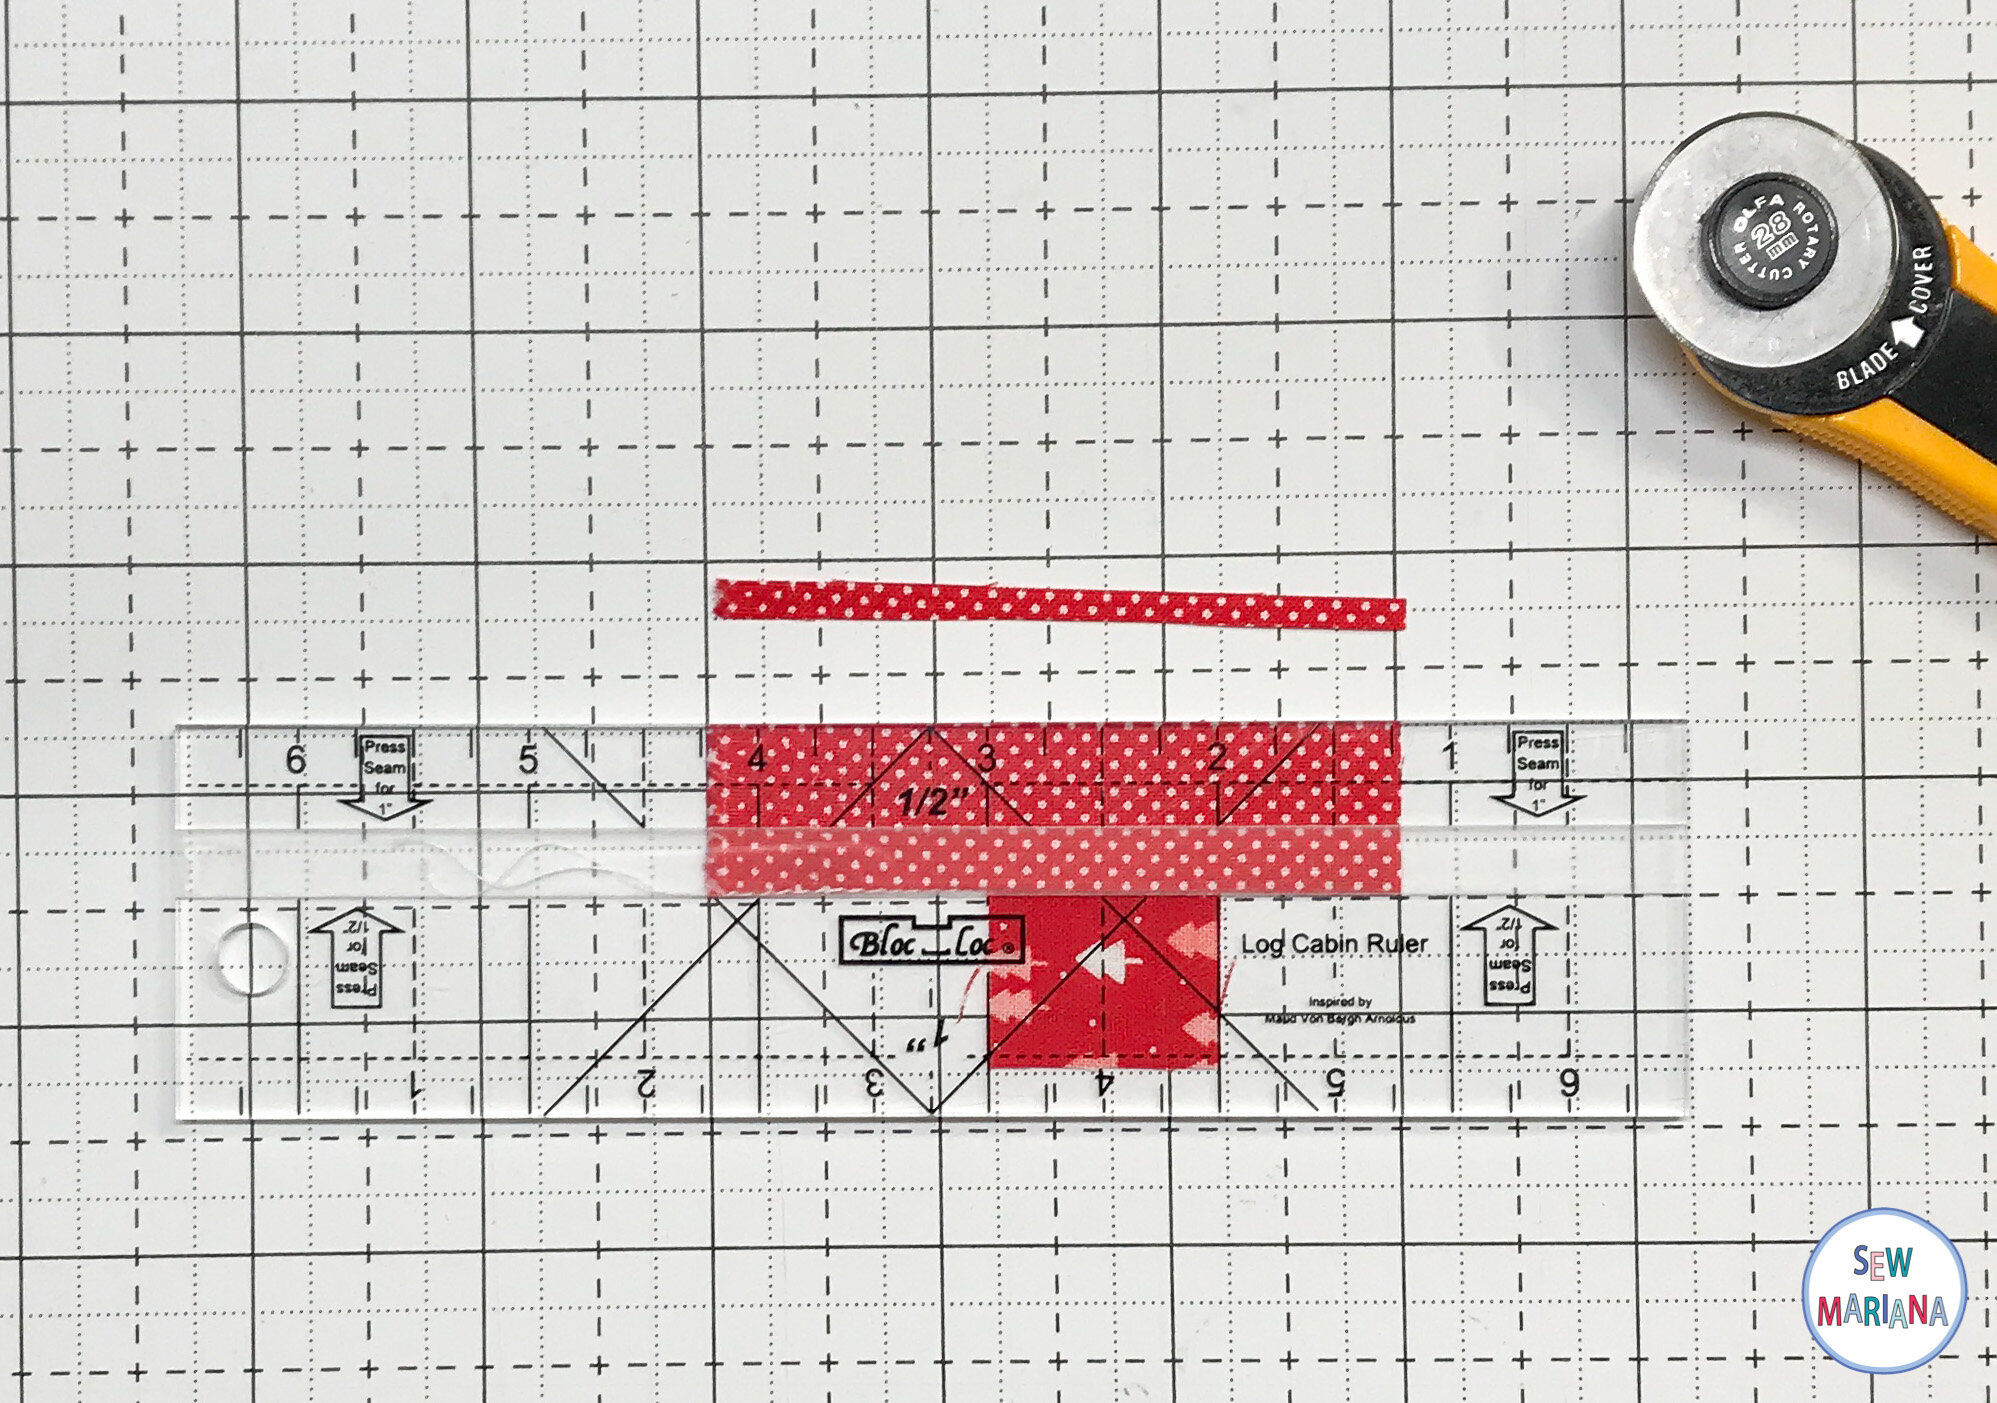
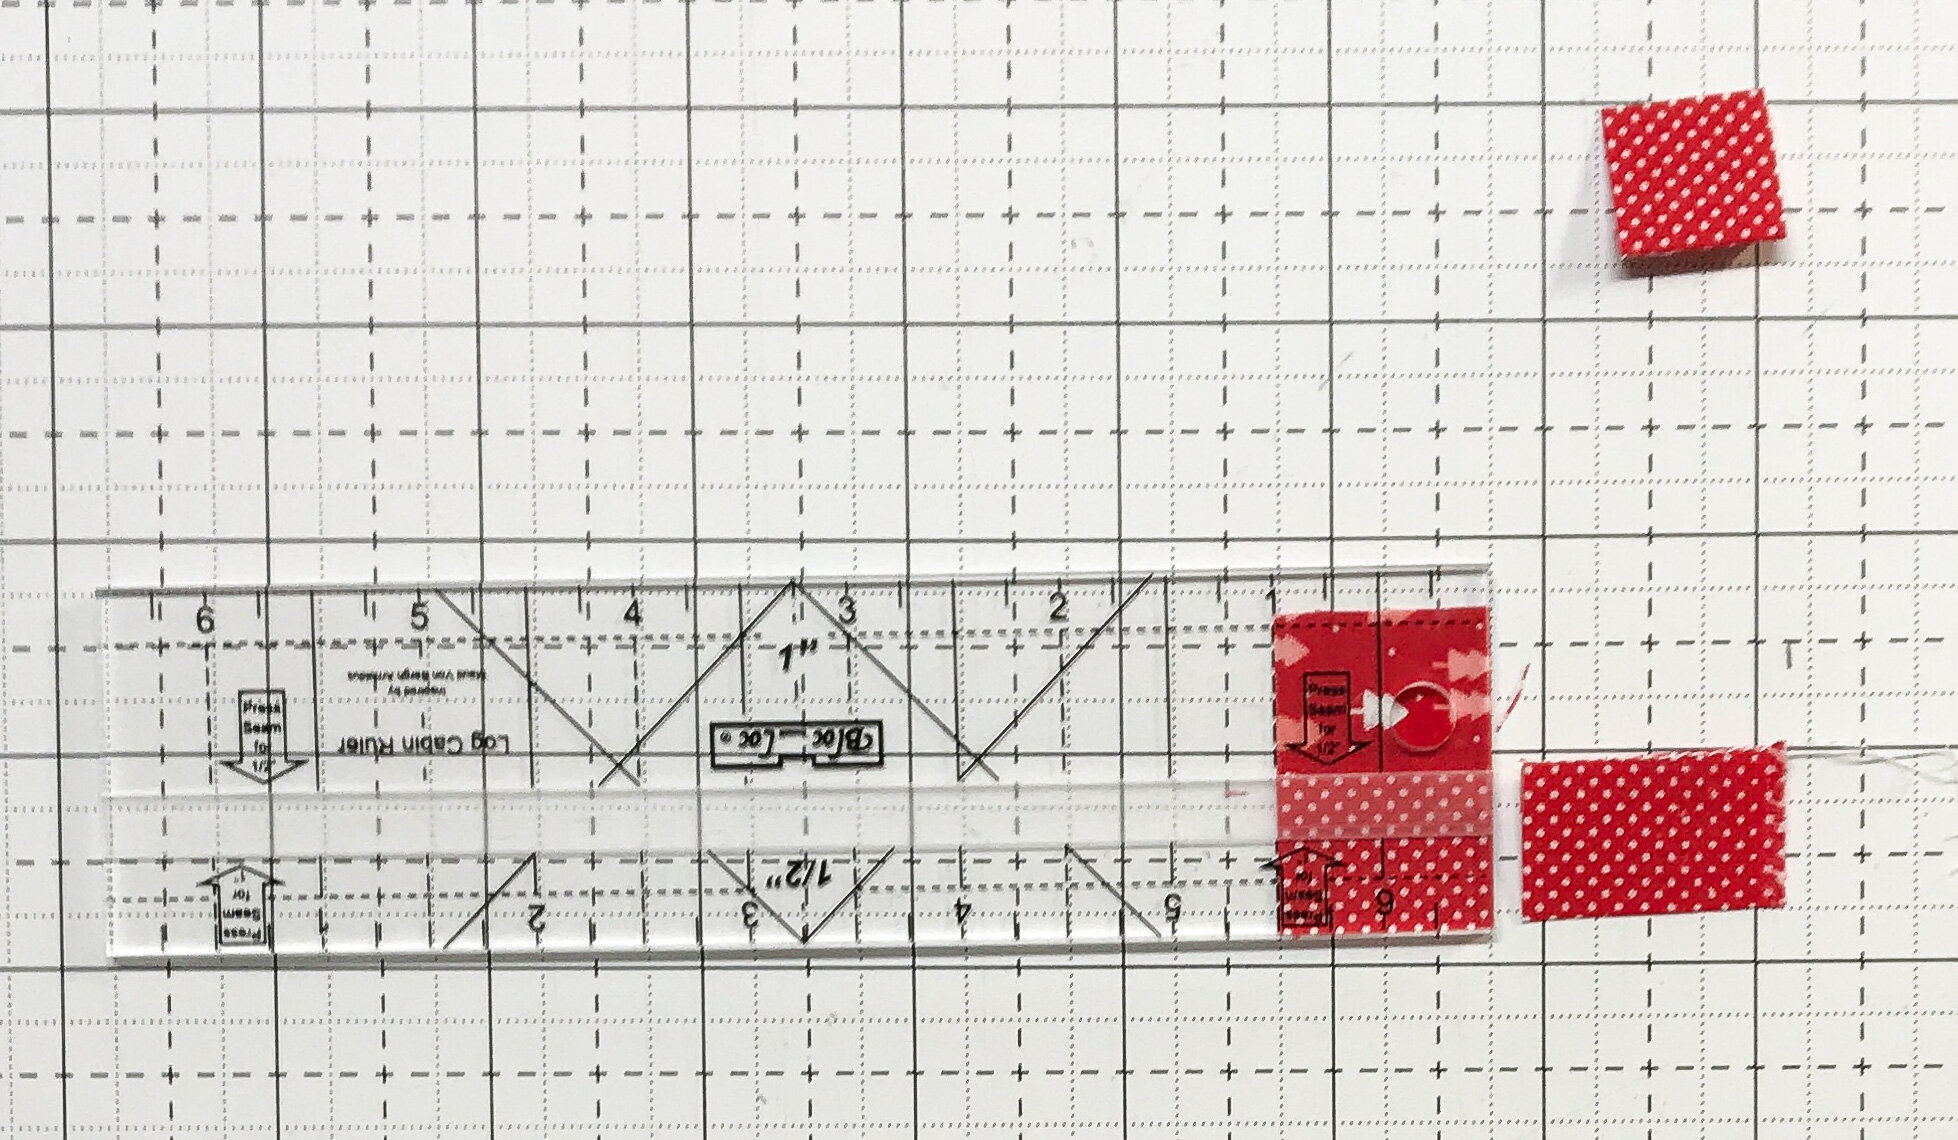
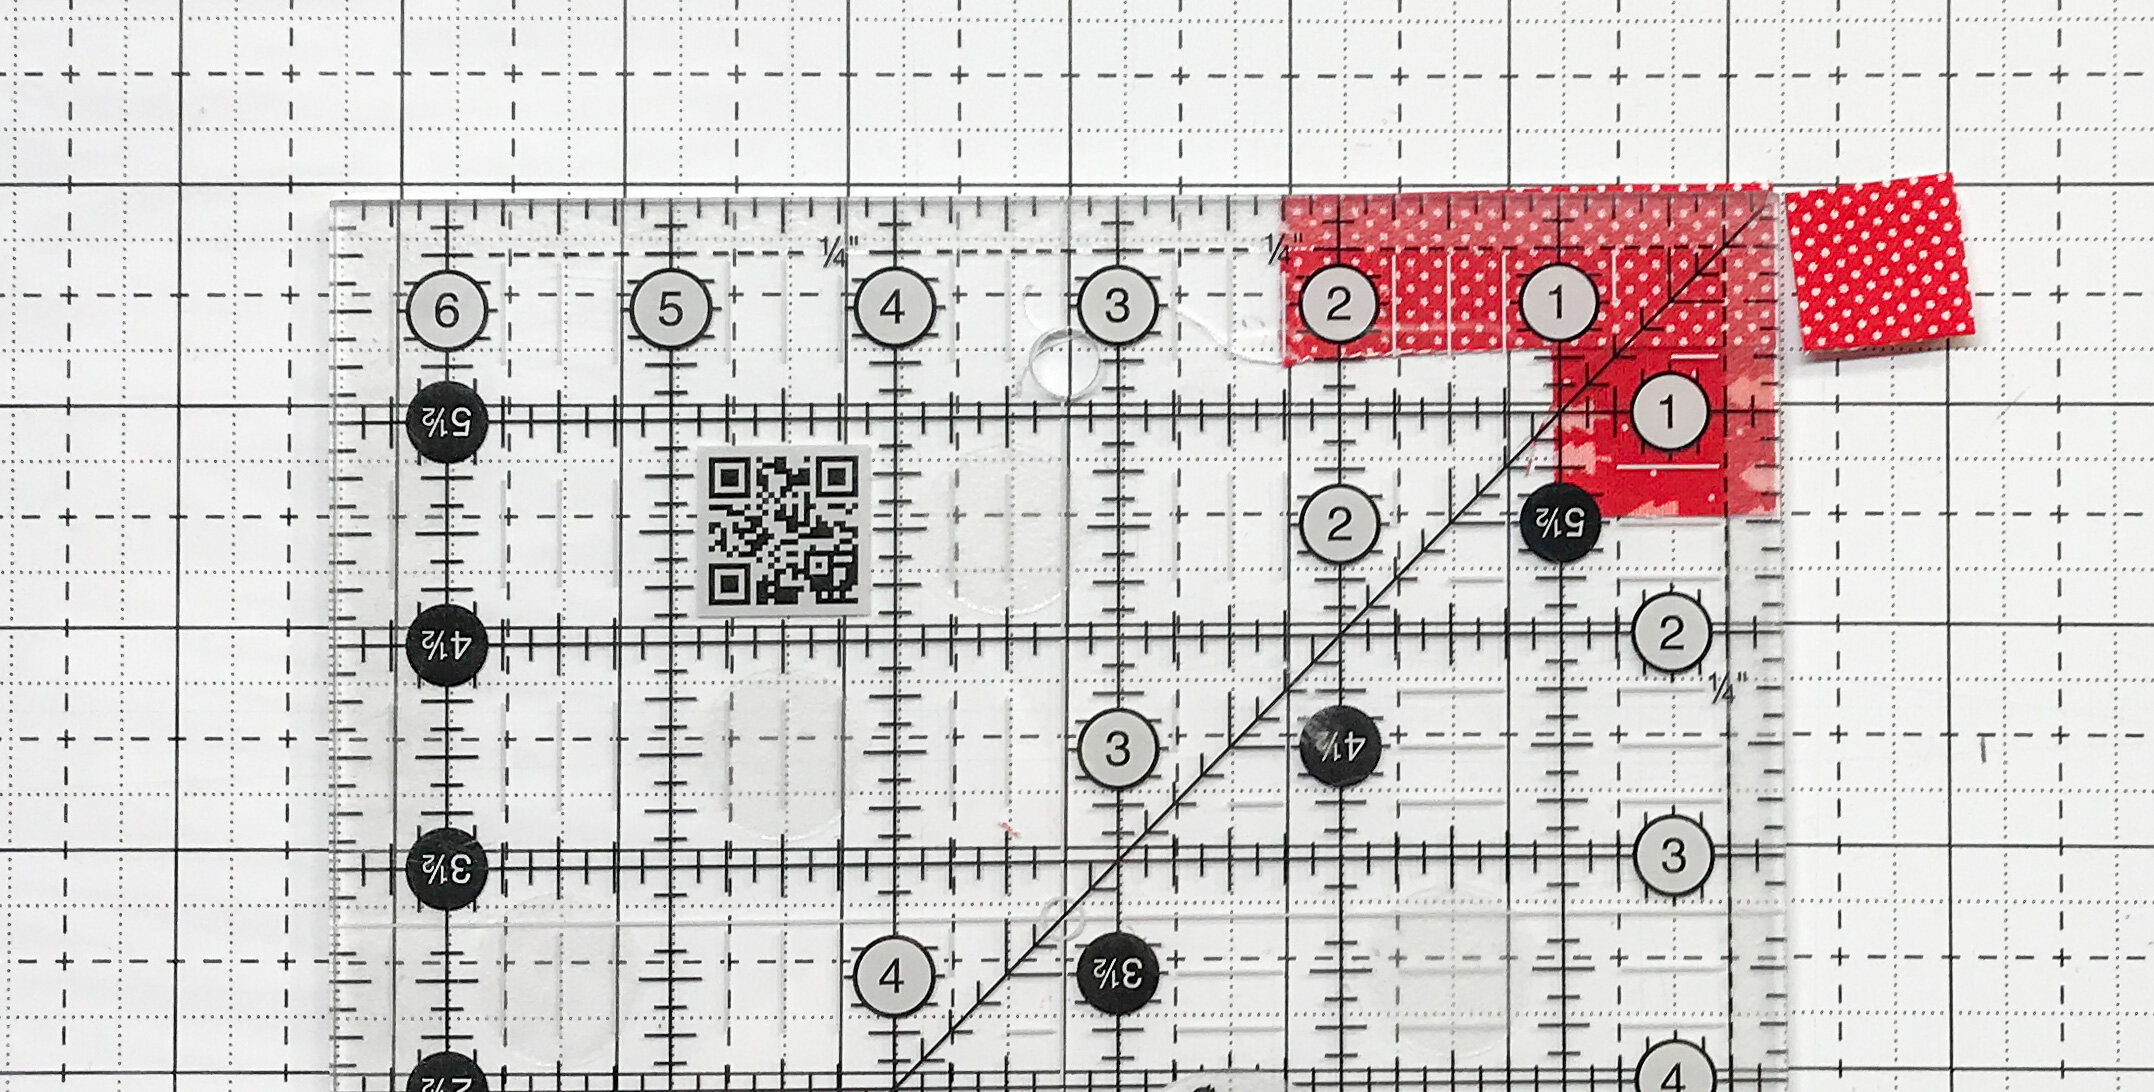
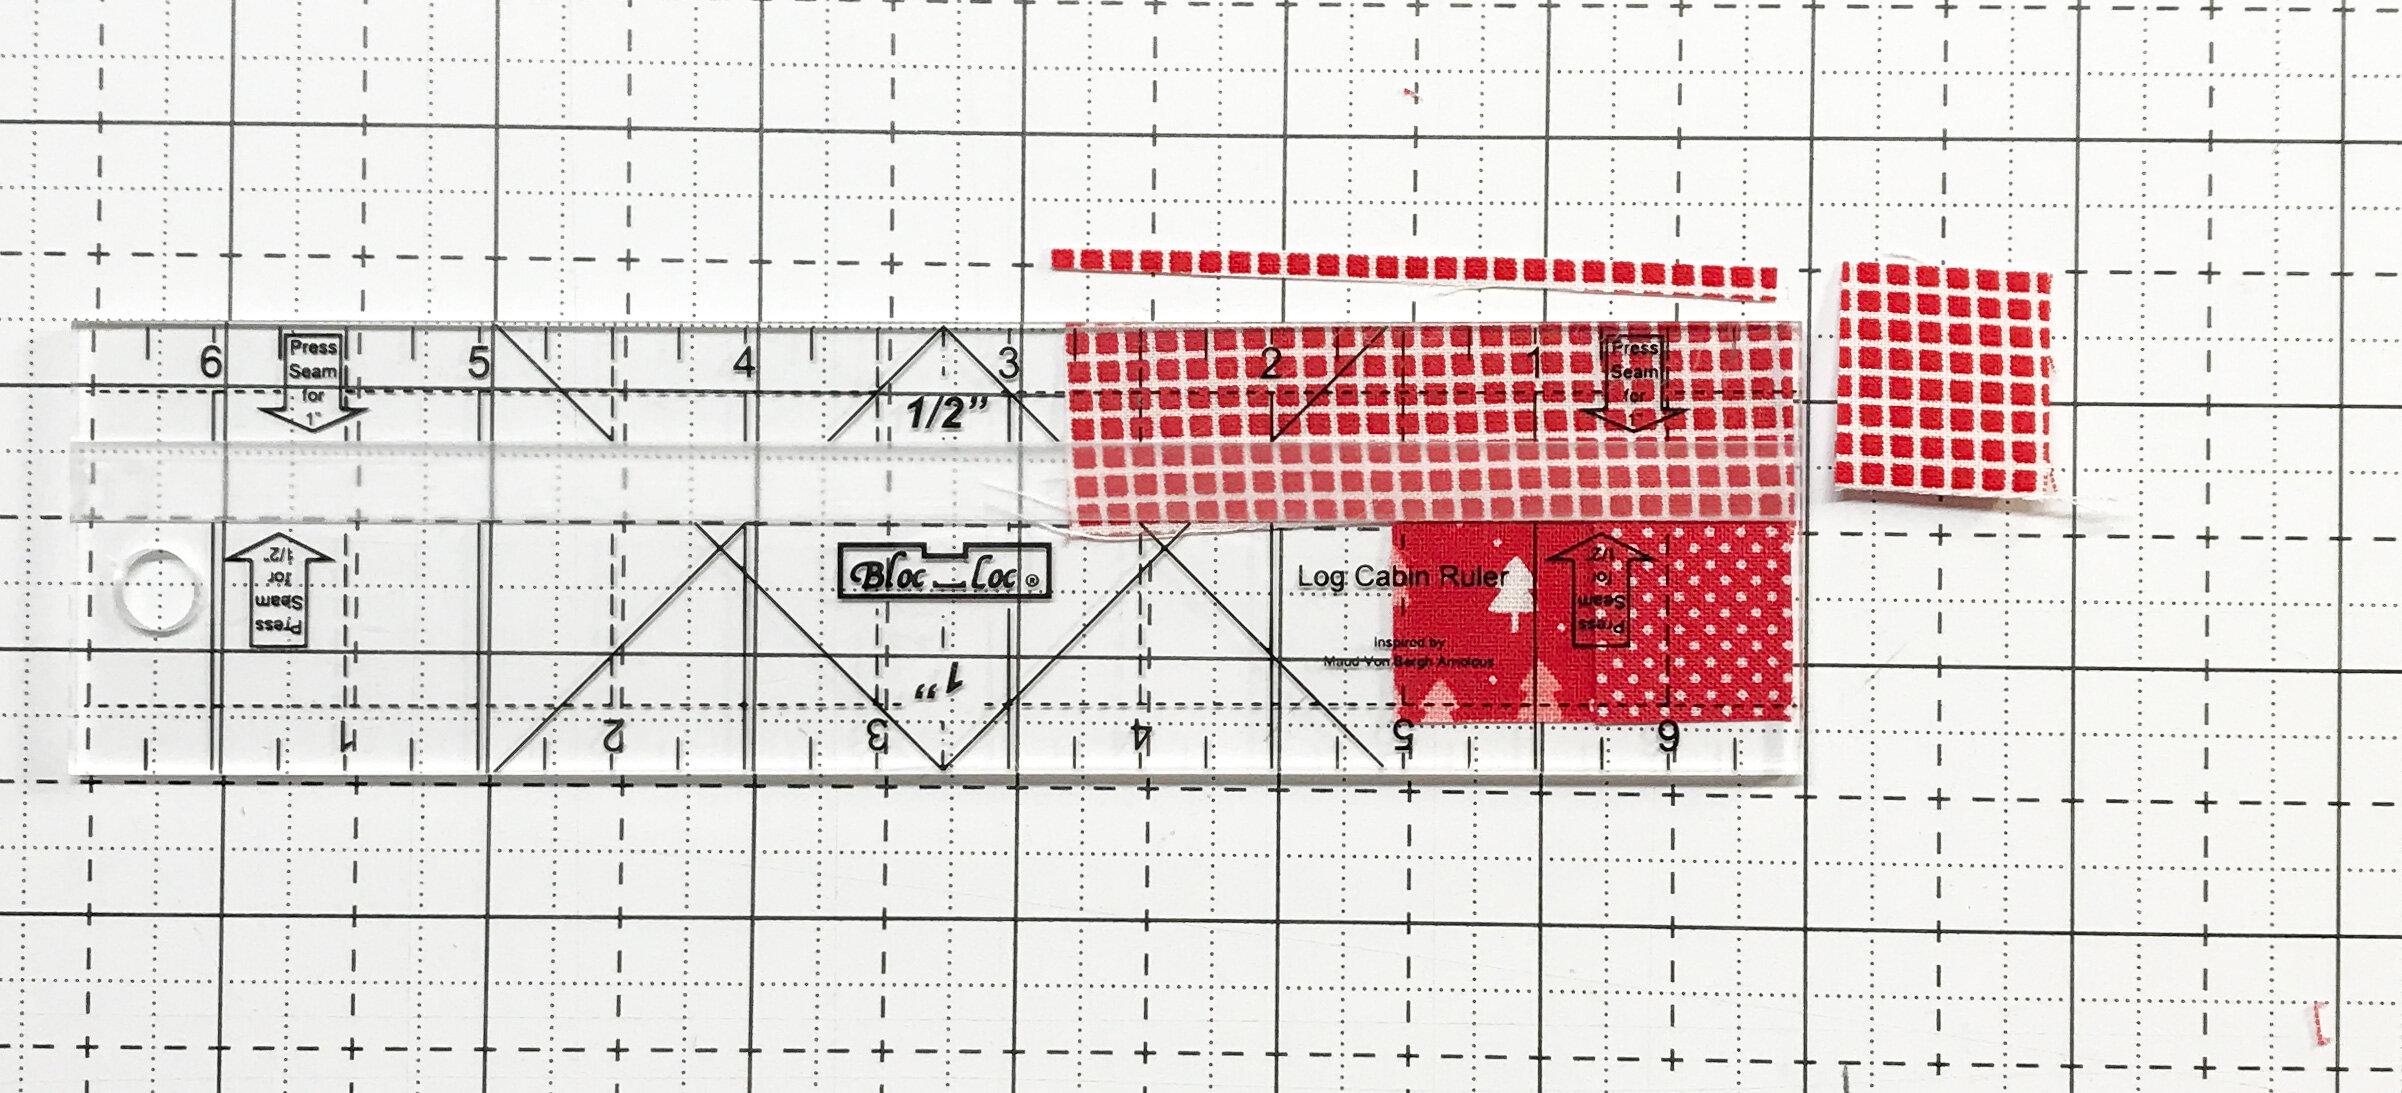
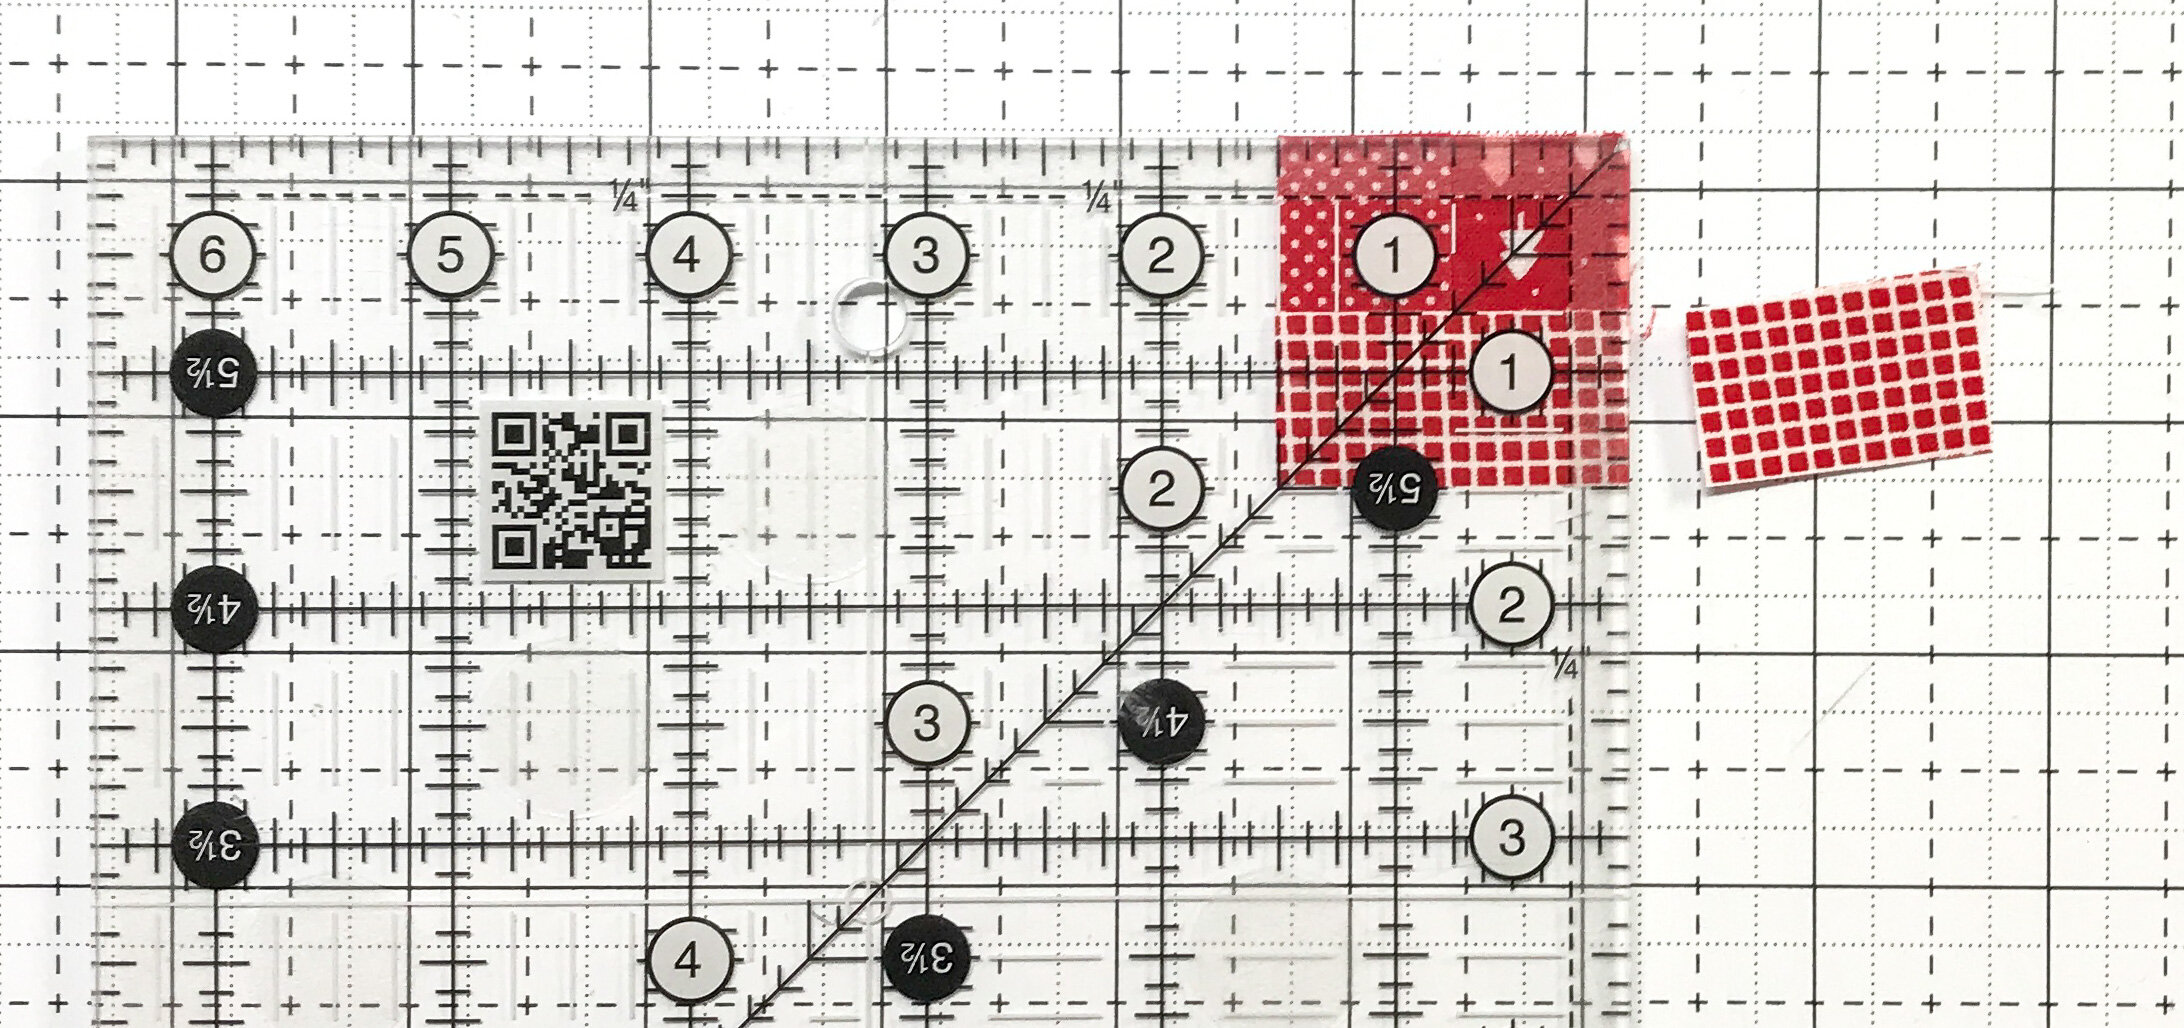
Trim the top edge. If using the Blocloc log cabin ruler, align the 1/2” mark as shown. With the regular ruler, trim the log to 3/4”.
Then trim the sides with either ruler.
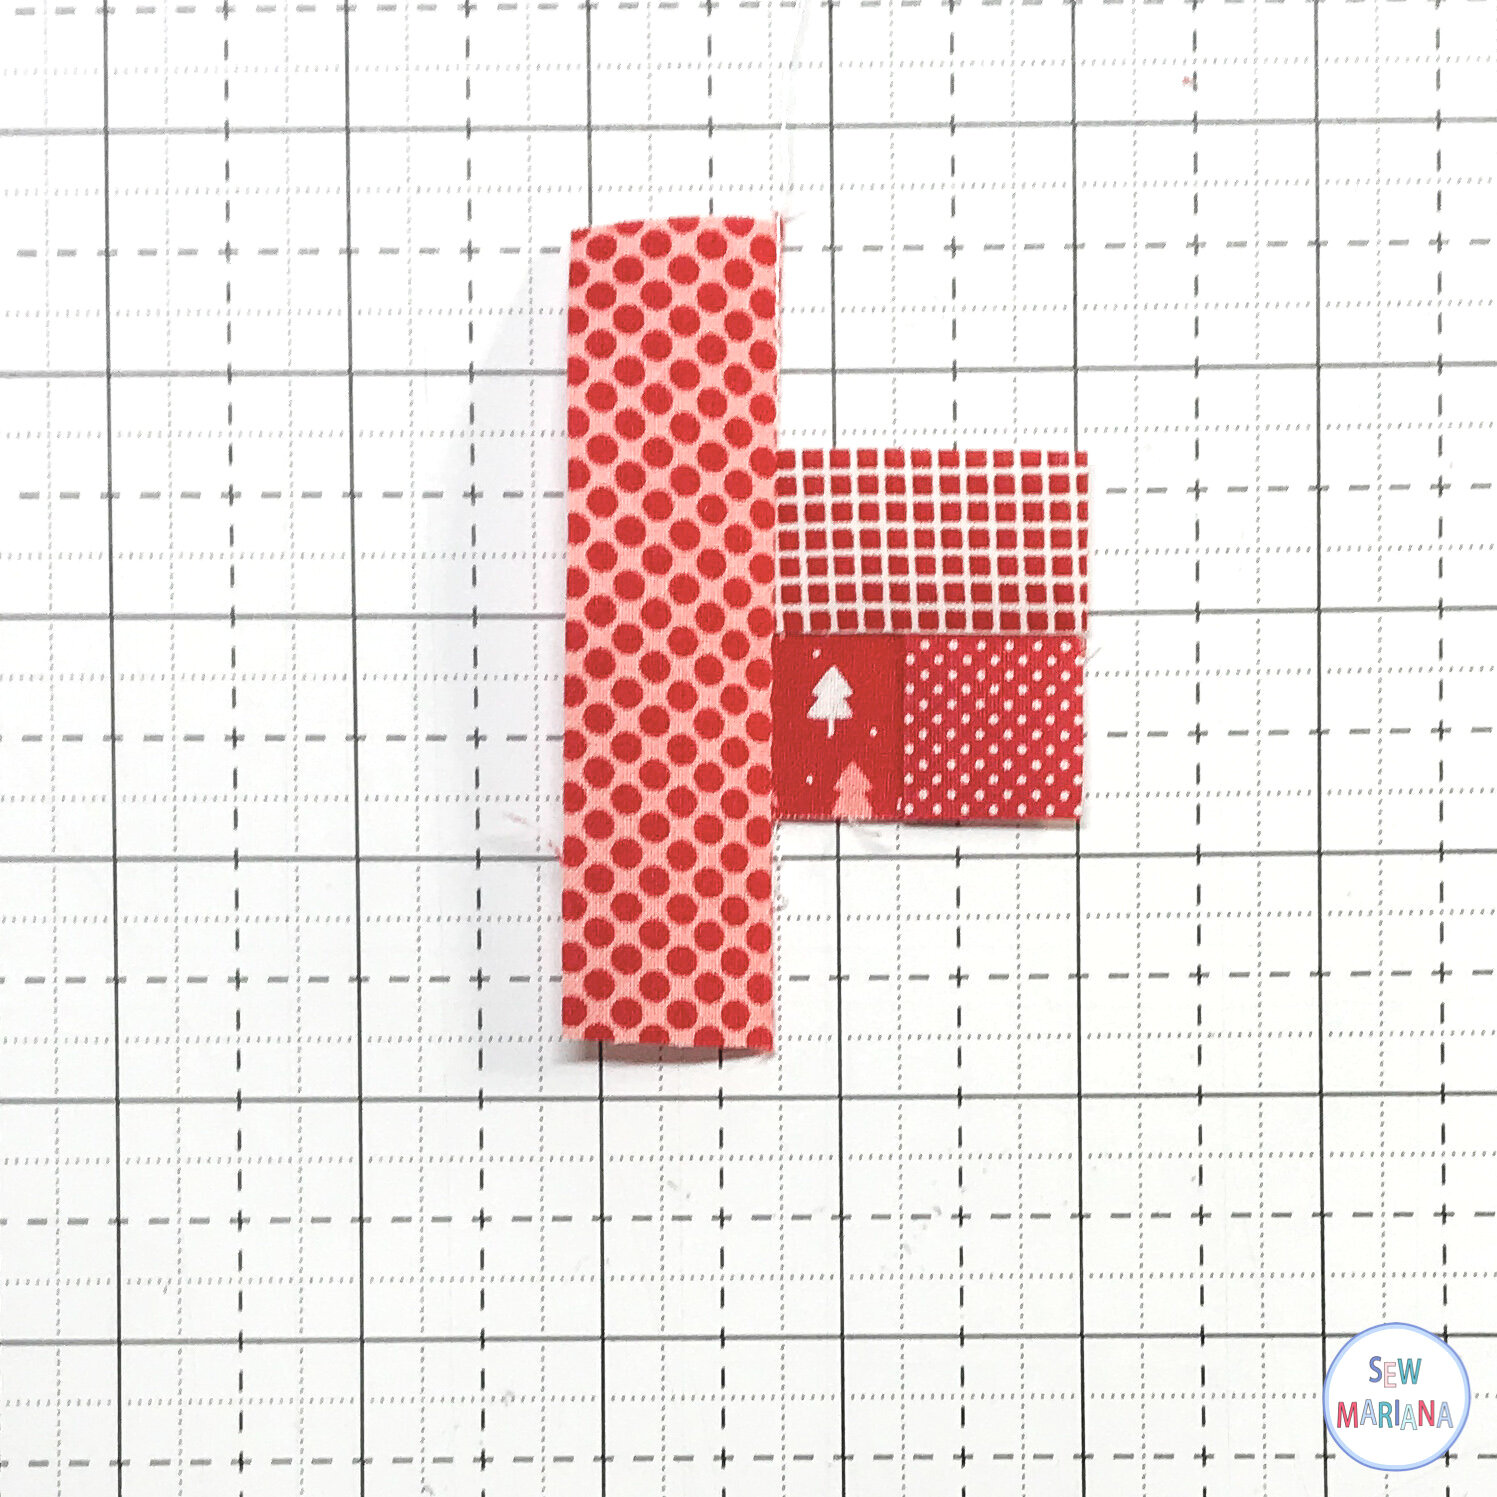
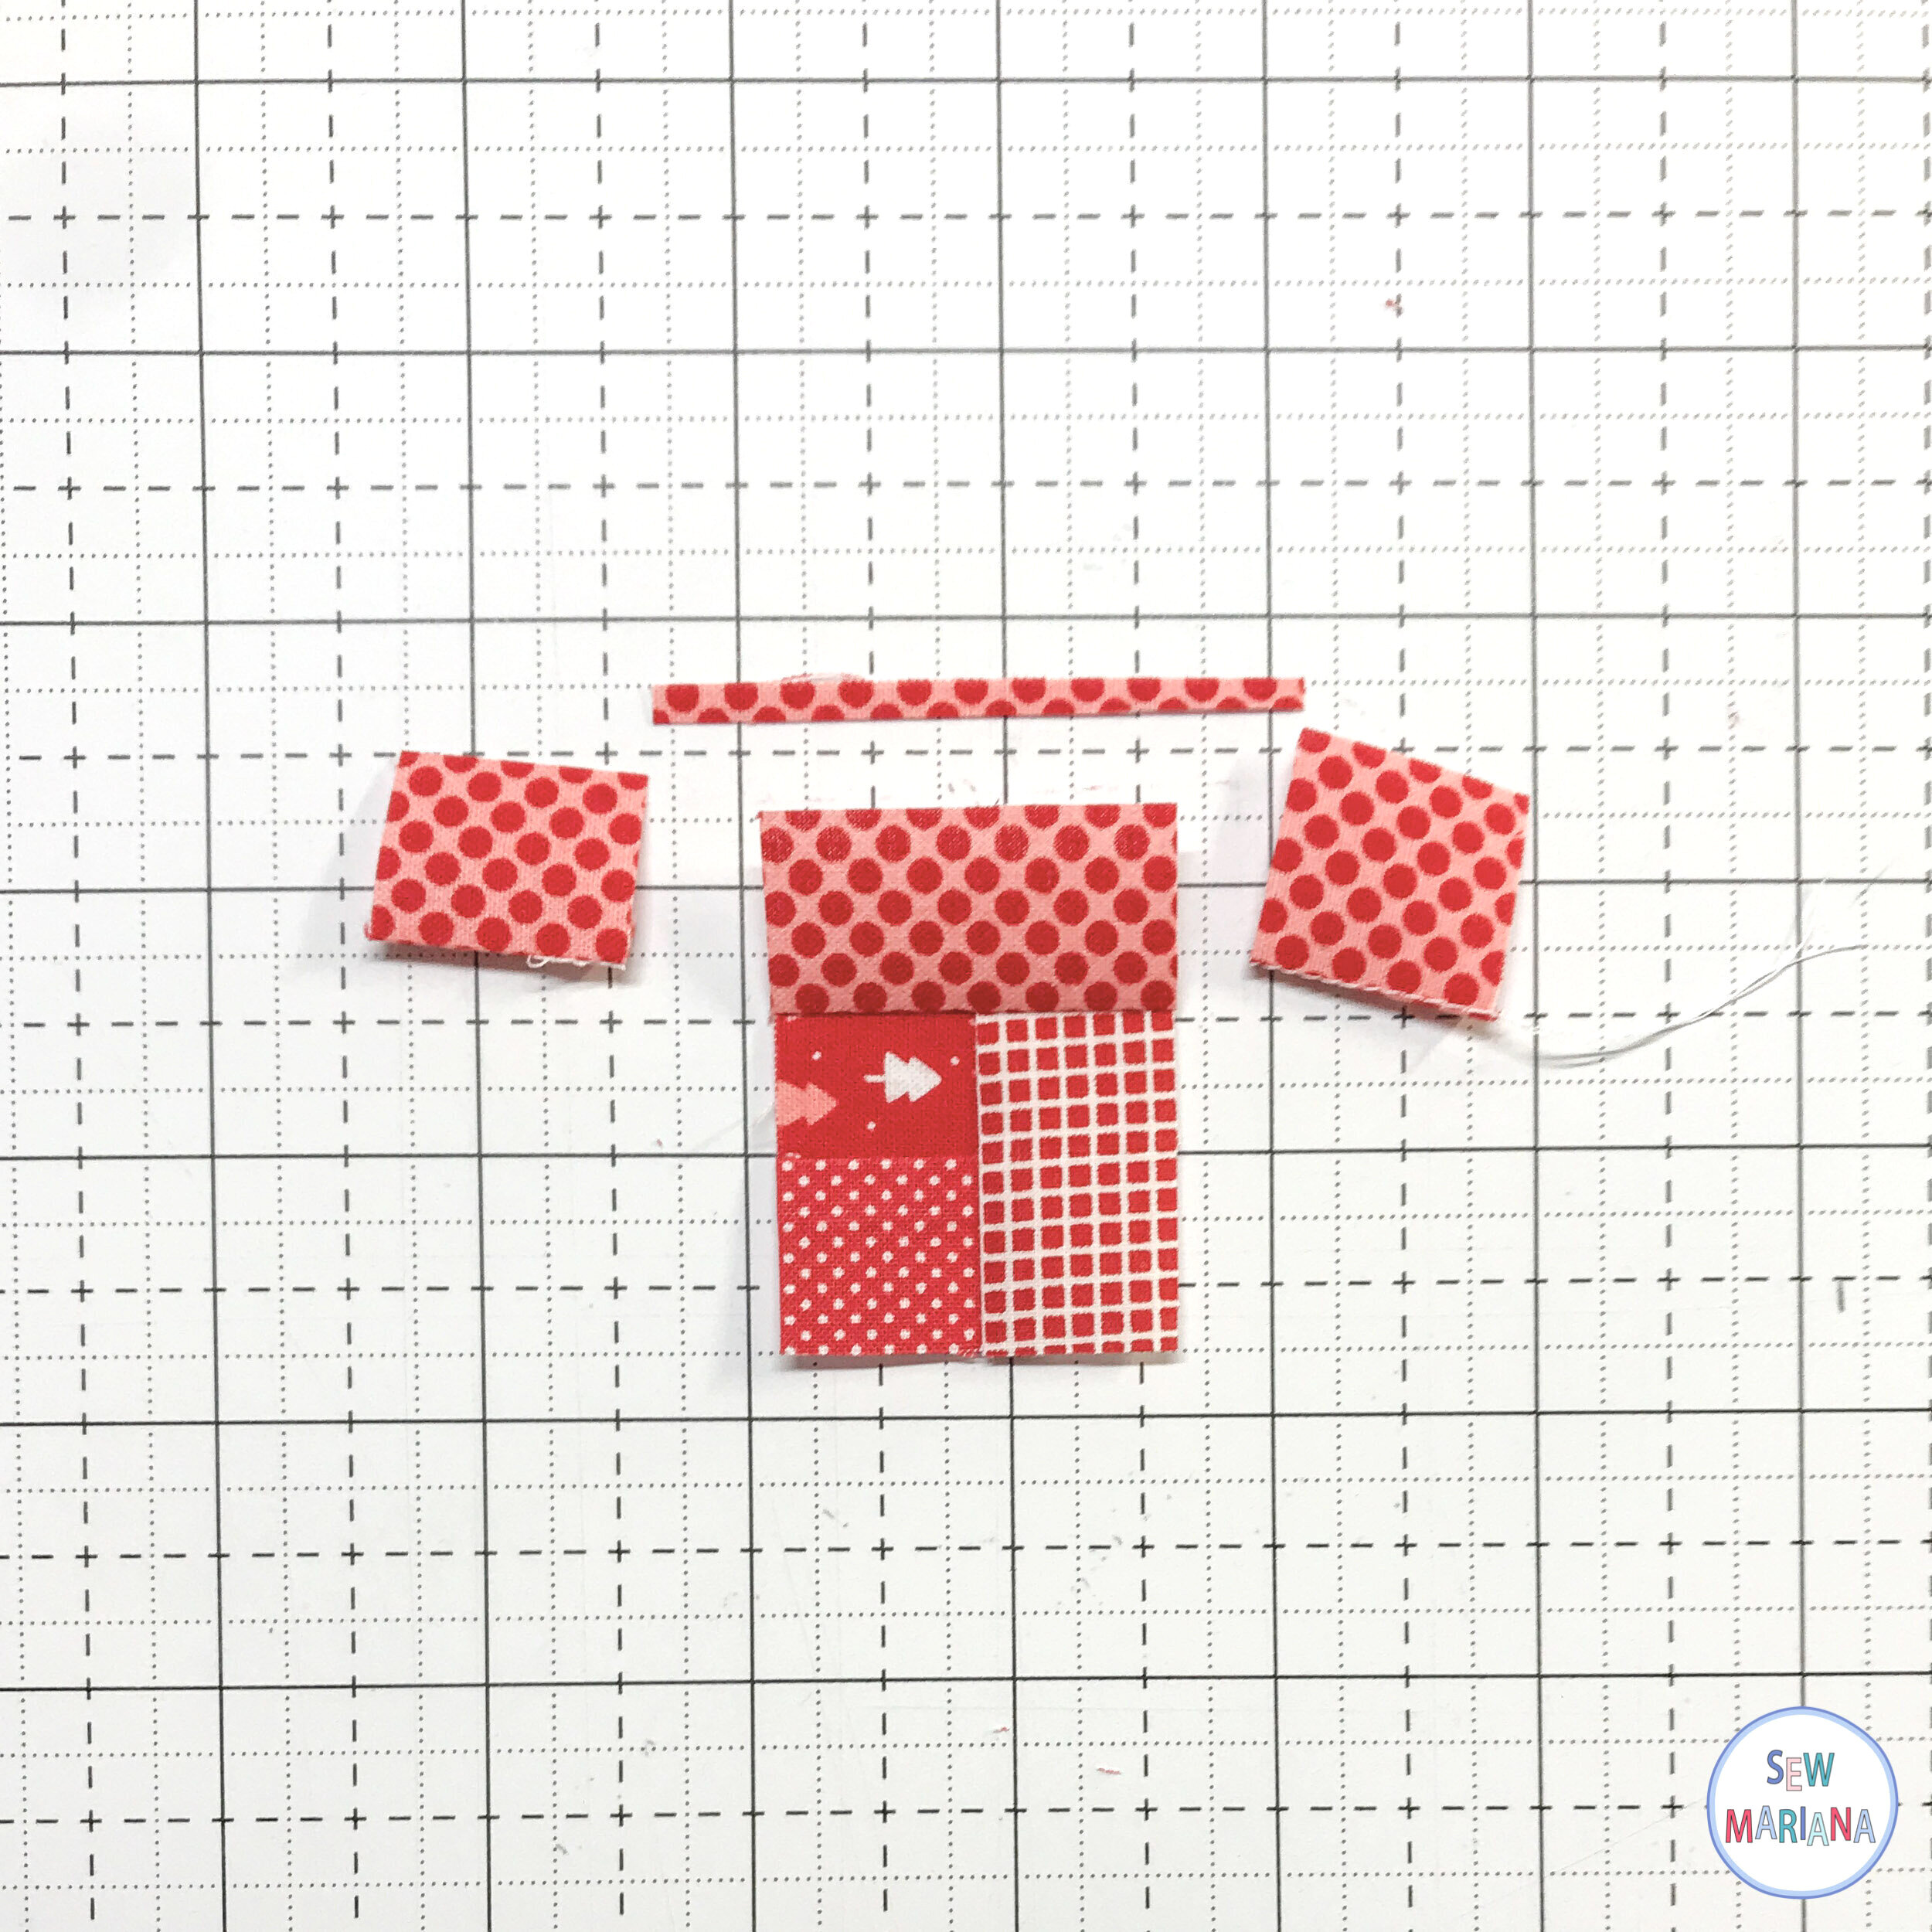
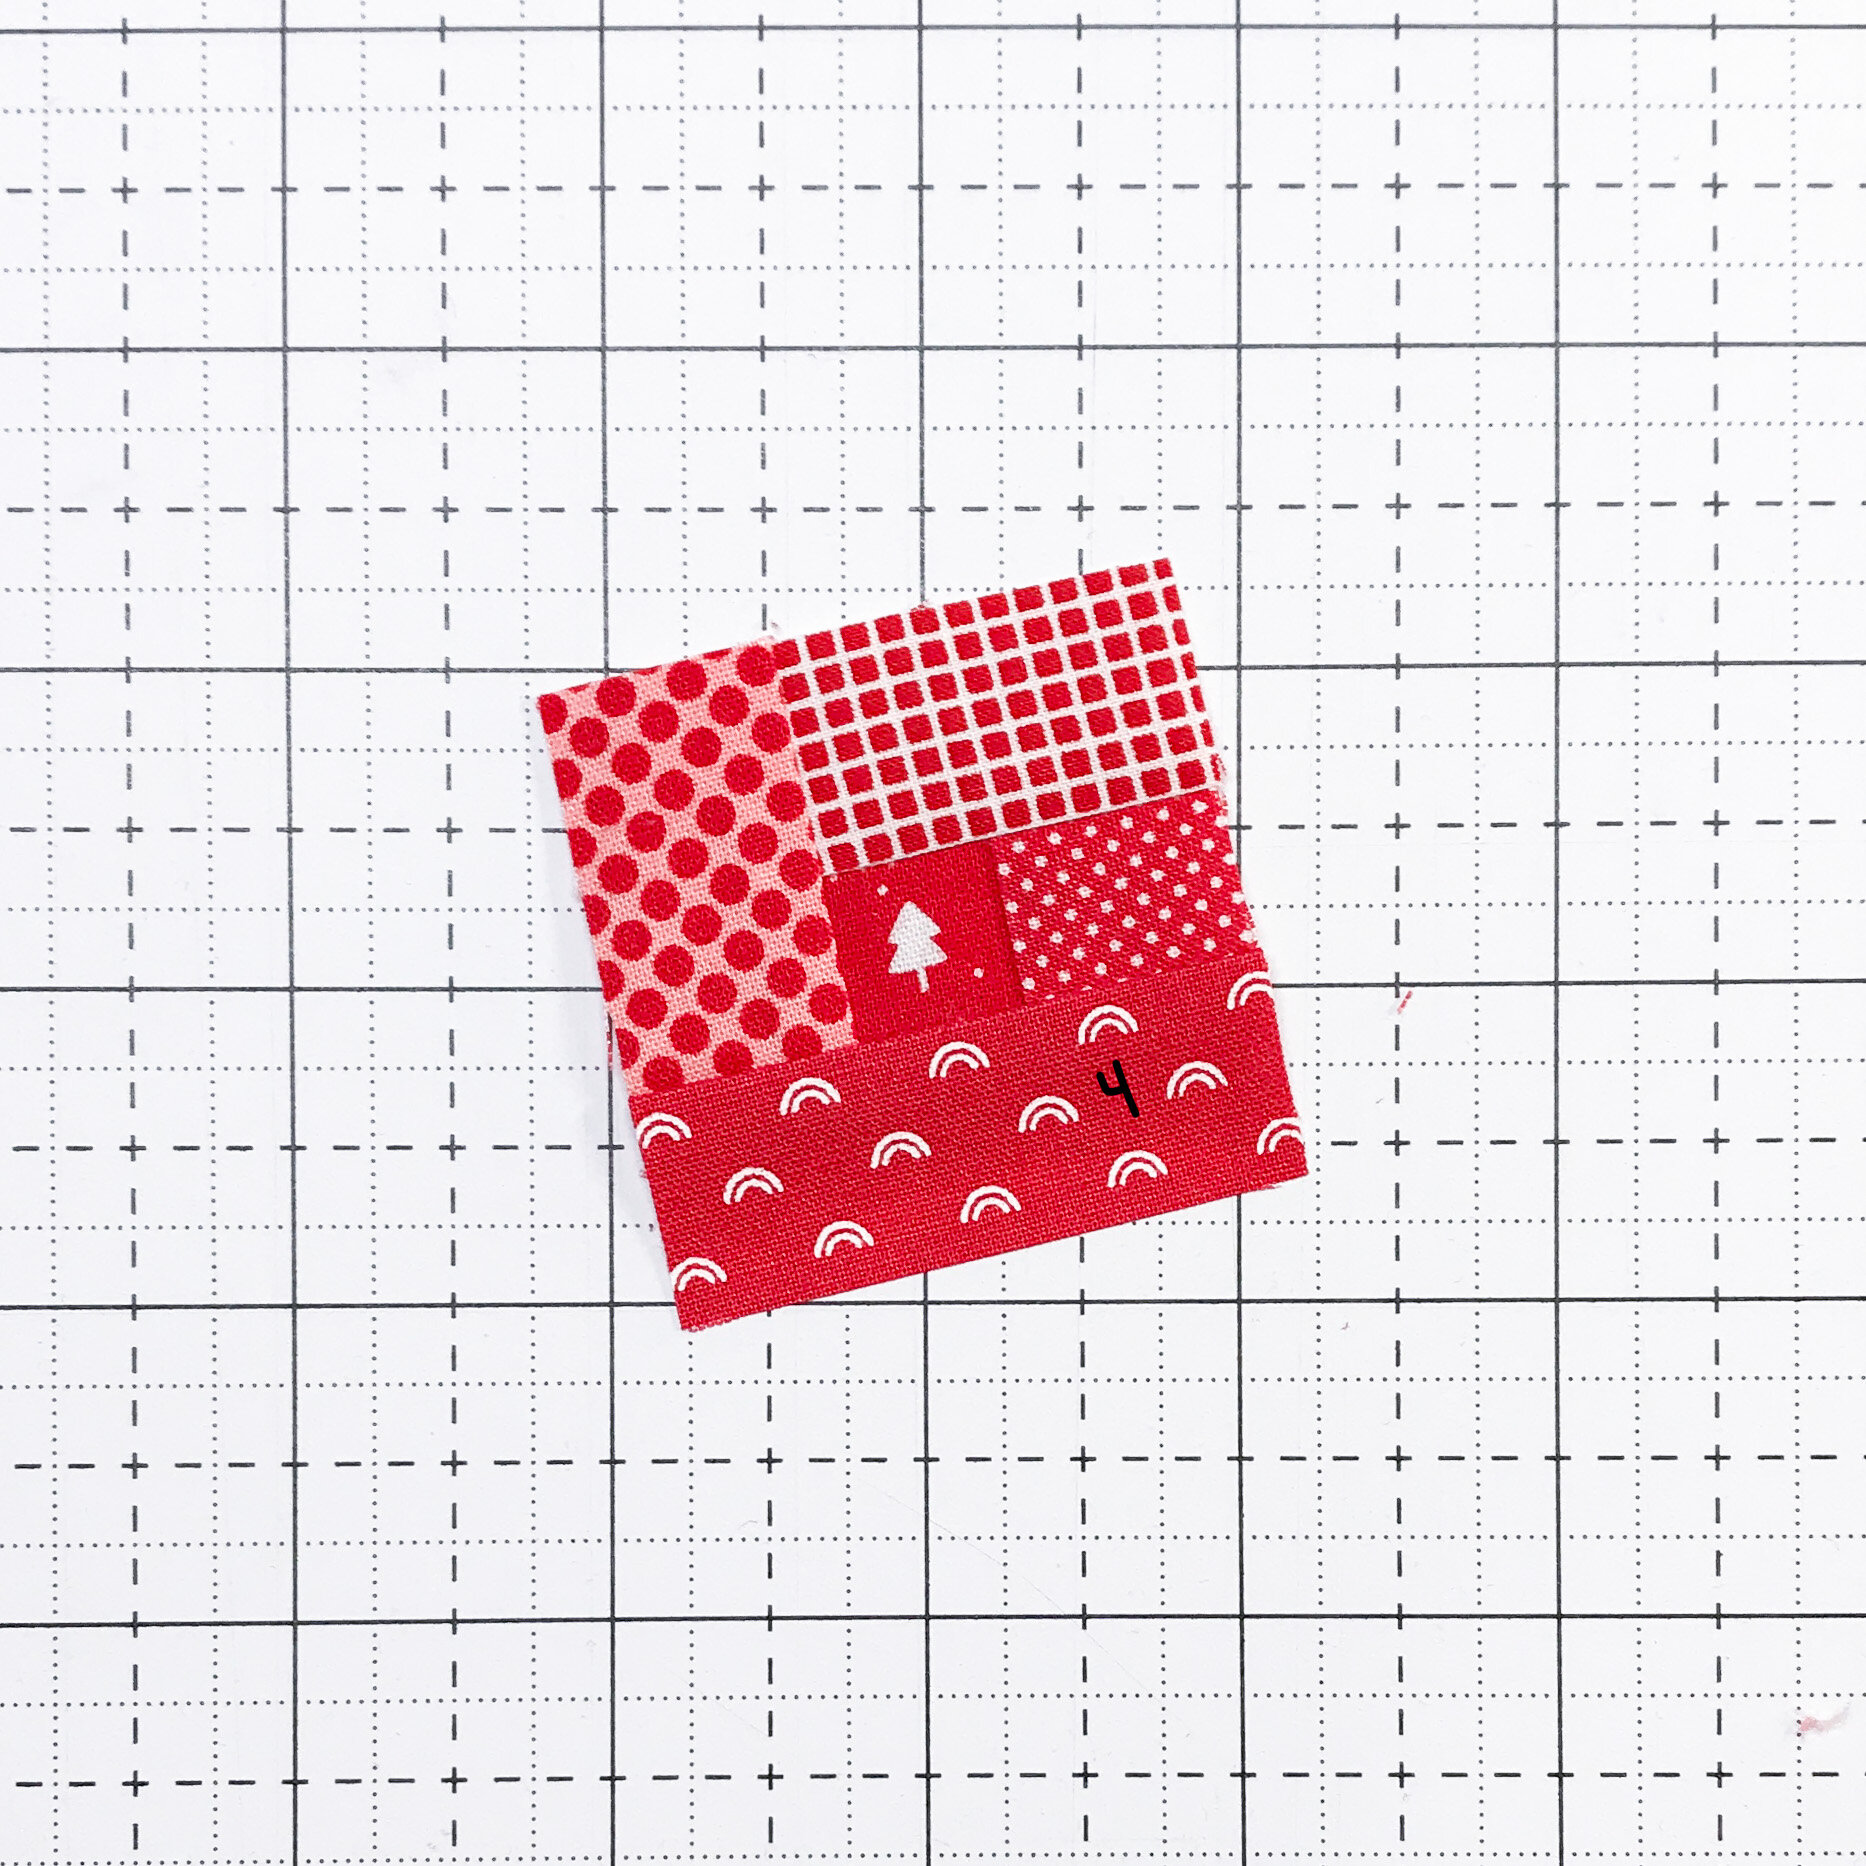
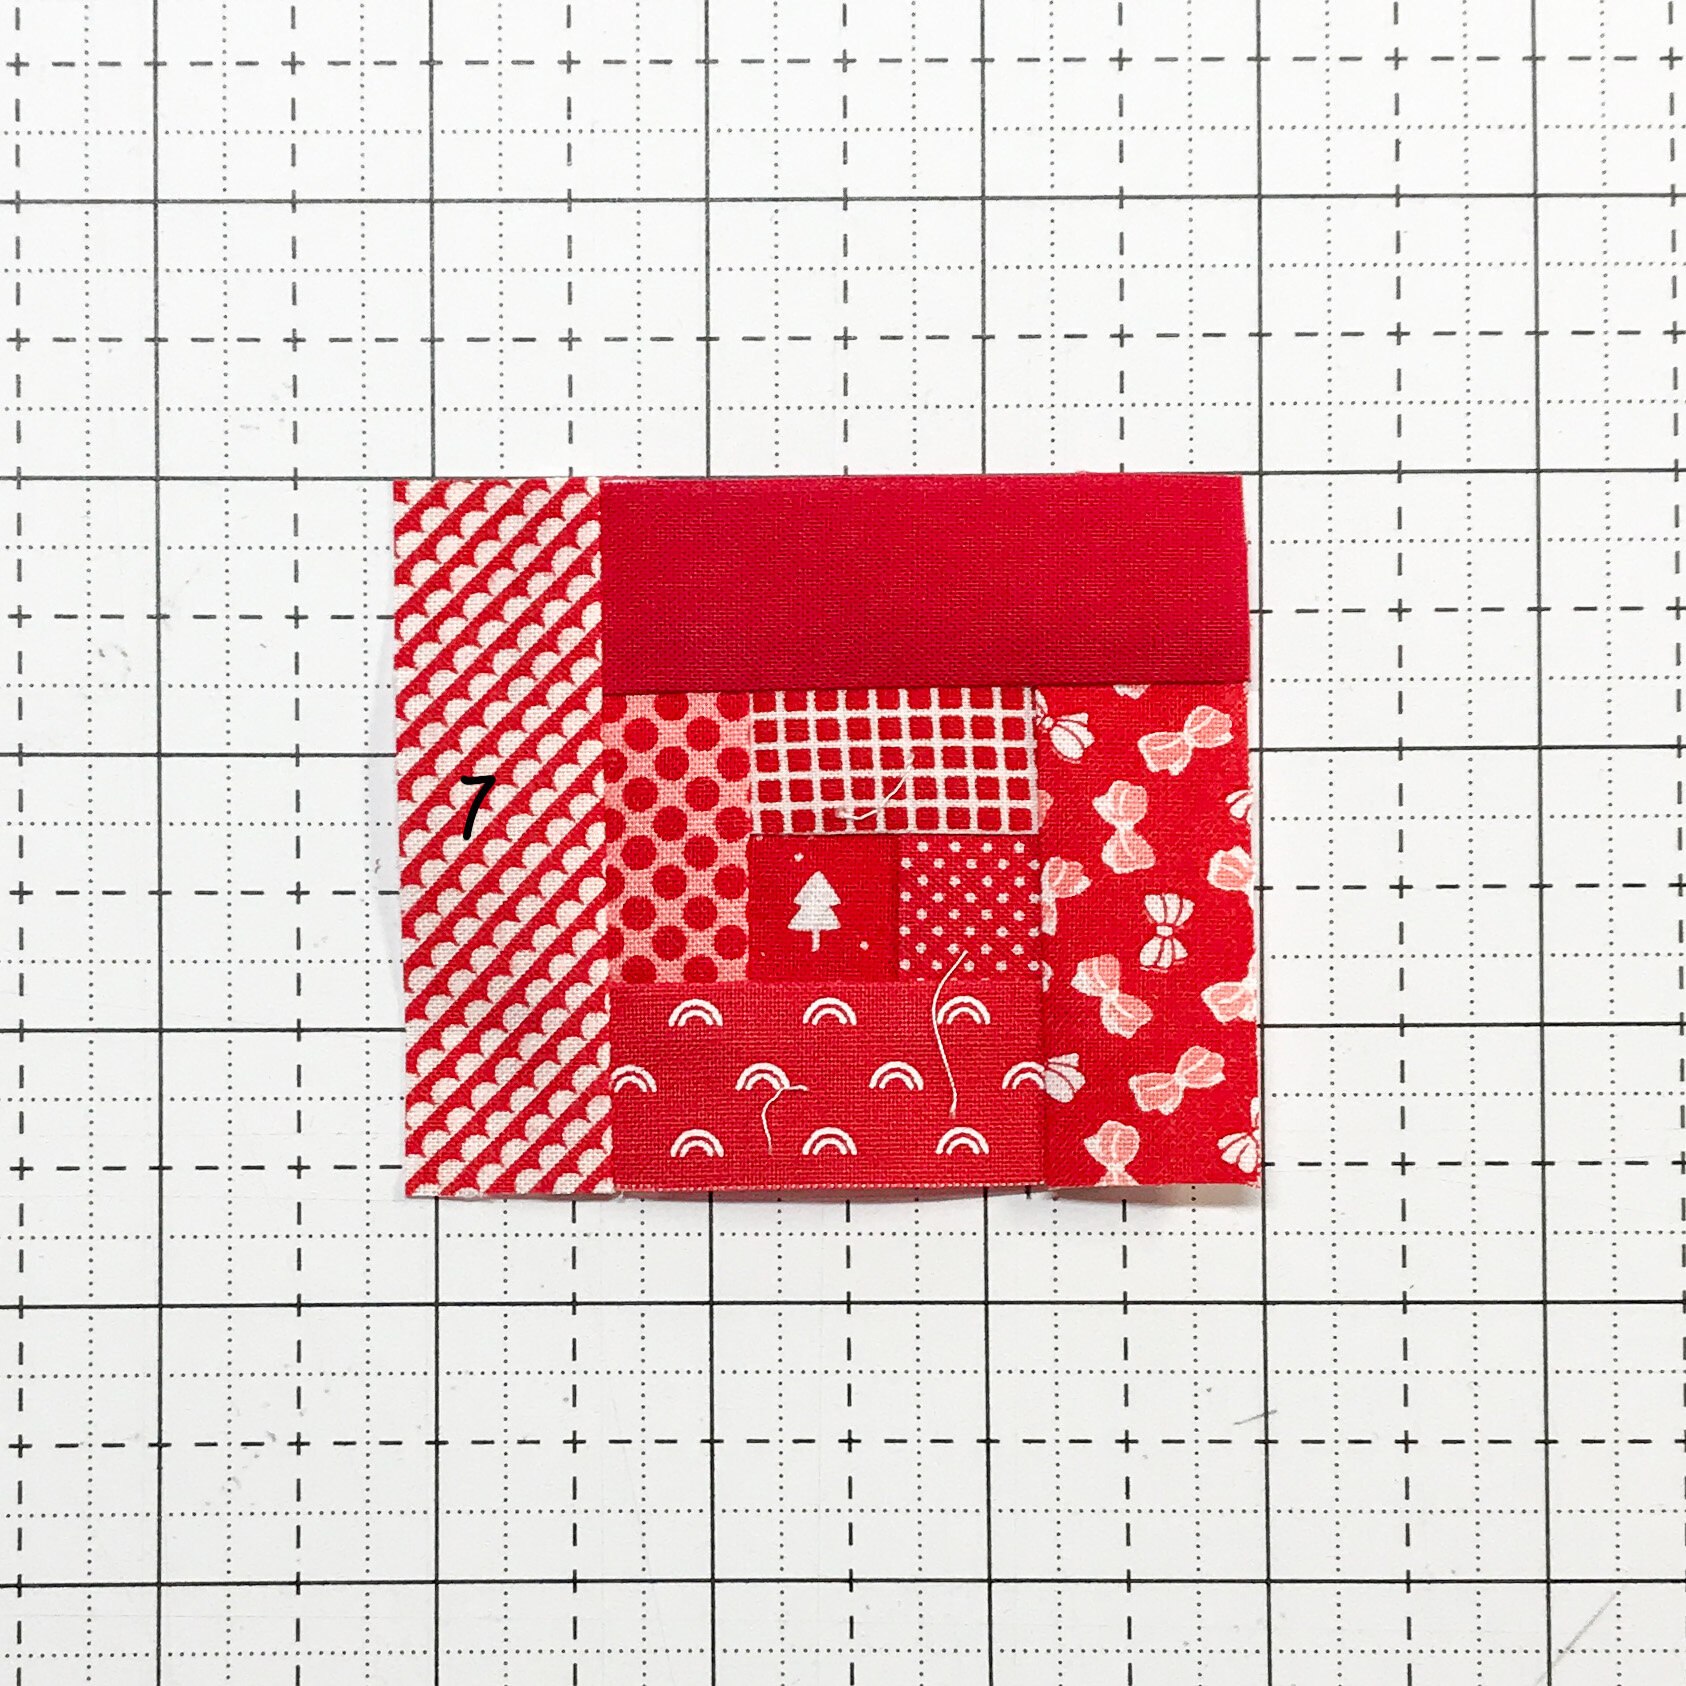
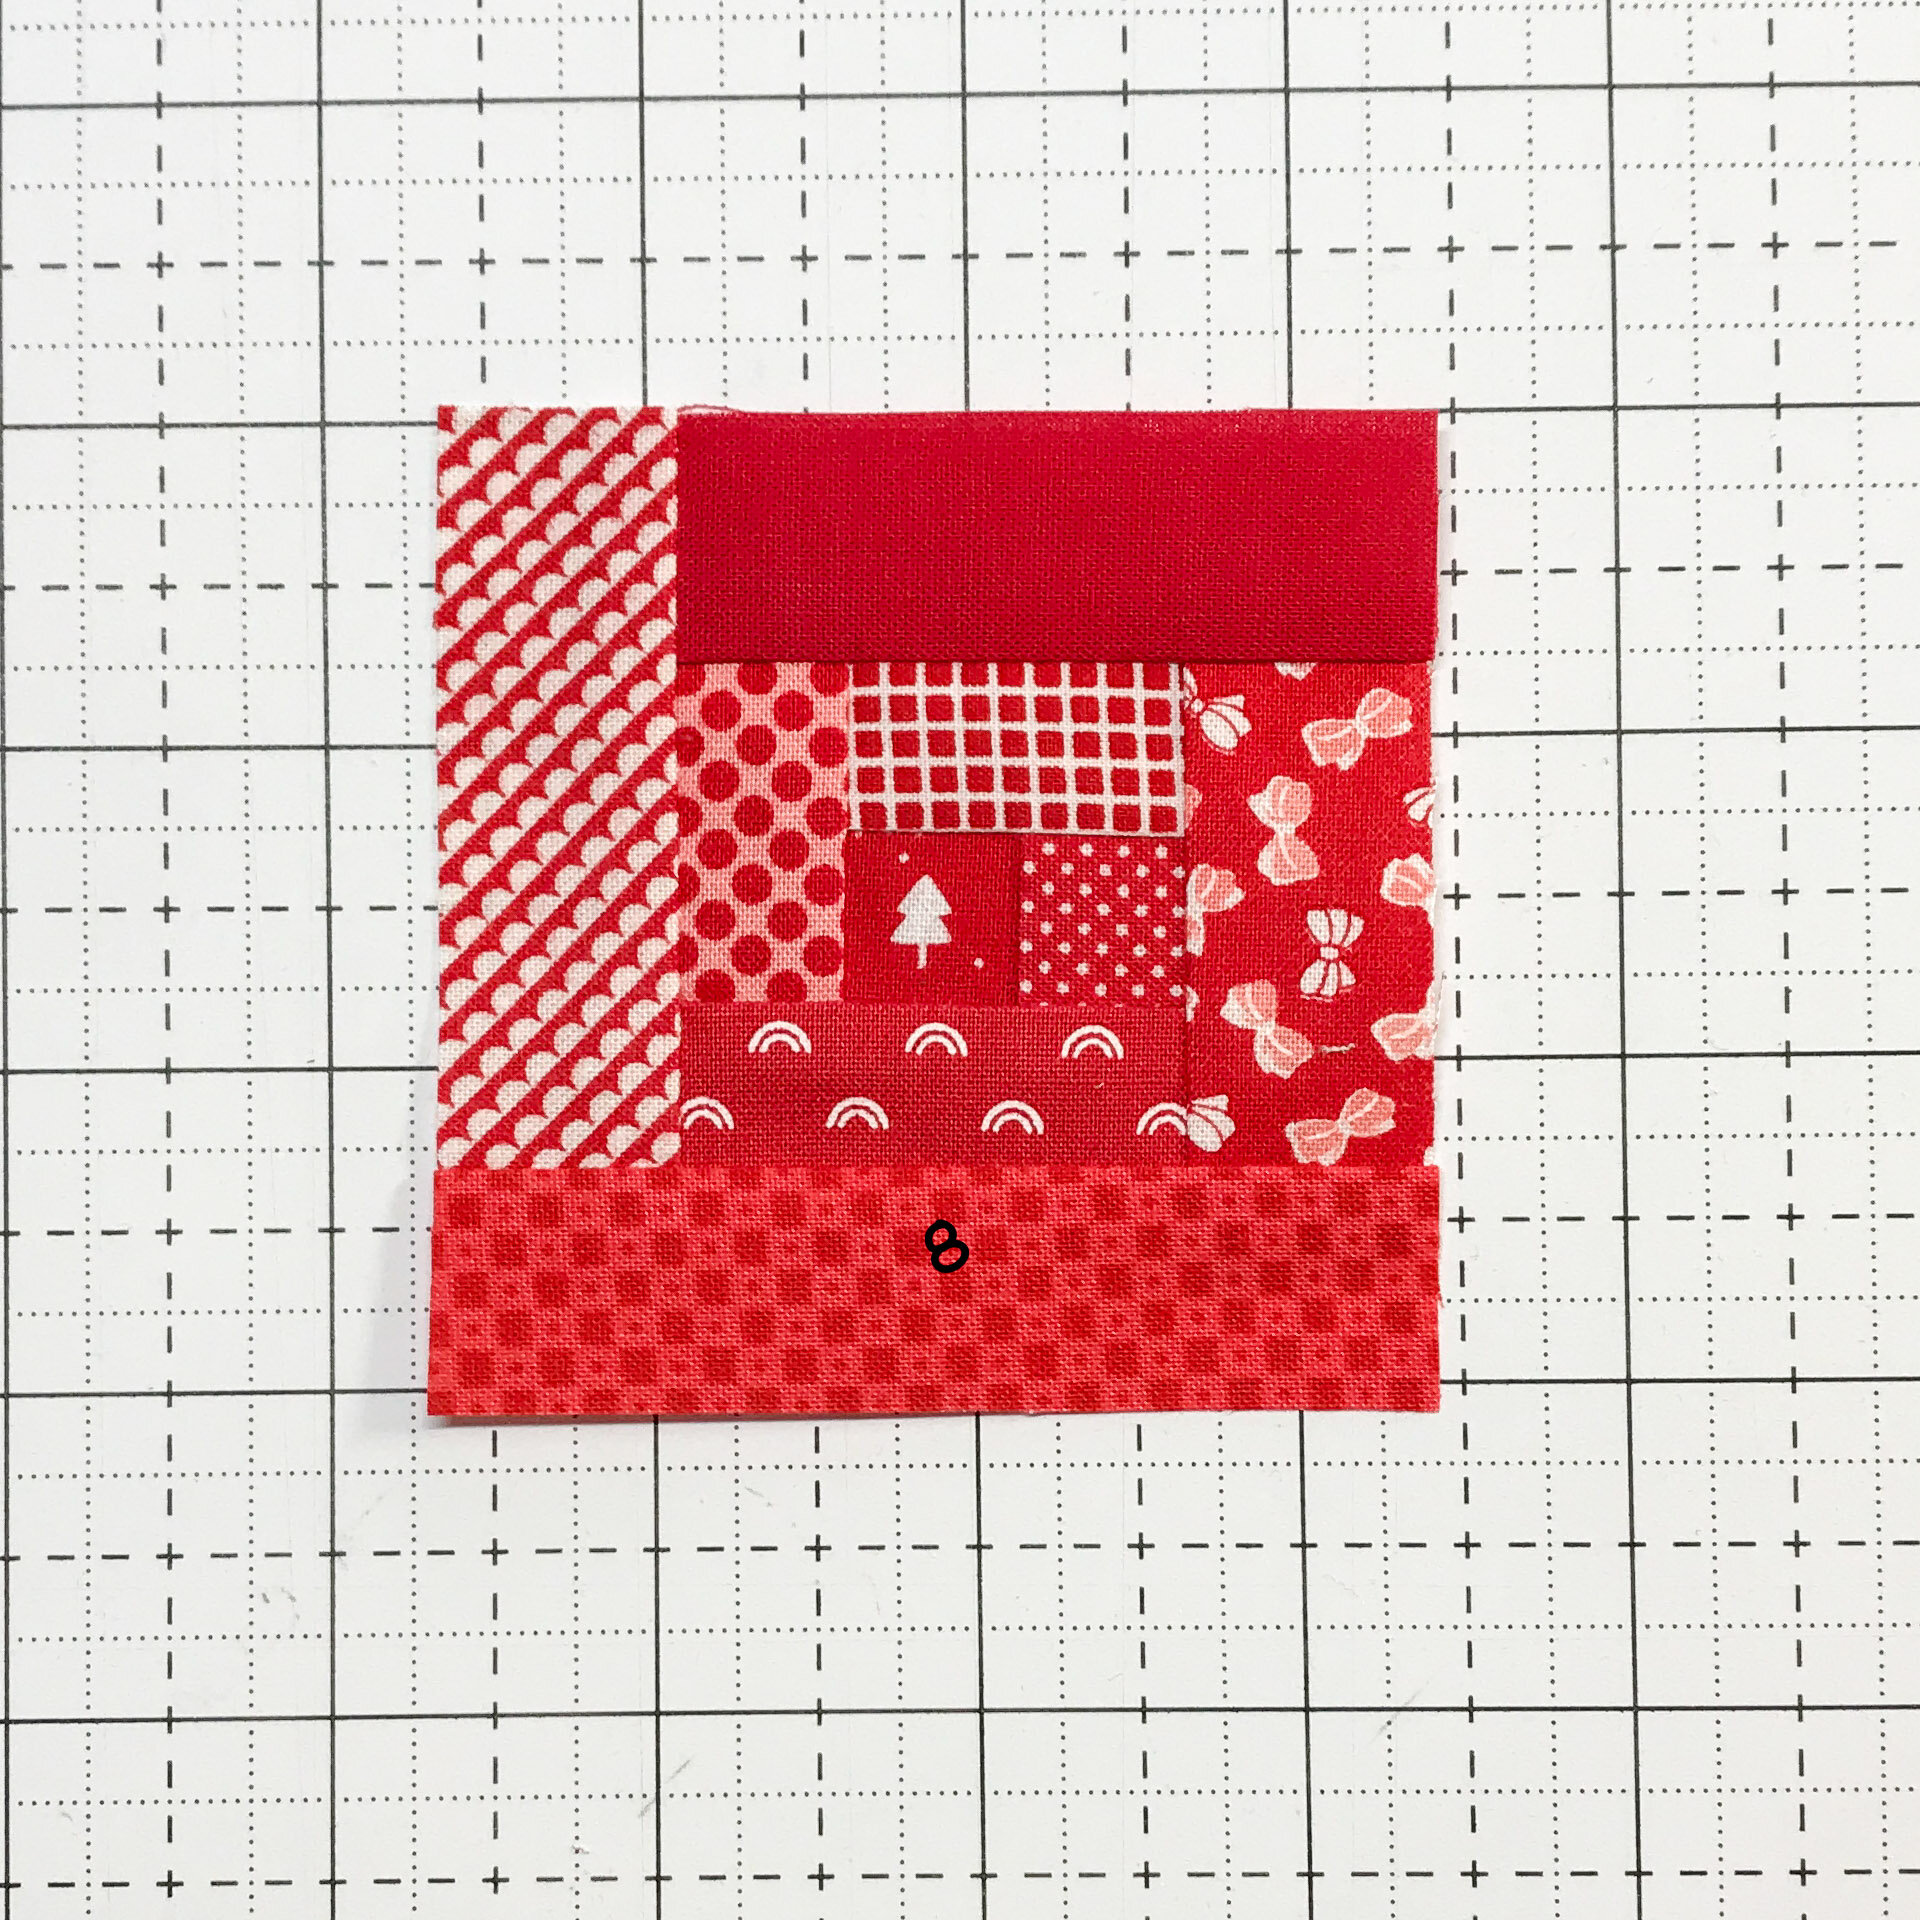
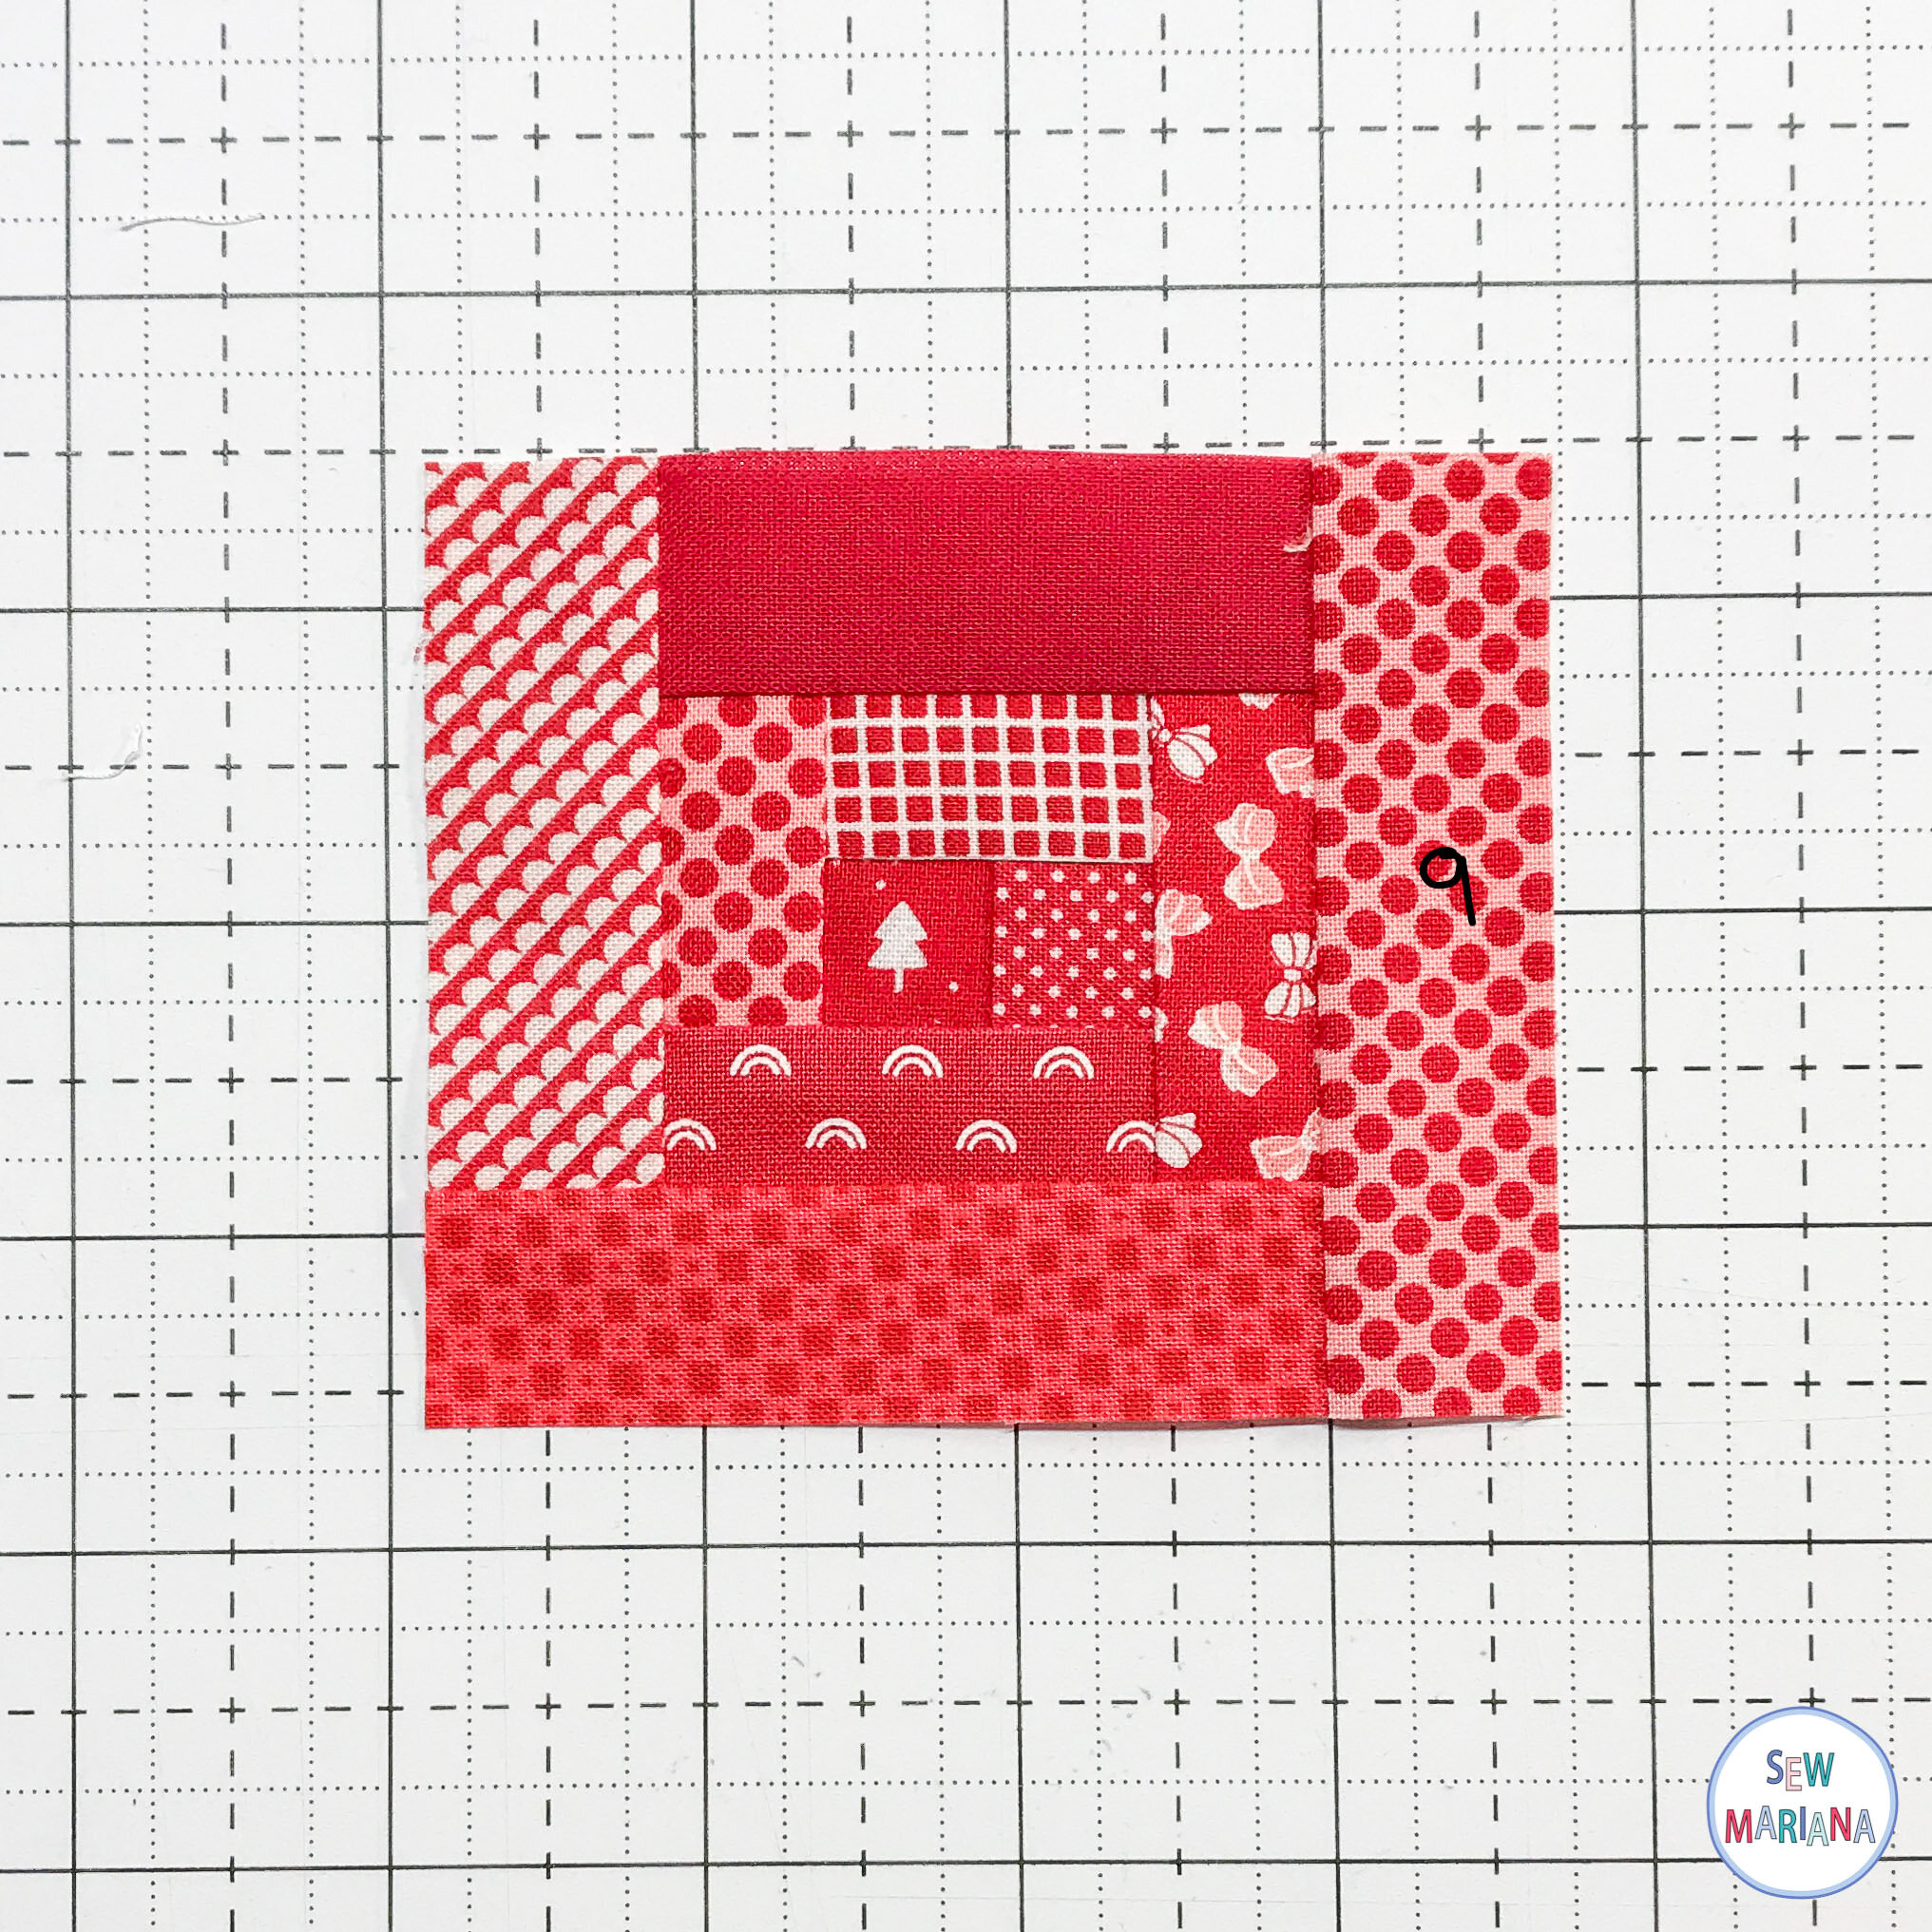
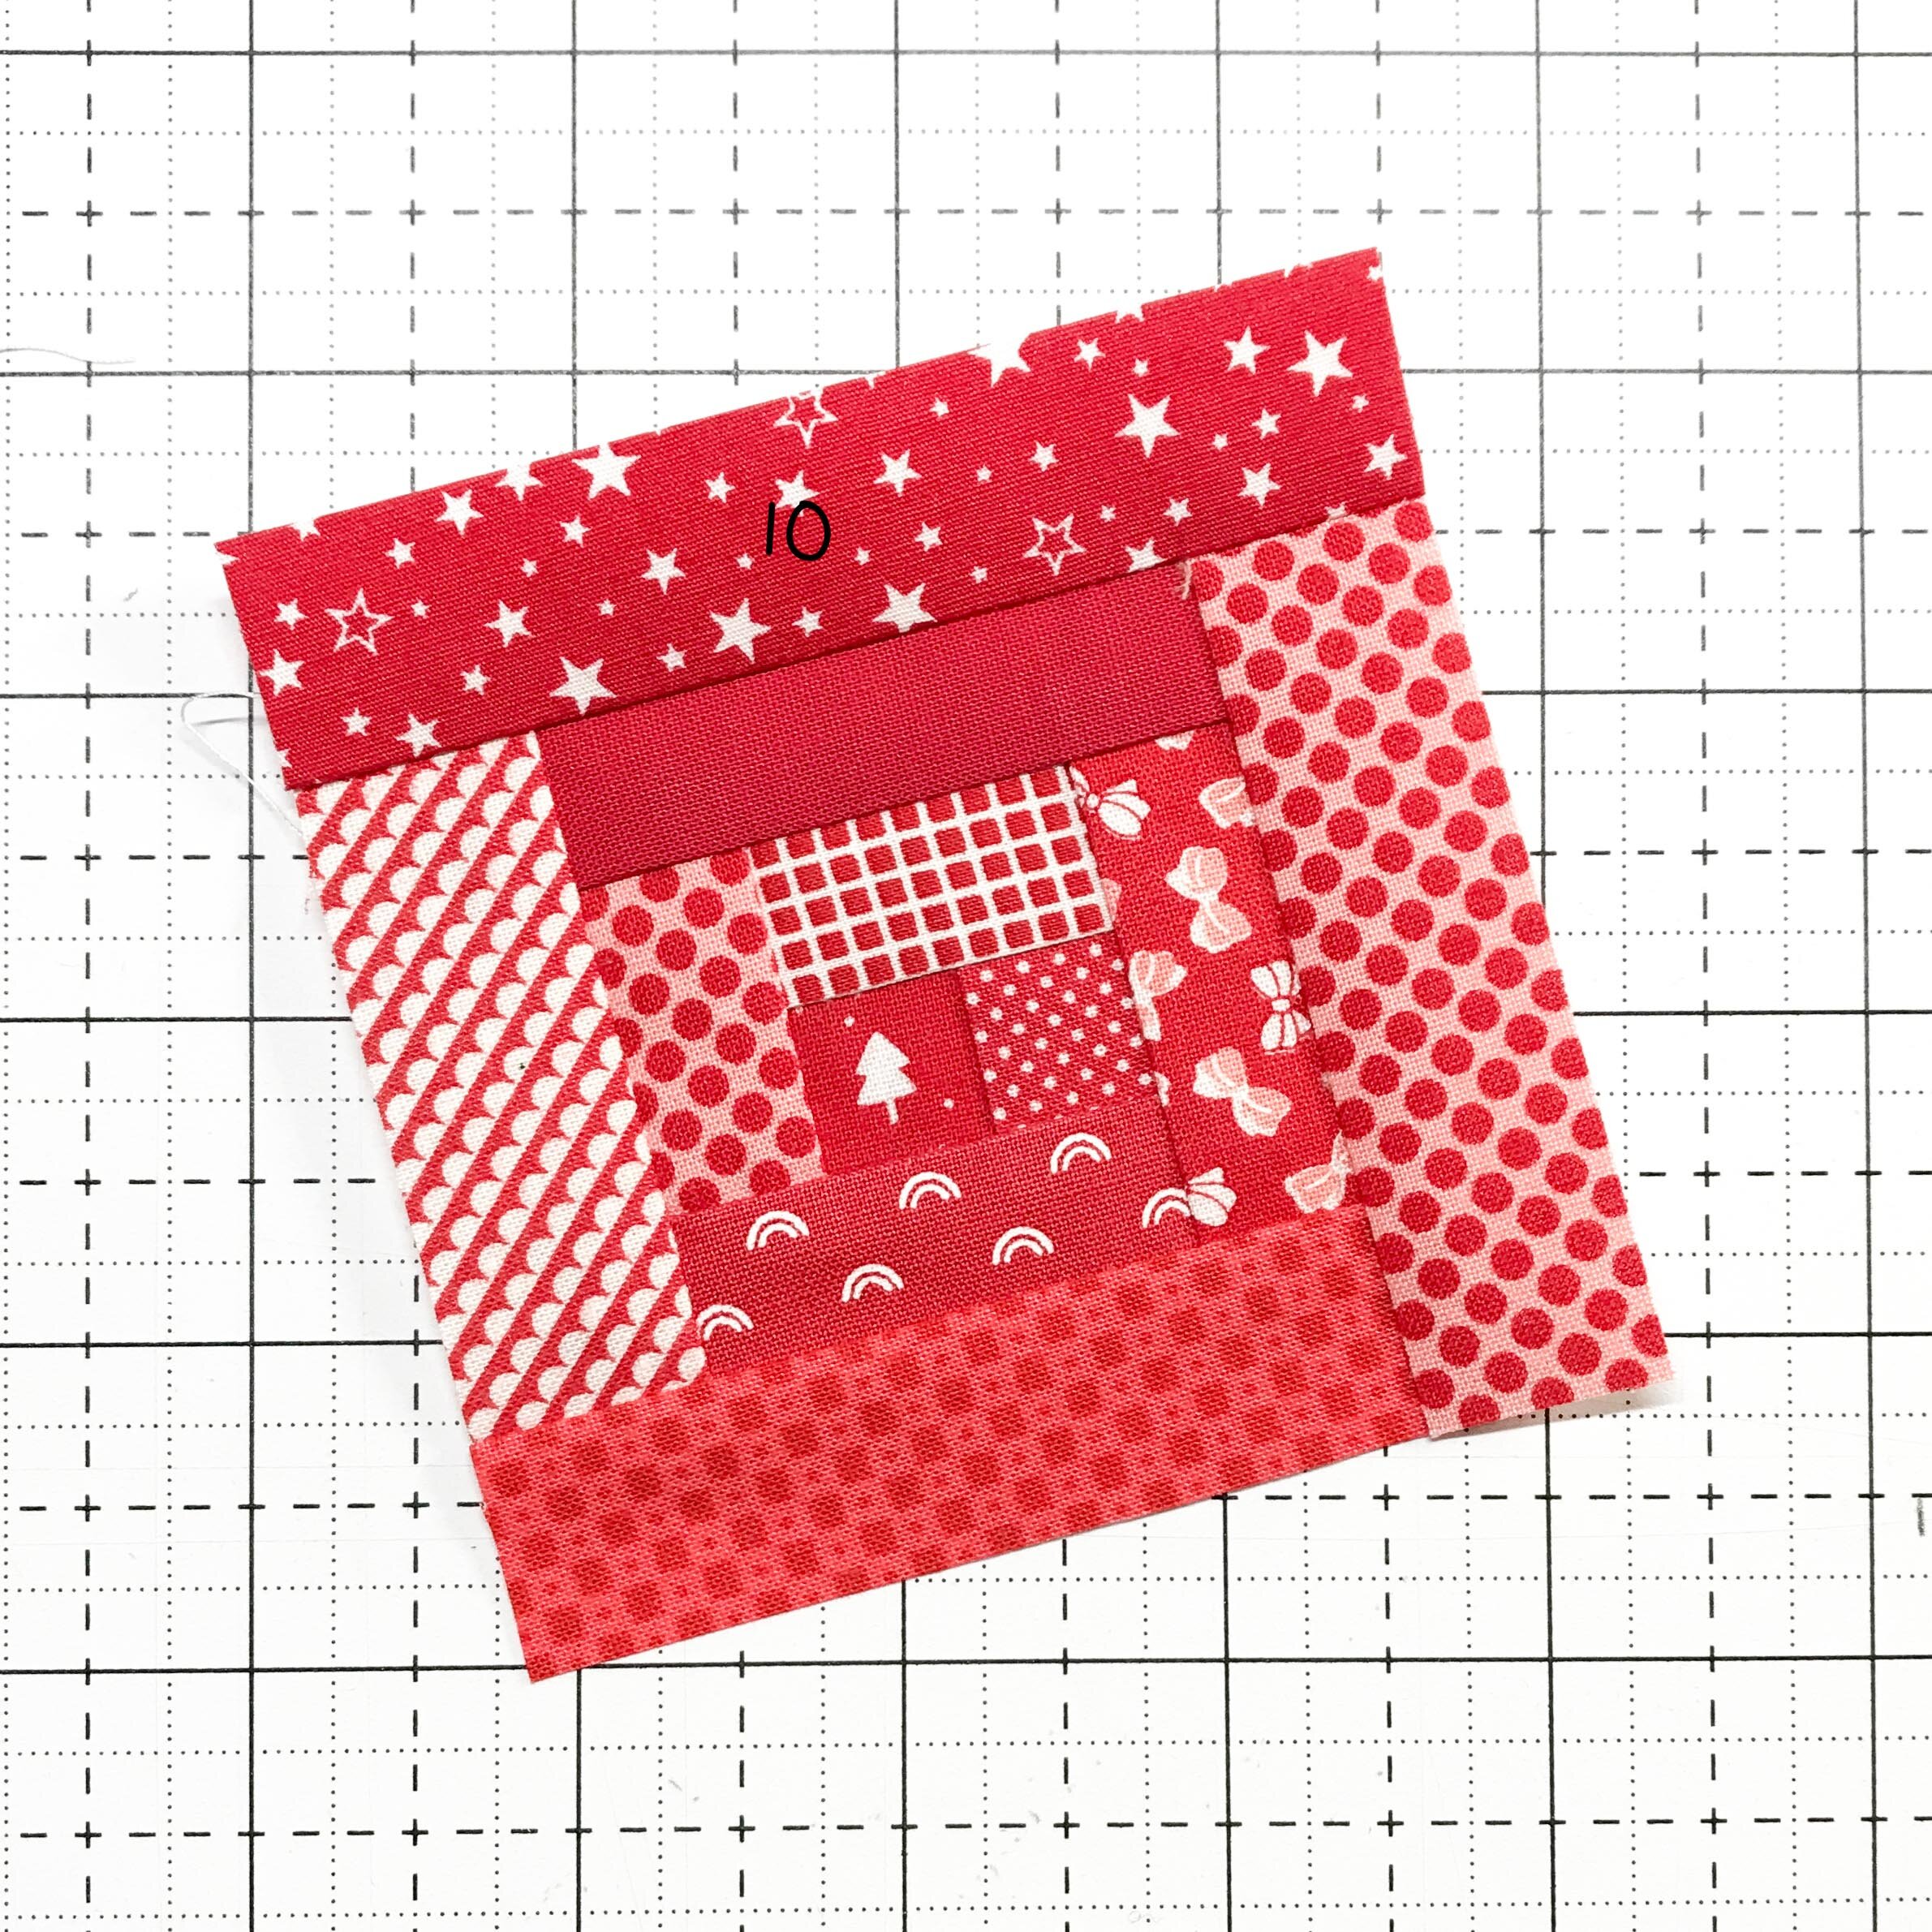
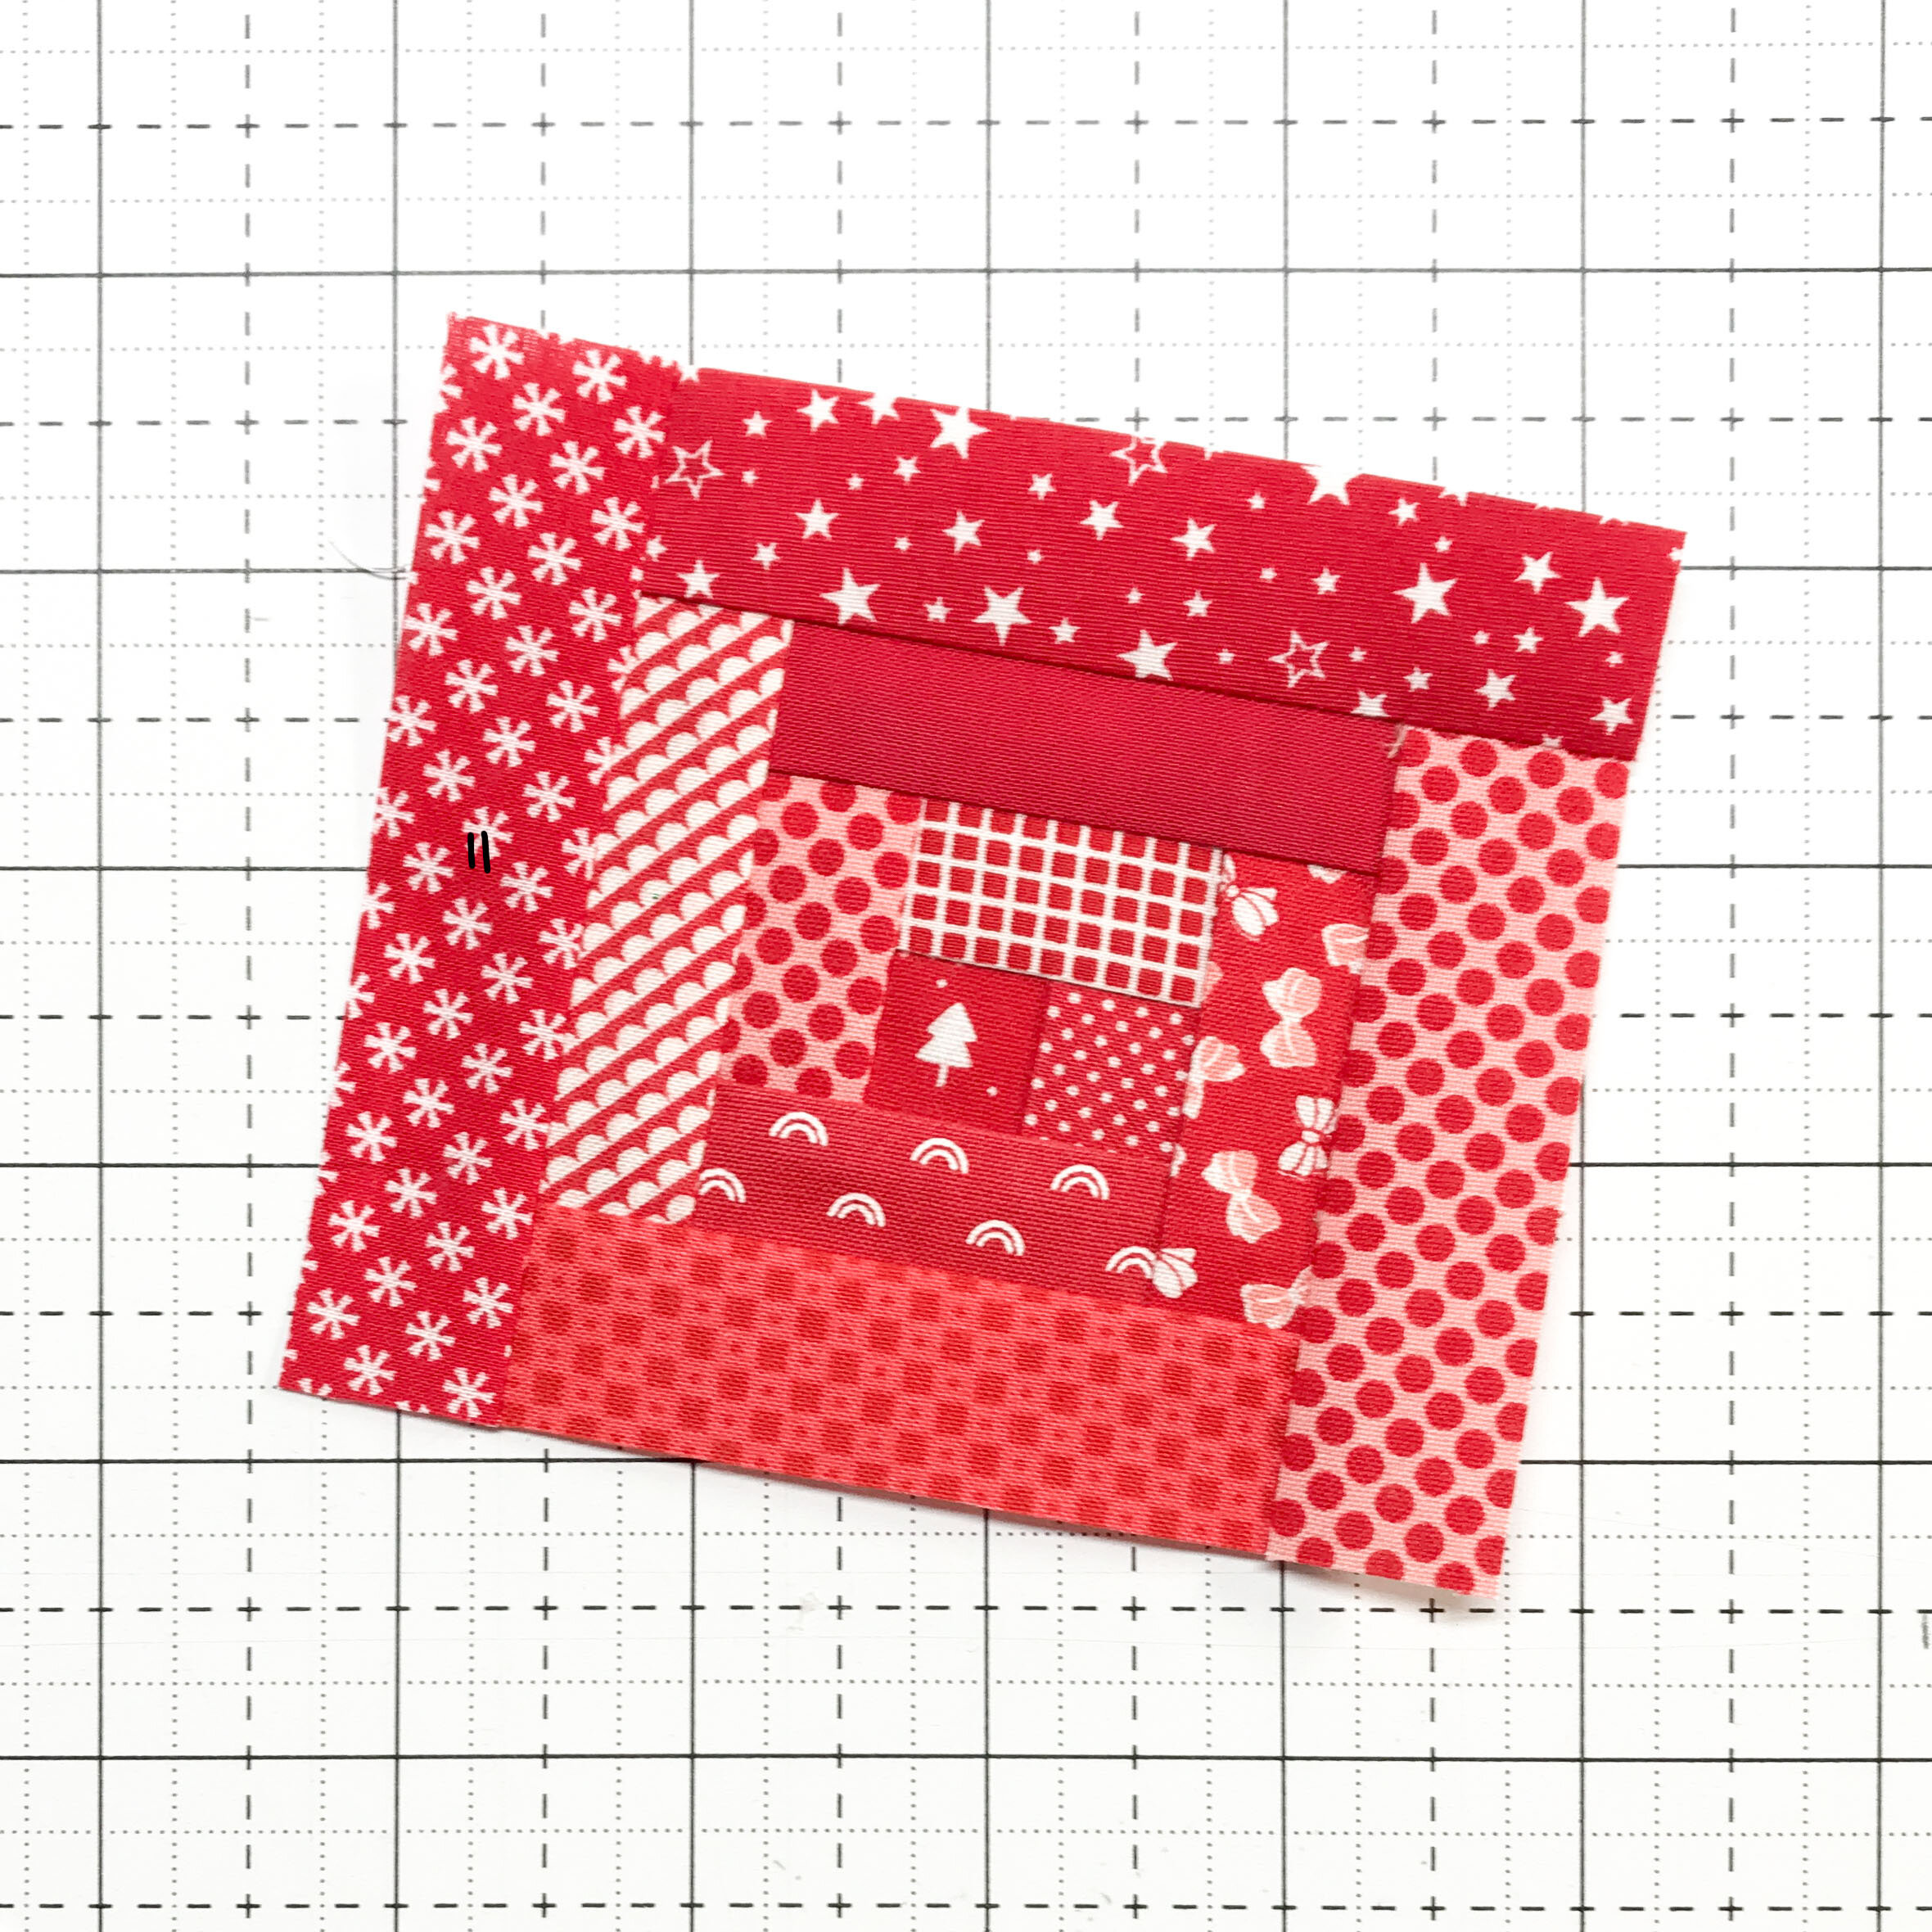
Add a second log to the top of your unit. Press away from the center and trim.
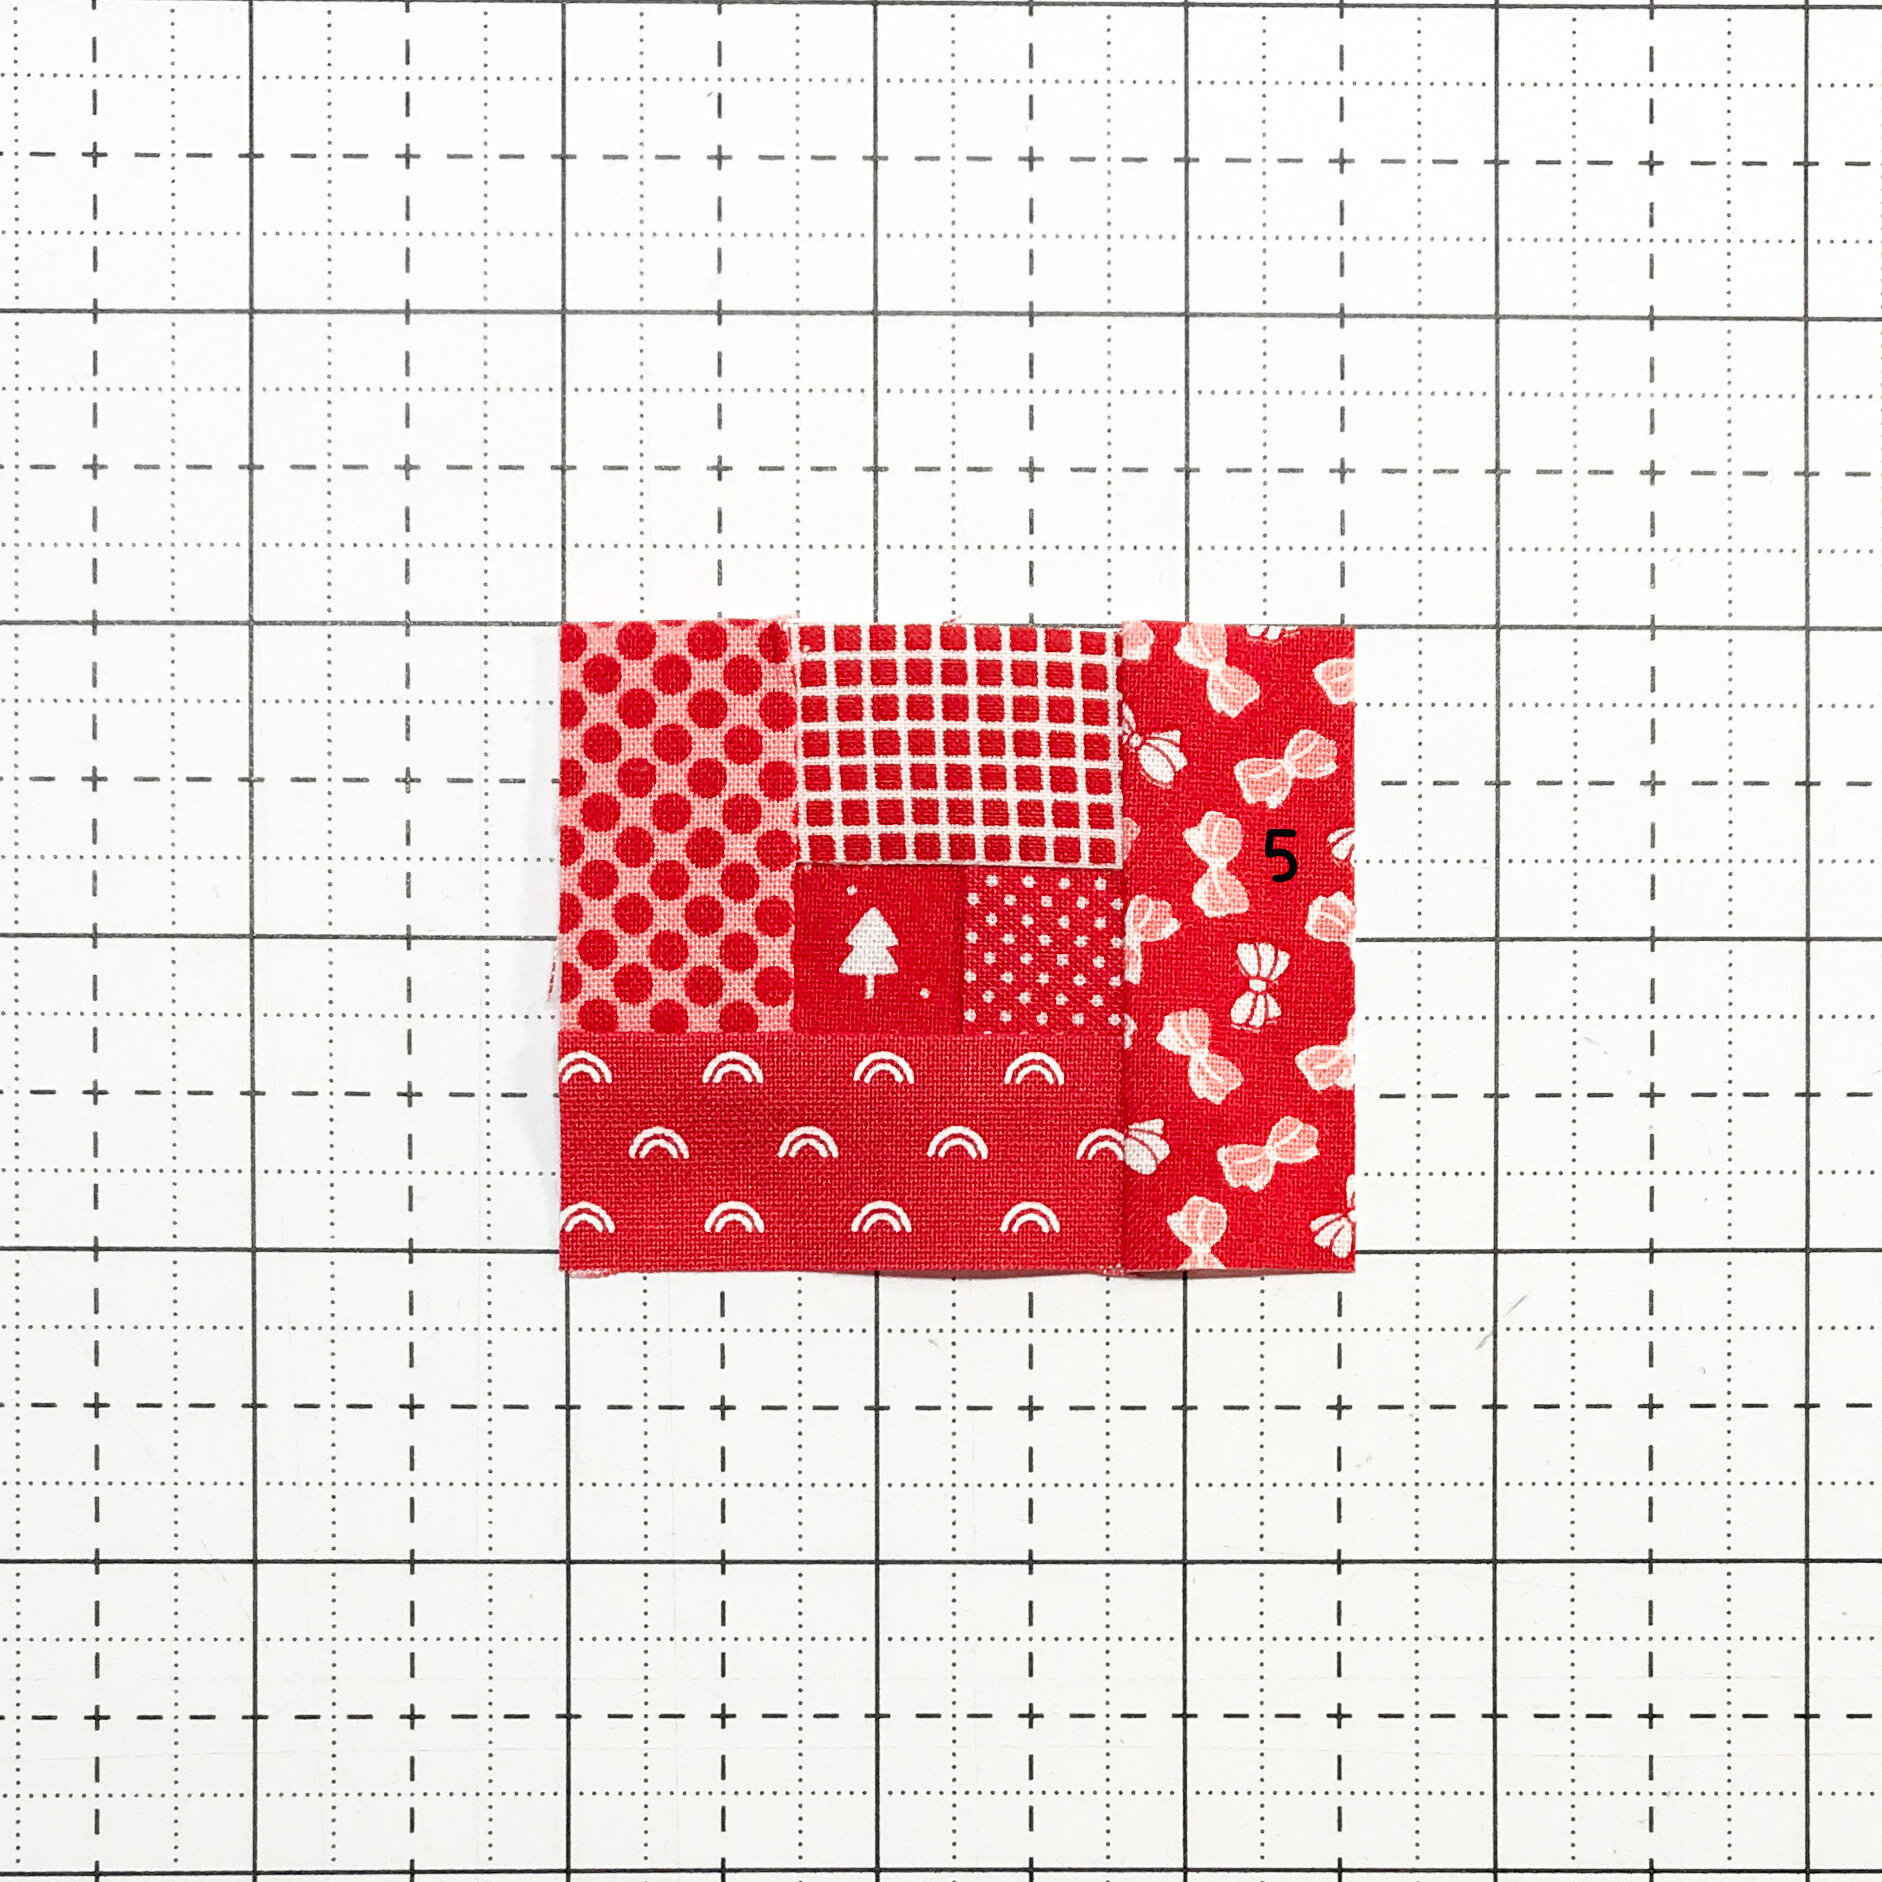
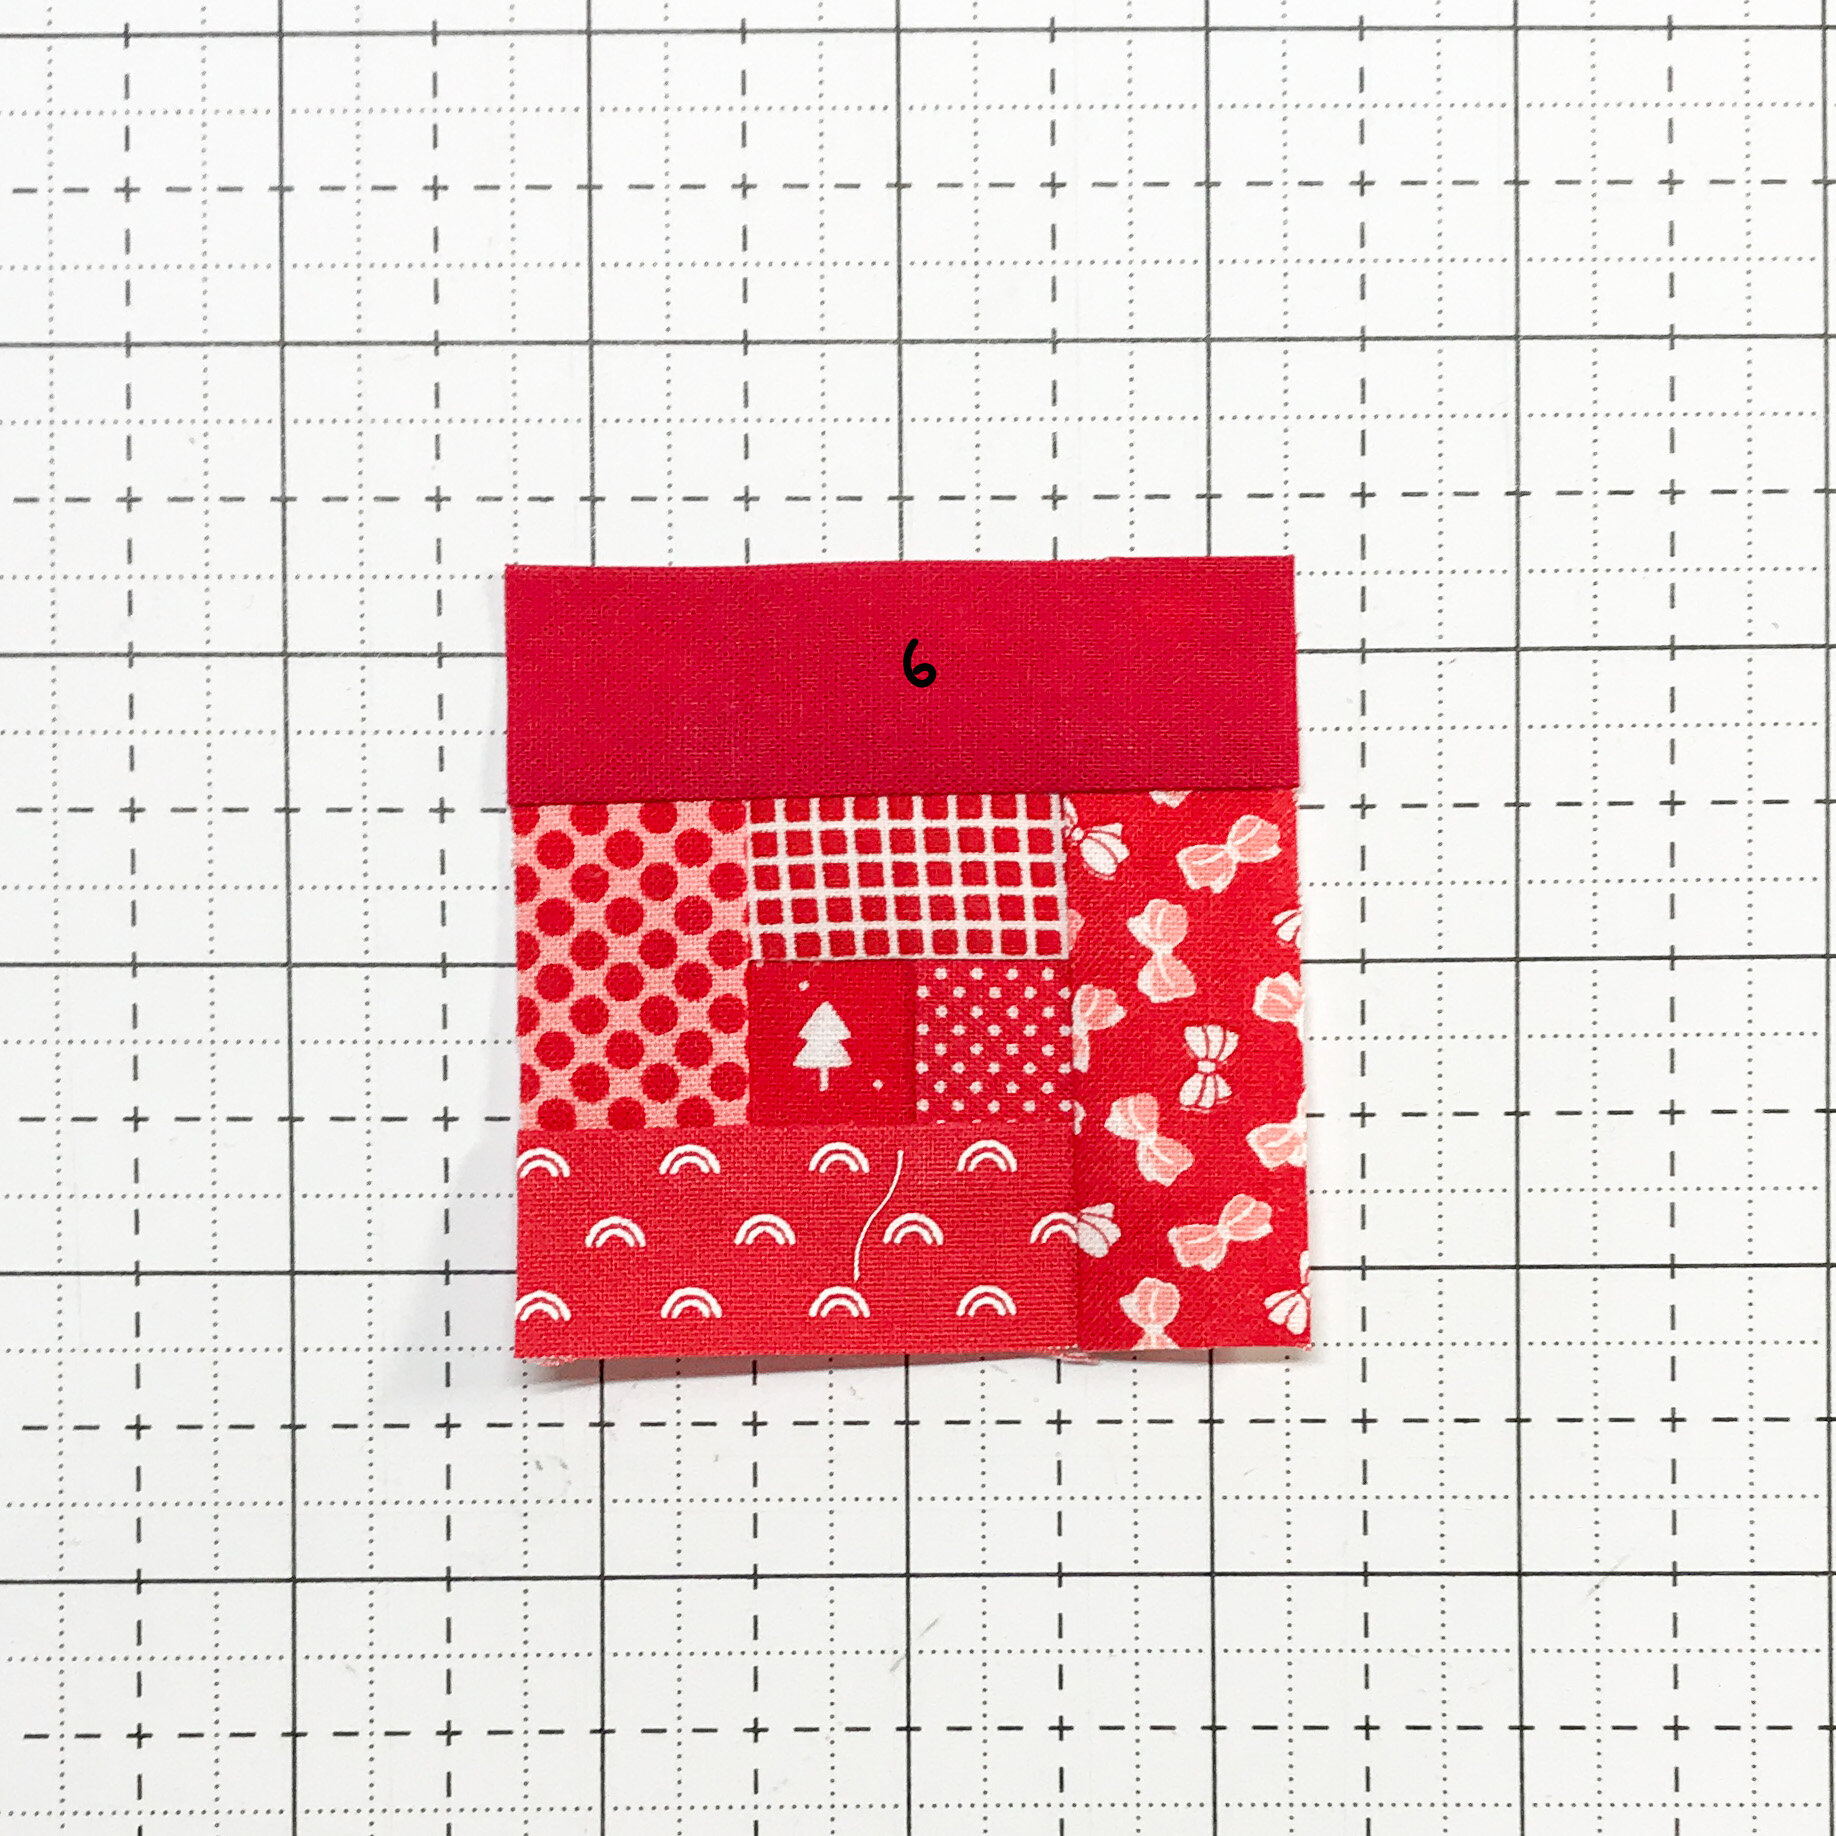
Keep adding your logs in the same direction. I make mine counterclockwise, but it doesn’t really matter, as long as you maintain the same direction throughout.
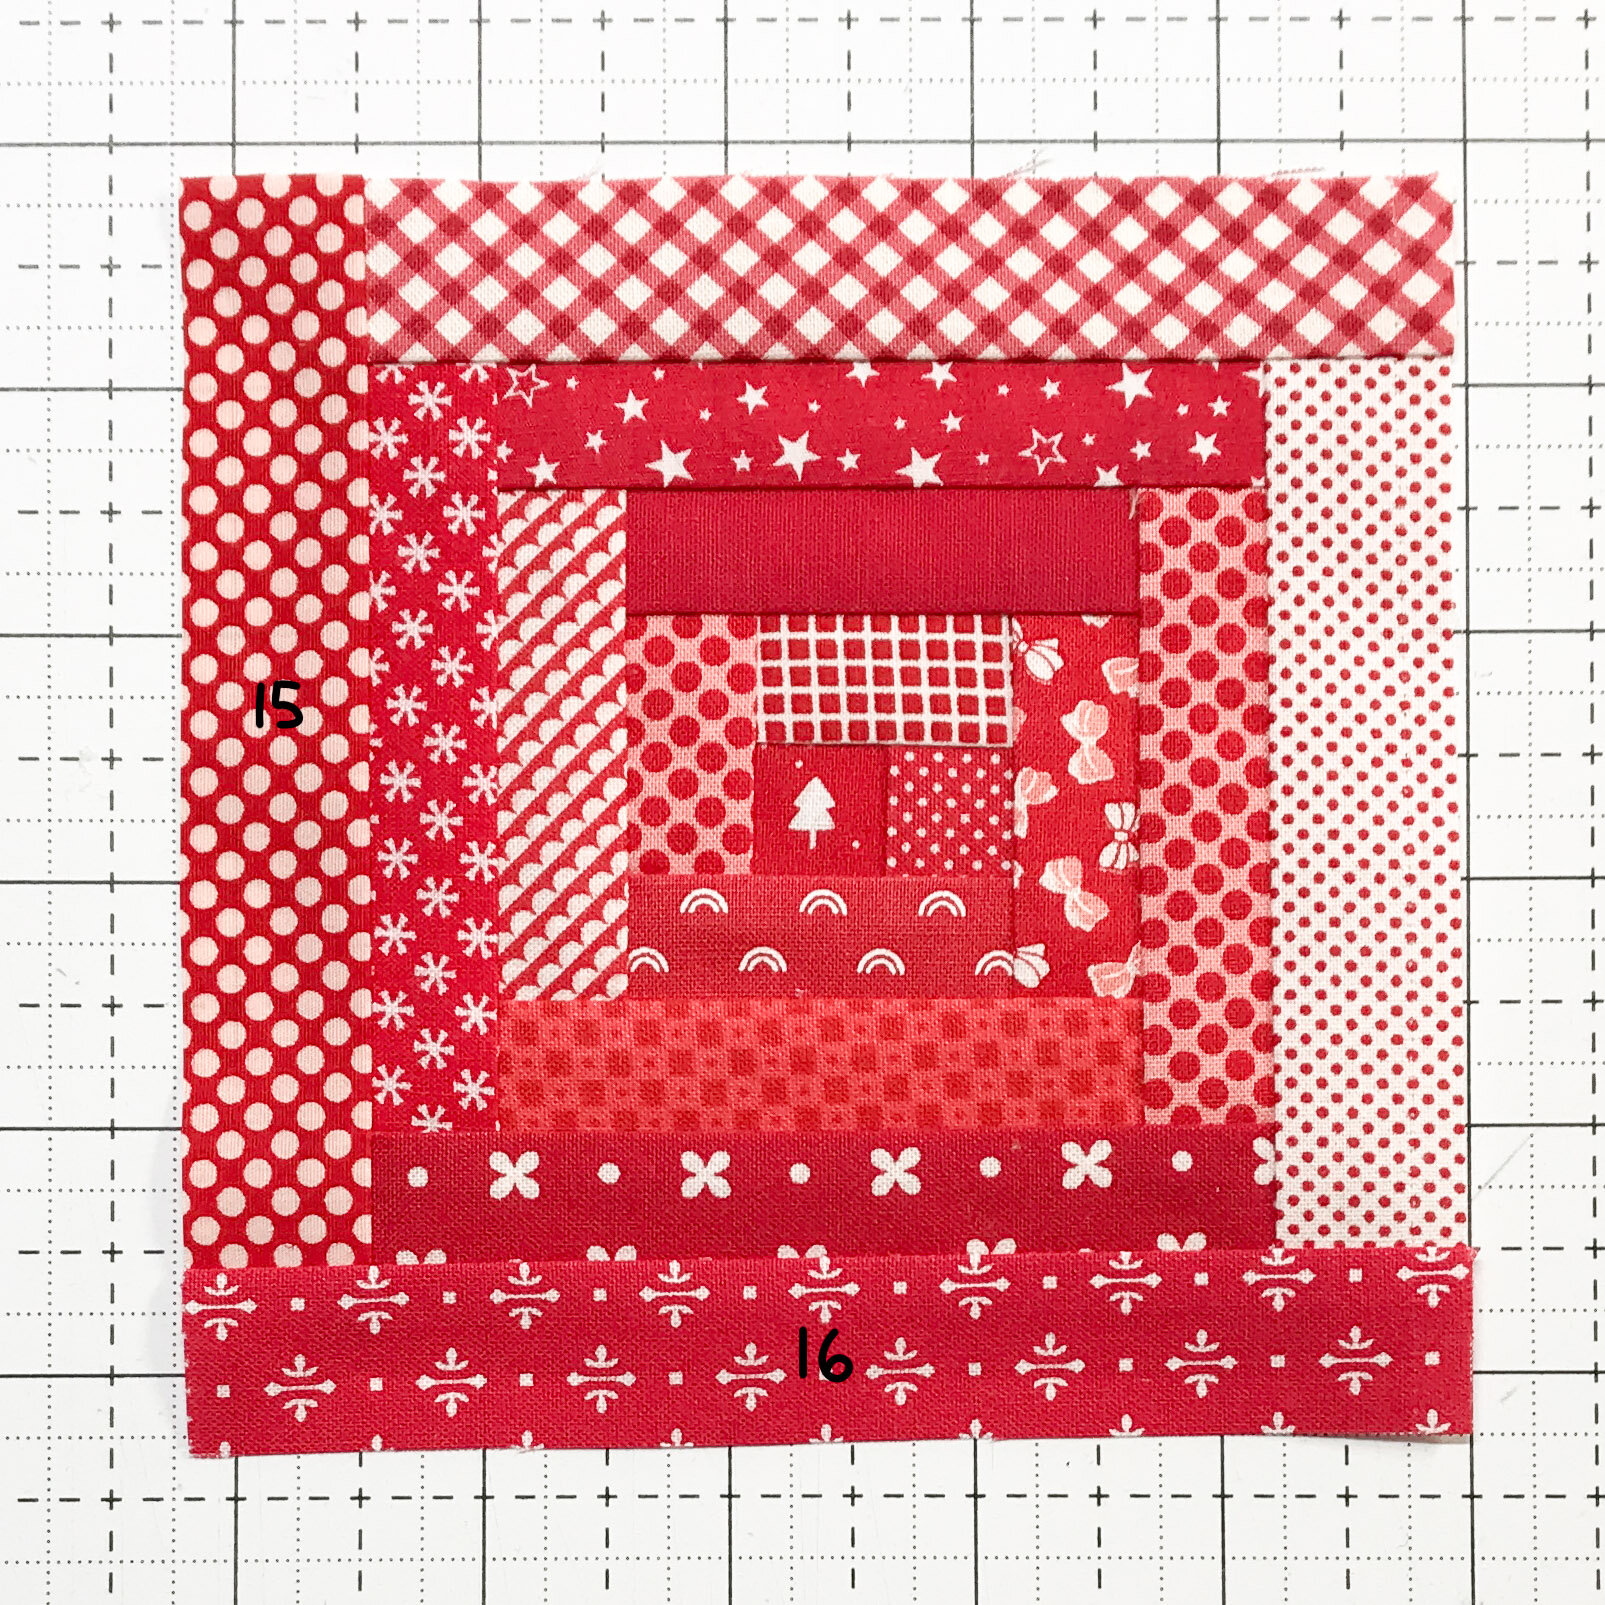
Sew, press away from the center, trim and repeat until you have 16 logs plus the center.
This is how the back looks when you are done.
Now measure your block. Mine ended up at 5-1/8”.
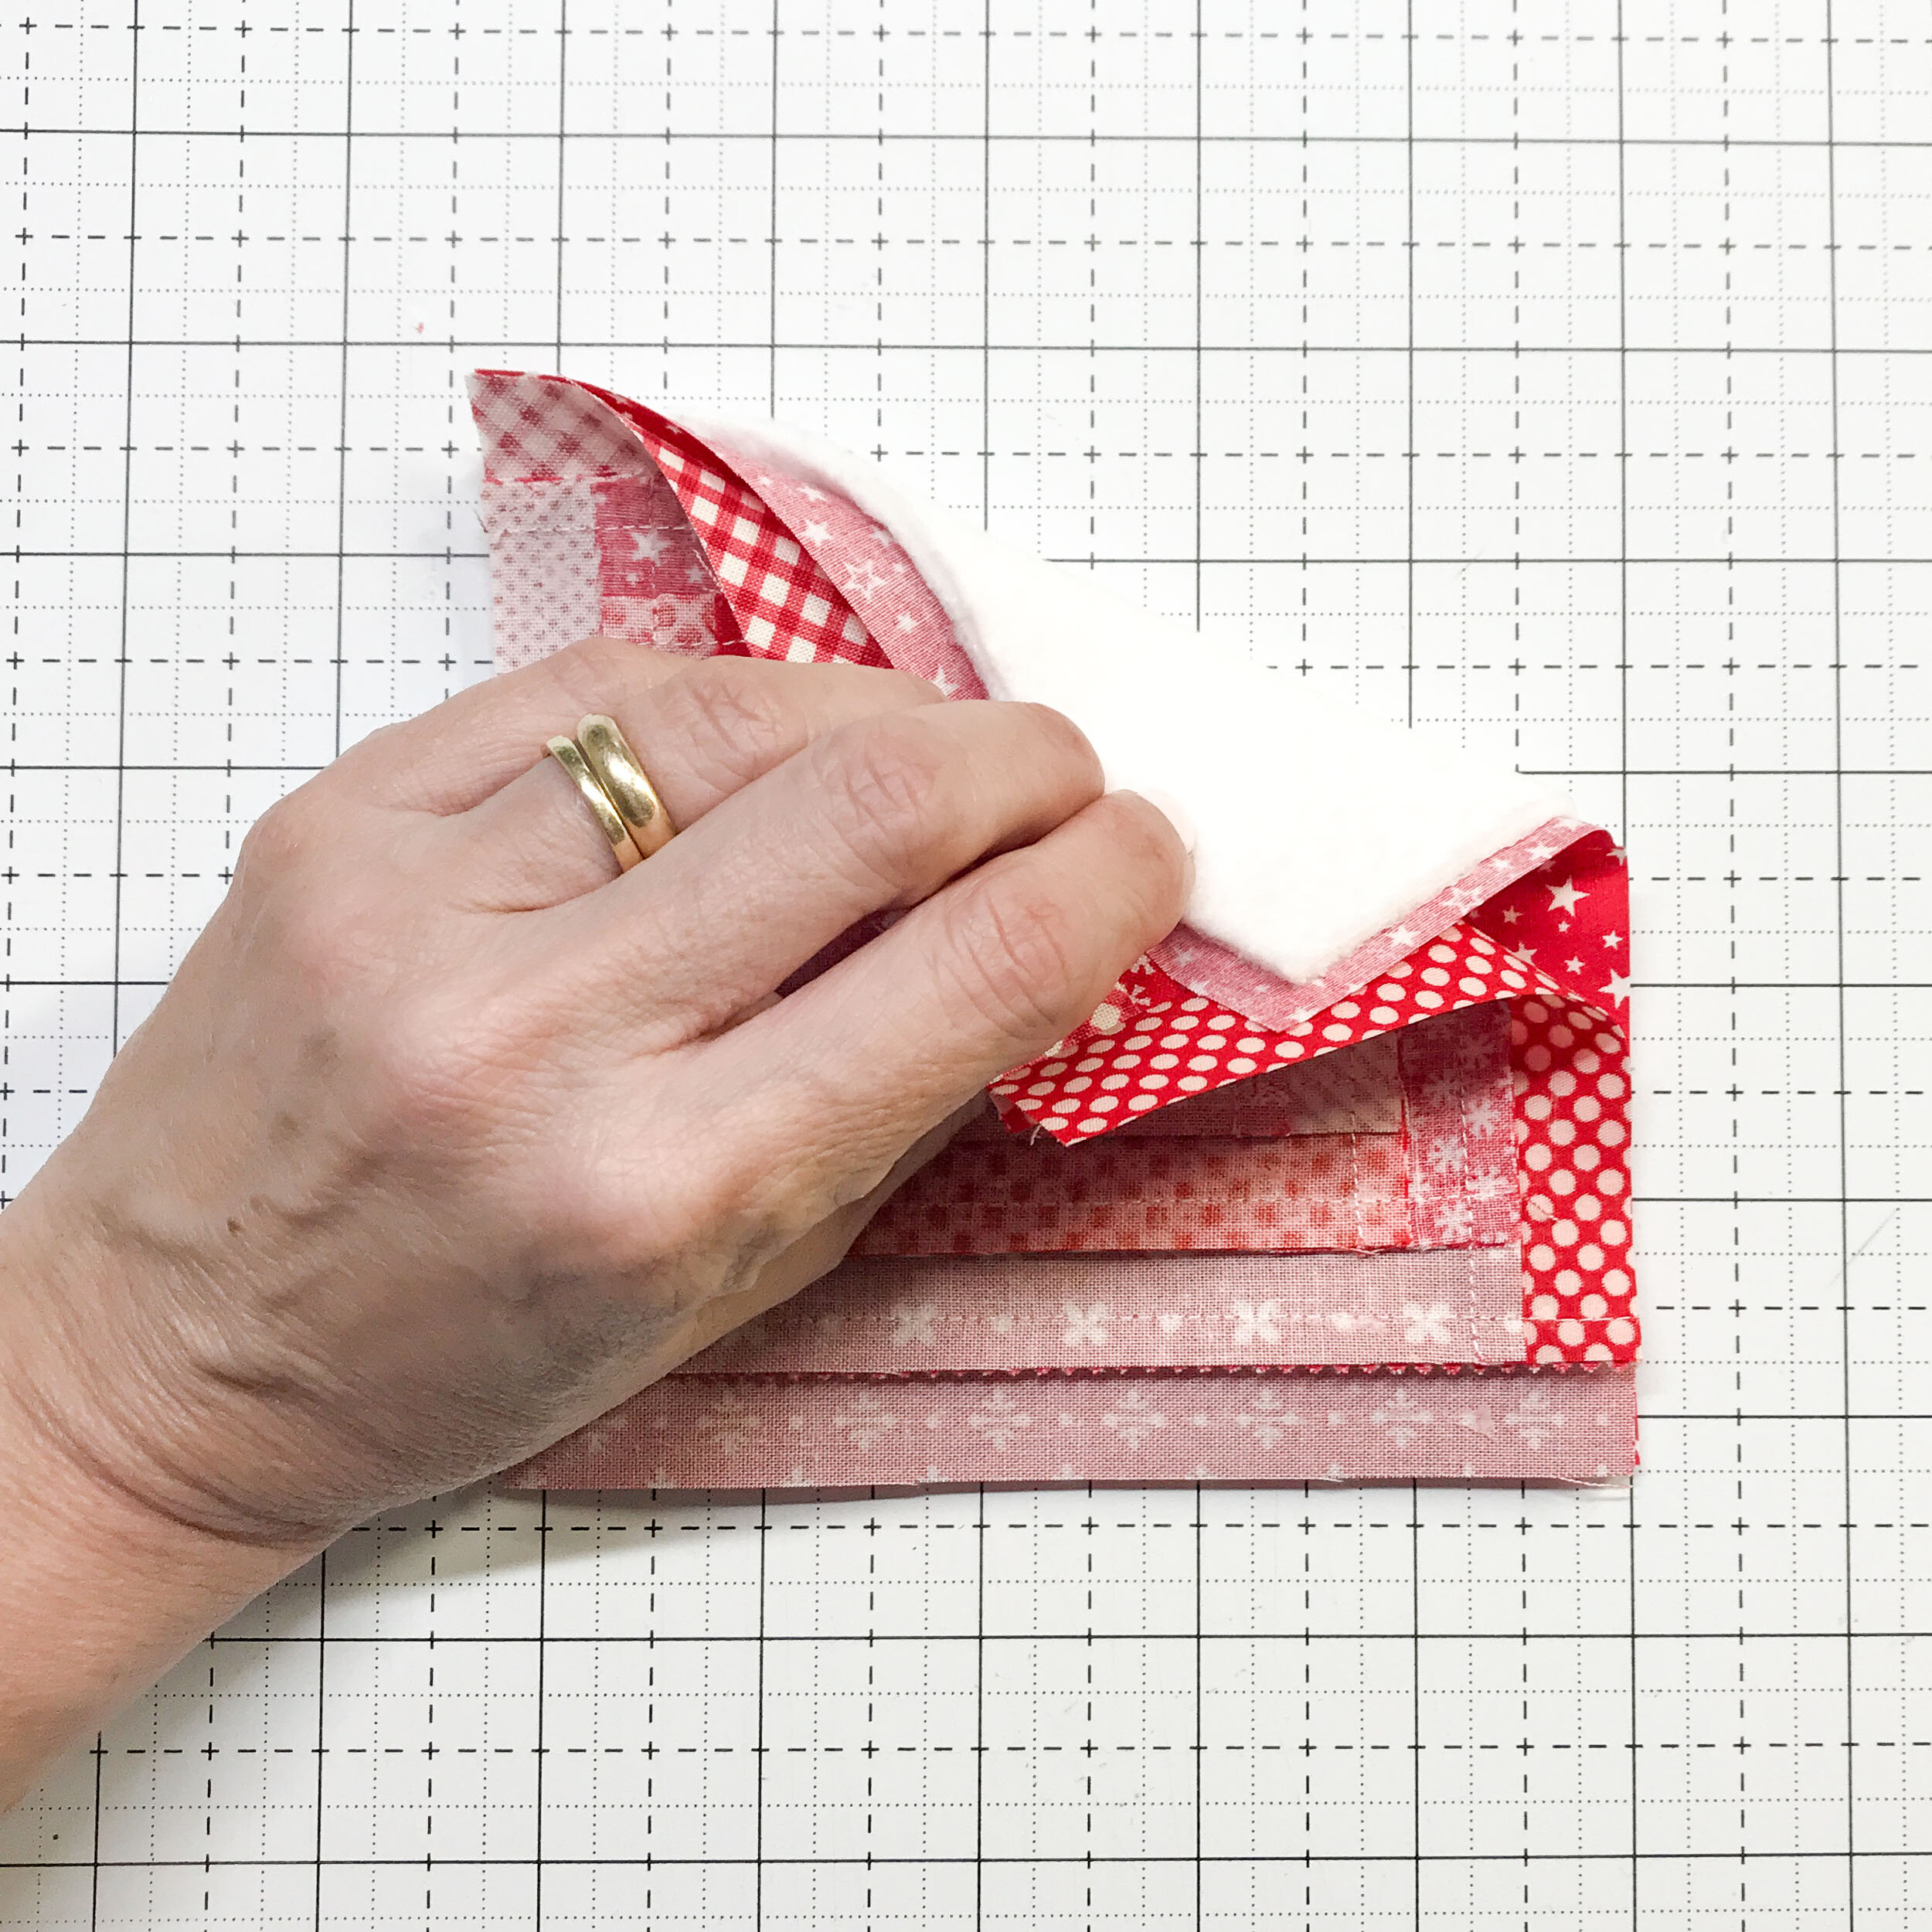
Trim the backing square to that same measurement. Then subtract 1/2” and trim the two pieces of batting to that measurement. This way you avoid the bulk on the seam allowance.
Center the batting with the backing square. I apply a dab of glue just to keep them in place.
Sew the top and the back with right sides together and using a 1/4” seam allowance. Leave a 2-1/2” opening for turning and backstitch at the beginning and at the end.
Trim the corners making sure you don’t cut your thread. Turn the coaster and push out the corners.
Fold the opening 1/4” and press firmly with your fingers and then give it a good press.
Top stitch around the block with a 1/8” seam allowance to close the opening and finish up the coaster.
Voila! You are all done!
