Rainbow Binding Tutorial
Note: this is a tutorial for making your own scrappy binding, it is not for how to bind a quilt. If that’s what you need, there are a lot of them around, just google it and you’ll find them (then come back and use this tutorial to make it a scrappy rainbow!)

For all of you struggling to decide which color fabric to use for you binding, let me add one more option: all of the above. ;)
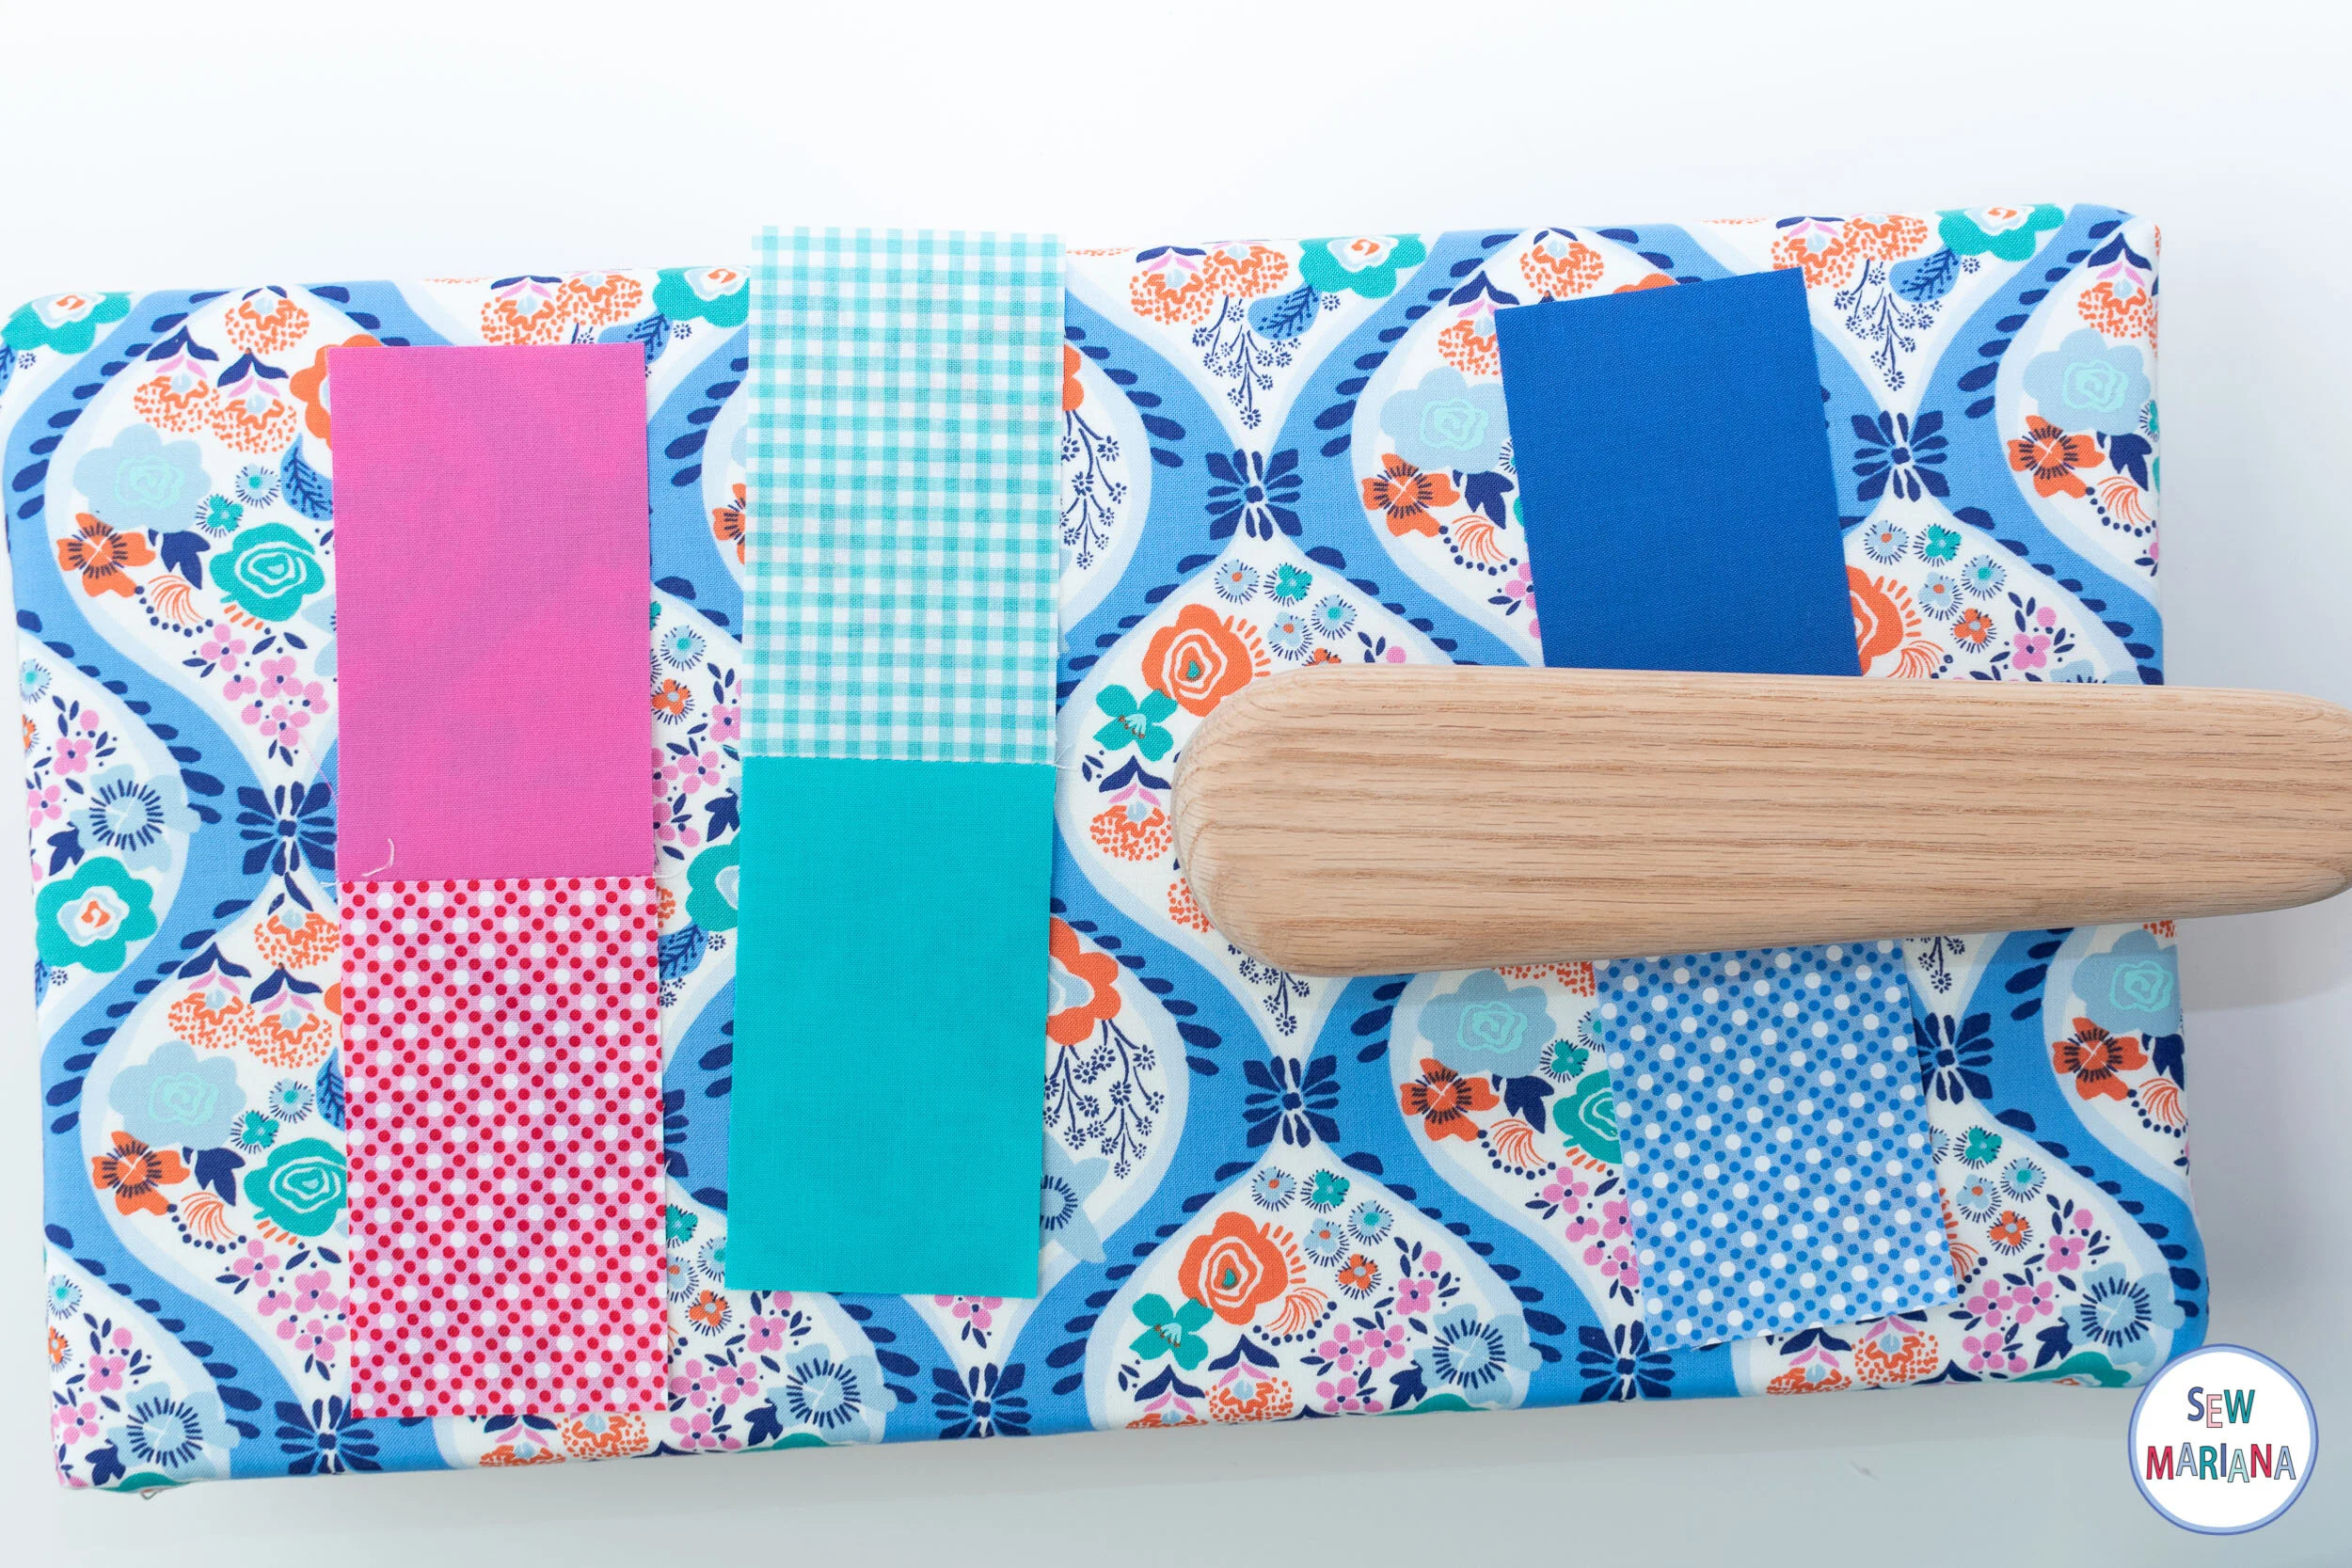
For this binding I used a mix of solids and prints in rainbow colors. I dug out my scrap bins and even cut some fat quarters, (don’t ever be afraid of using your stash!), ending up with a great variety of colors and small prints.
First, you need to find out how long your binding needs to be. Measure the width and length of the quilt, add them and multiply by two. Then add about 8” more to the total length of the binding so you have some wiggle room. Since we’re joining the strips with a straight seam, we don’t need that much extra fabric. (Don’t worry, we’re keeping the seam allowance in mind when cutting the scrap pieces).

For example: my quilt is 36” wide by 40” long. In this case:

So I know the total length of my binding needs to be 160” long.

Next, you need to figure out how many binding pieces you are going to need.

I wanted each finished binding piece to be 4 inches long, so I divided the length of my binding by 4 and it gave me the number of color strips I’d need: 40

Then I added the seam allowance and cut my scraps 2.5” wide by 4.5” long. I also cut a few extras because I couldn’t decide which ones to leave out!
TIP: I always starch my fabric before starting a project, but this is personal preference. Either way, press all your fabrics really well.

I didn’t want to repeat any solid or print, and since this was a small quilt, I was able to find enough variety in my stash. For a bigger quilt, I’d probably repeat the colors and prints while keeping the same order.
Organize your prints and solids in the order you want and start sewing them in pairs, short ends together. I chain-pieced and it went really fast.

Press the seams open for less bulk when attaching the binding to the quilt. I used a tailor’s clapper after ironing each seam, it really helps making those seams really flat.

Keep sewing the pairs into groups of four and so on, until you have the length you need.

Now press your binding strip in half lengthwise, wrong sides together.

And voilà! You’re ready to sew your binding onto your quilt!

I always make a roll to make it easy to attach later.

If you want to take a look at how mine looks now that I’ve attached it to my quilt, you can find it here!
Happy quilting!


