Fabric Memory Game Tutorial
Since our new normal seems to be the only normal we’ll be getting for a while, I took a break from making big bed size quilts and wanted a smaller project that I could make in one sitting (it’s nice to feel accomplished). This cute memory game is the result, perfect for slow quarantine days.
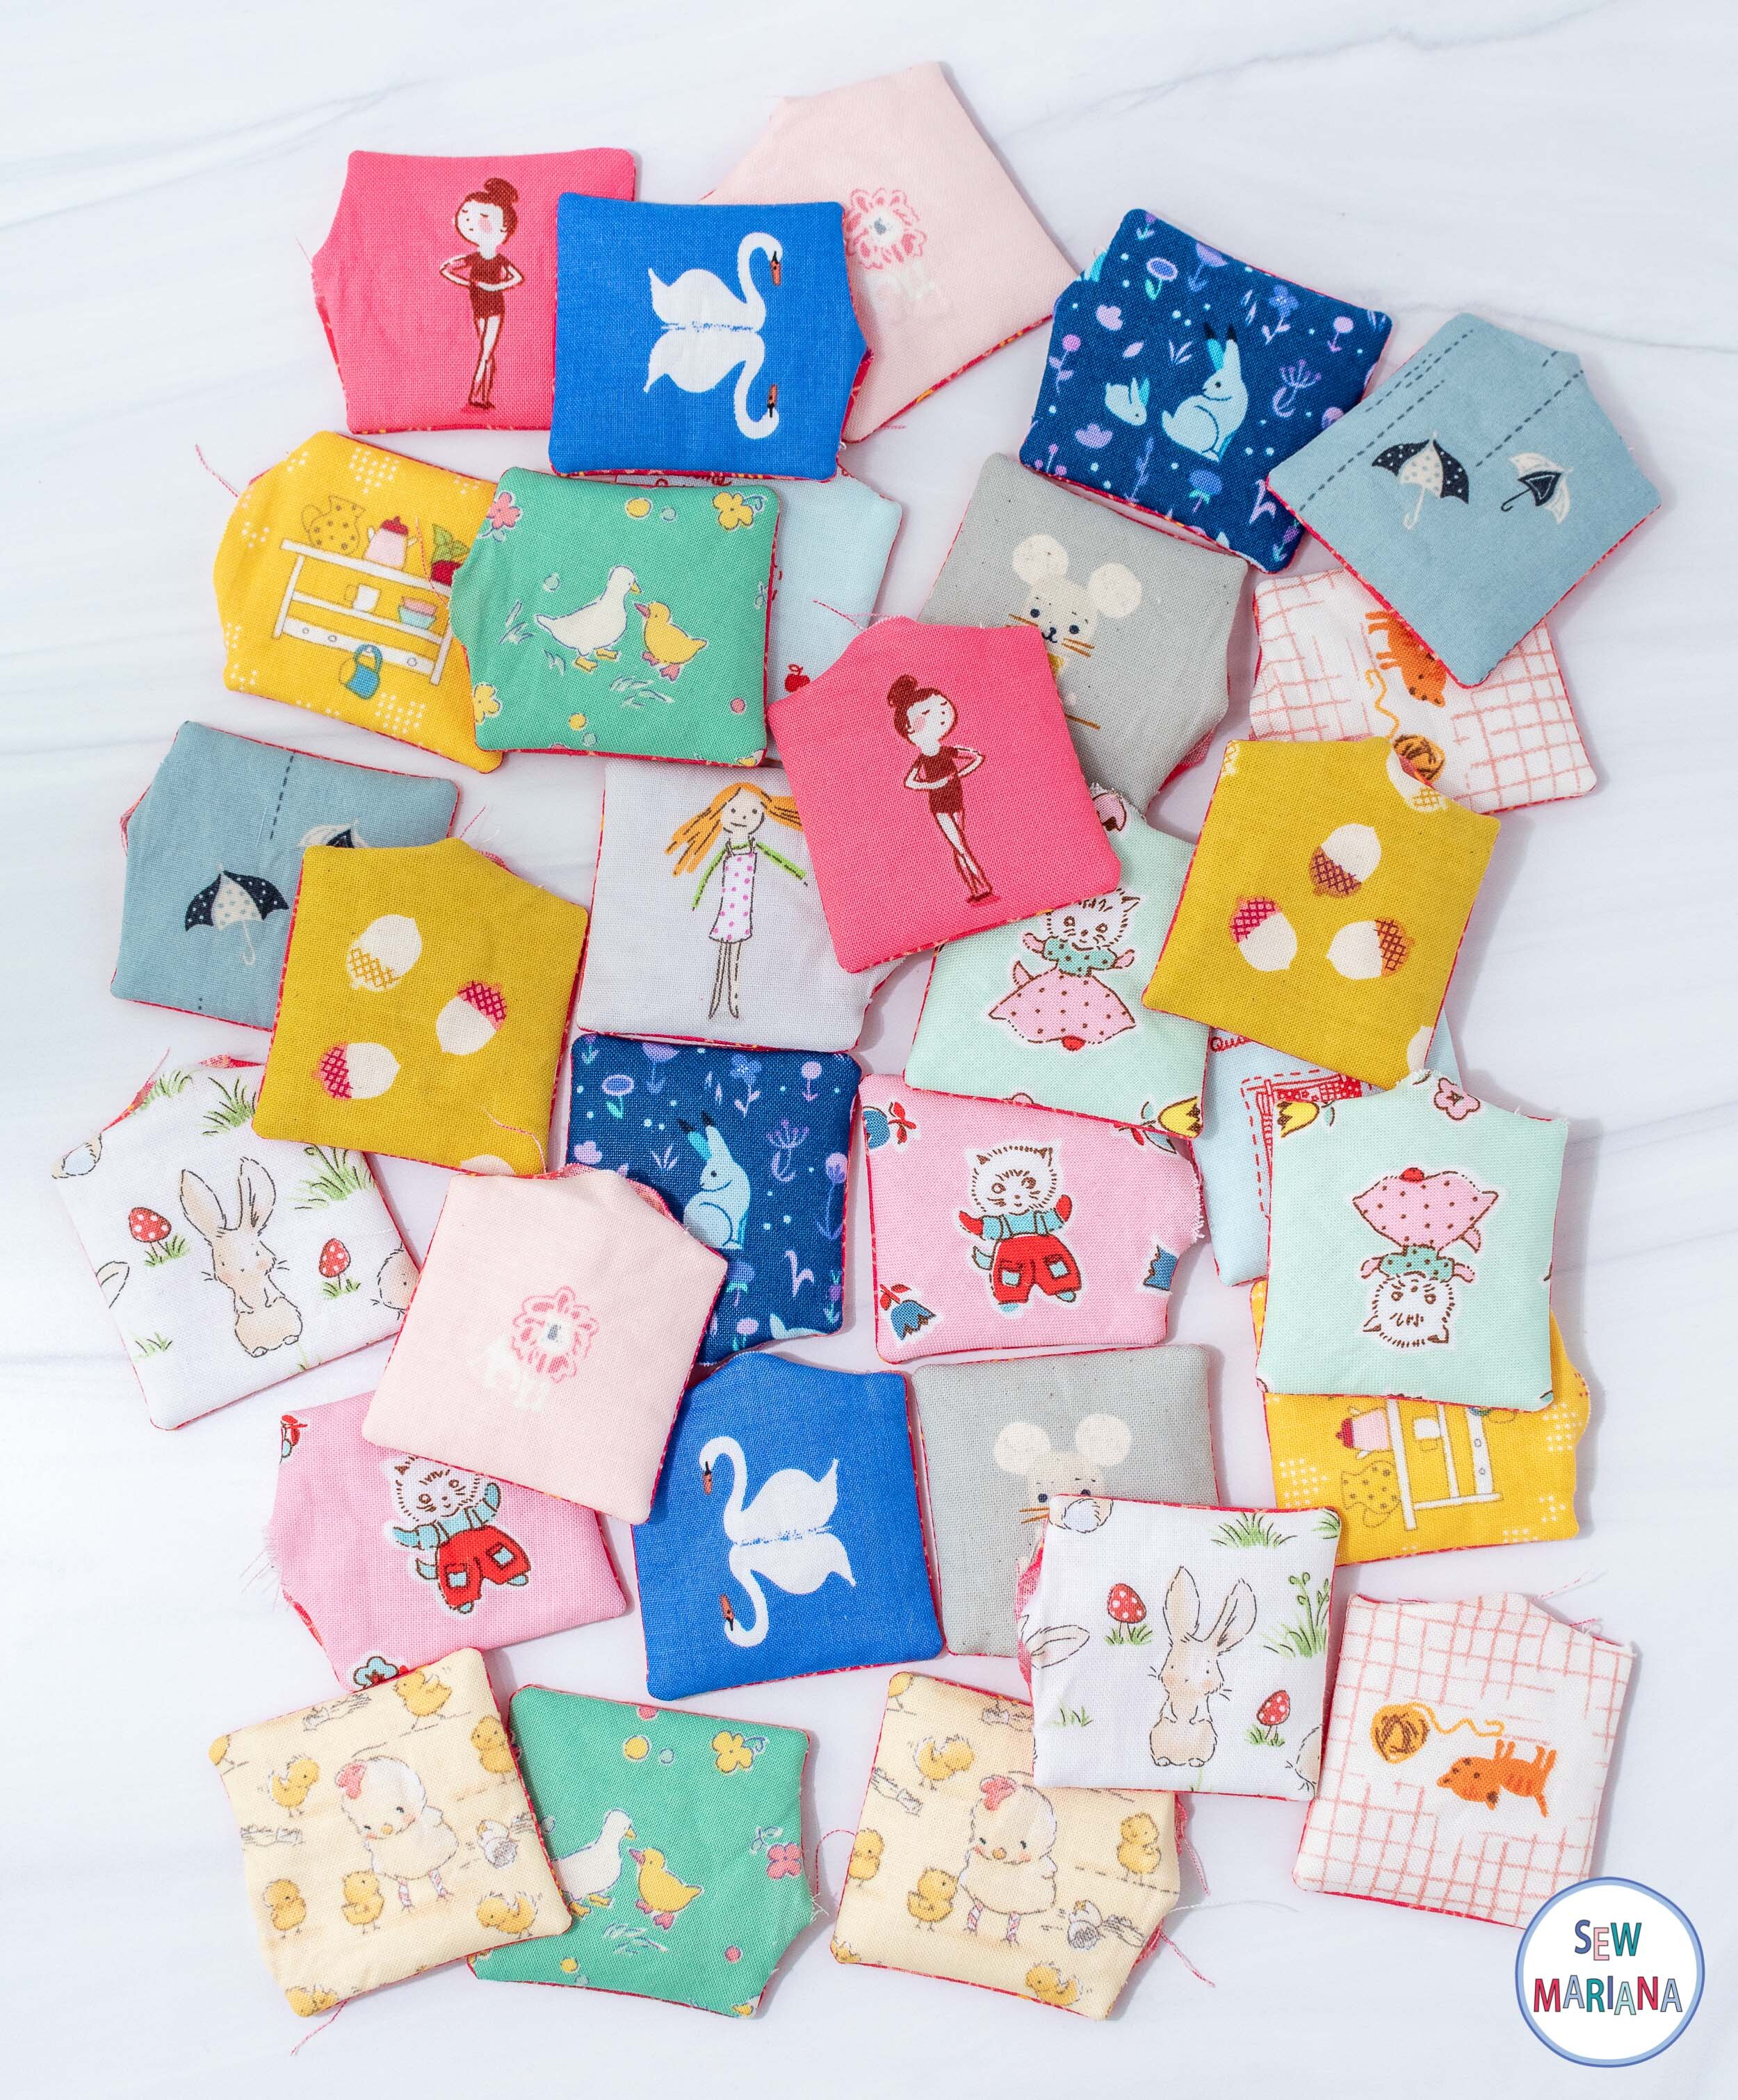
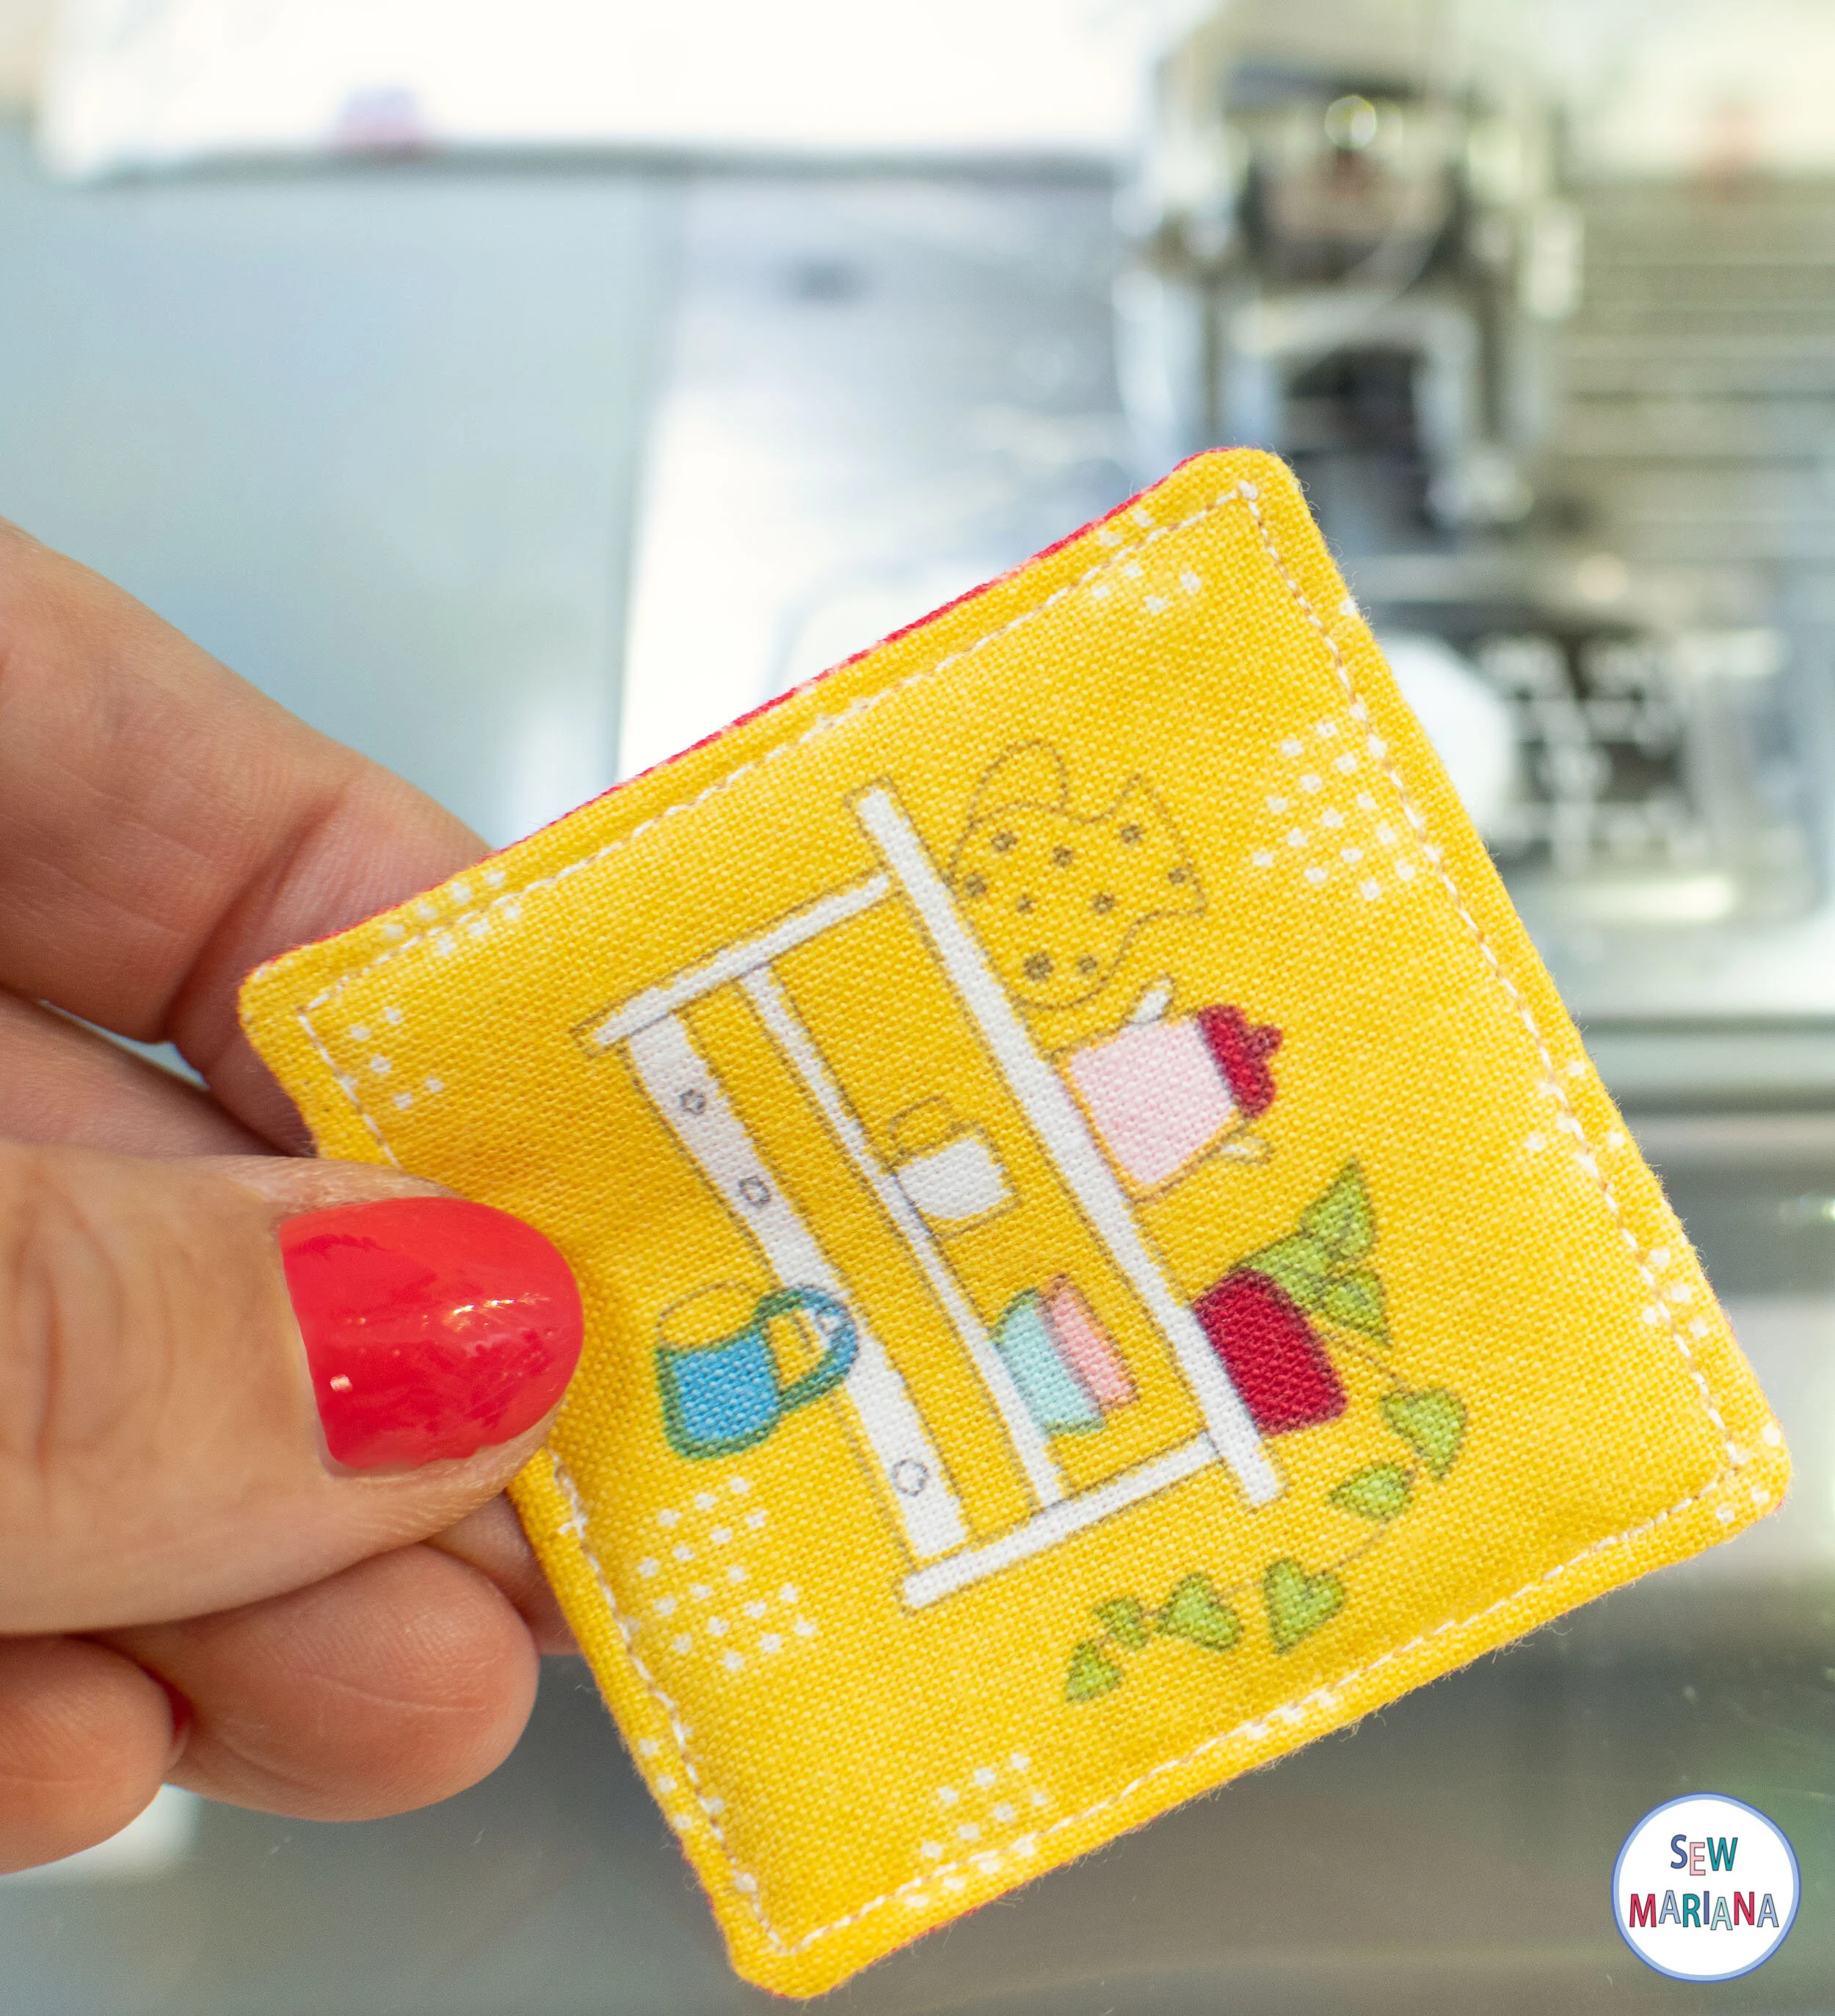
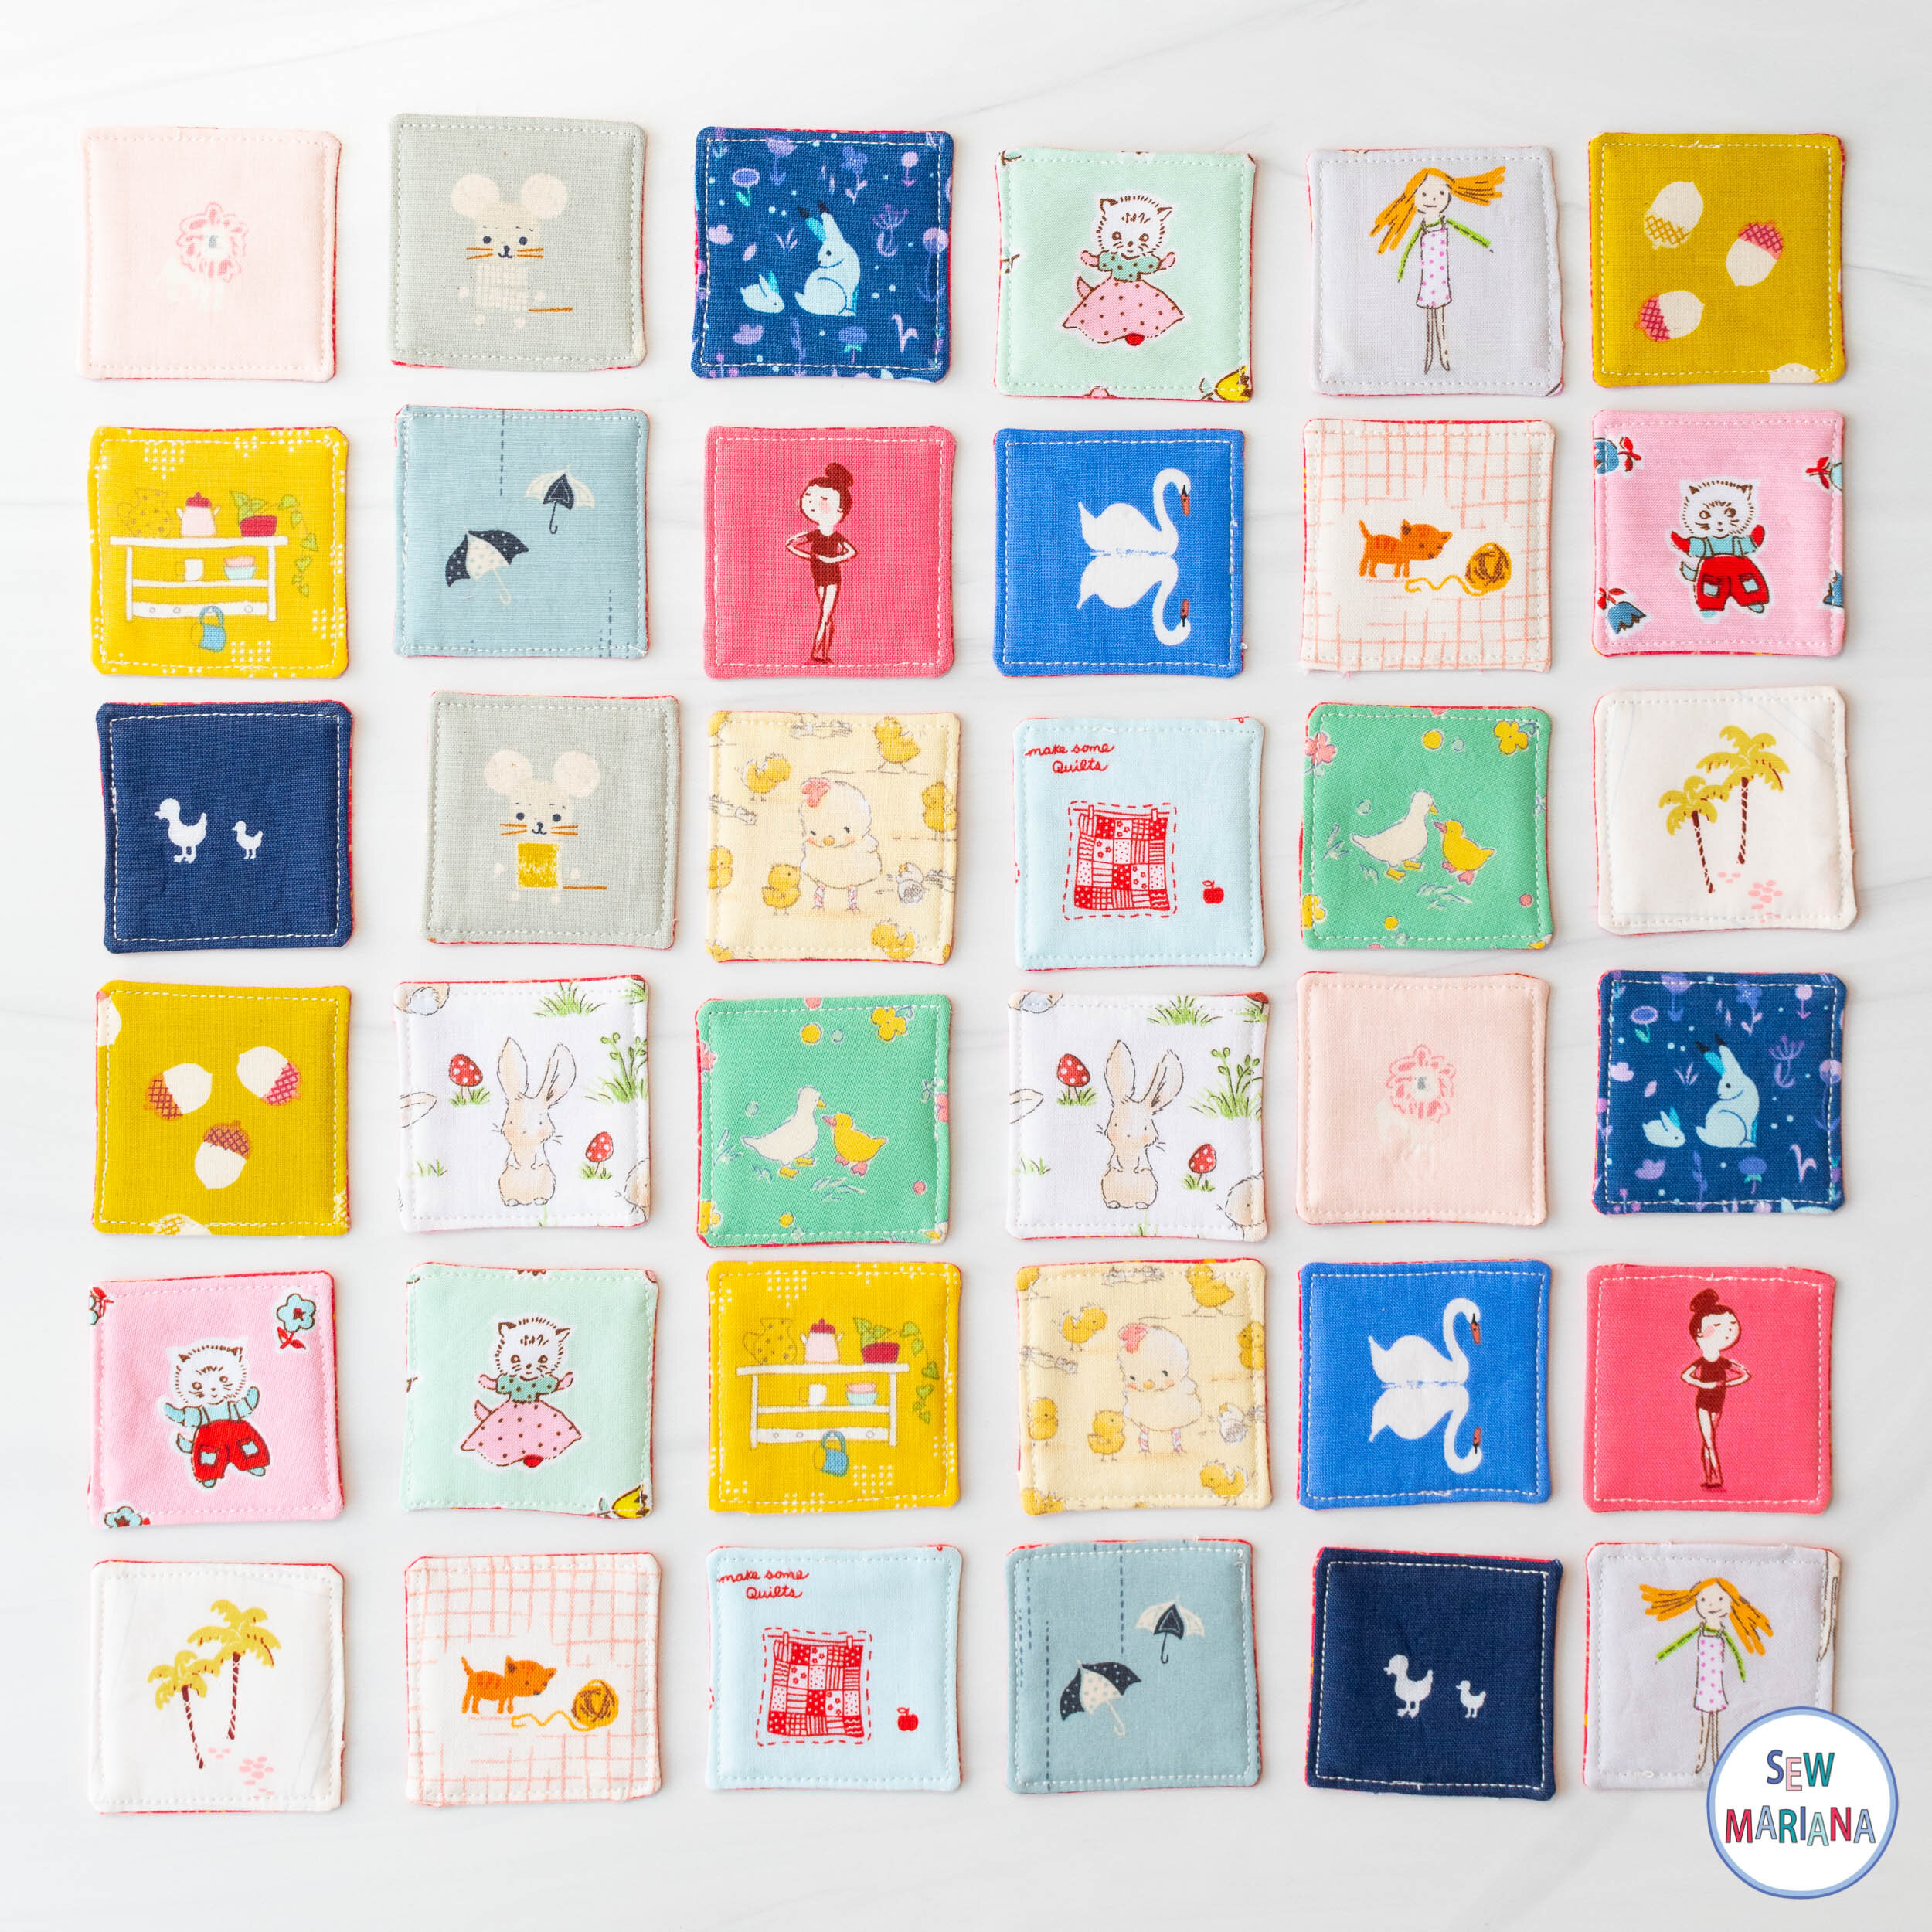
I had a great time making fussy cuts of small details in fabrics that I love, but you could make them with just any different prints, or customize them however you like: cutesy, modern, boyish, or even making the back your kid’s favorite color.
Now, you might be thinking: “Hey, isn’t it about 100 times easier to just order one of these on Amazon?”
Yes, of course it is.
...but this is way more fun so I made one anyway! And just for you, I took pictures along the way. Now go and make your own (or several!) and don’t you dare let the kids win. ;)
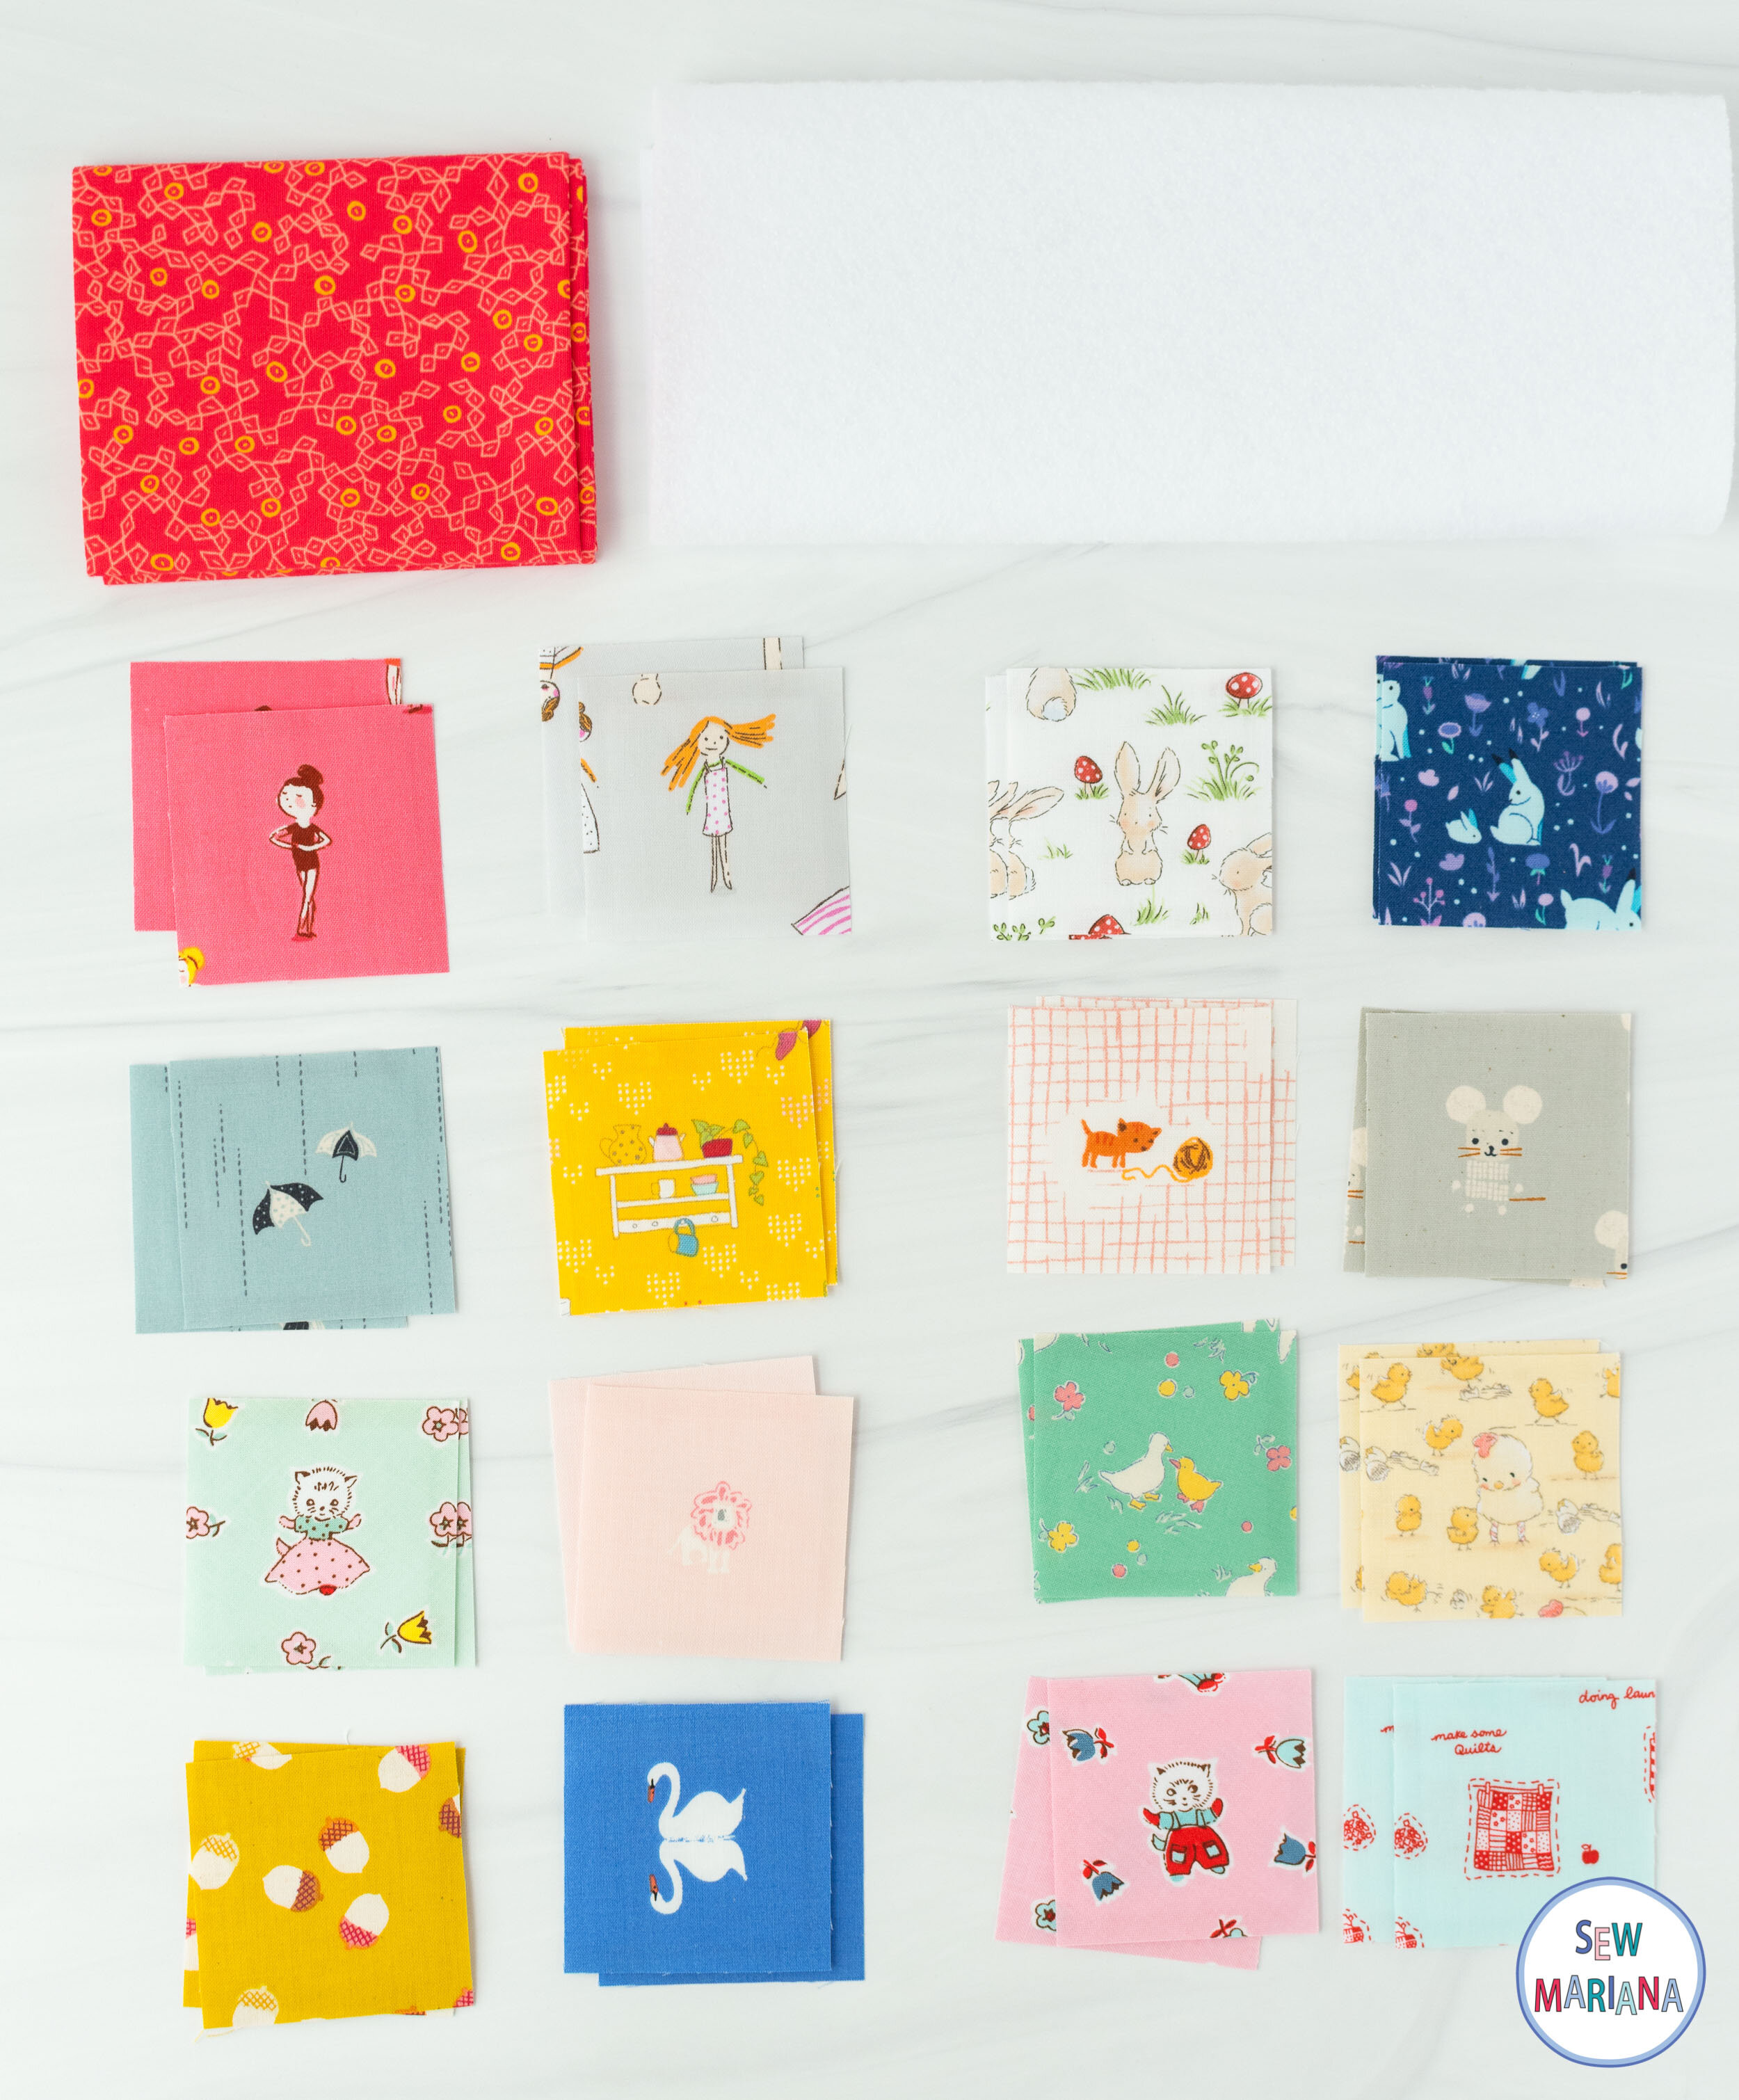
Here’s what you’ll need:
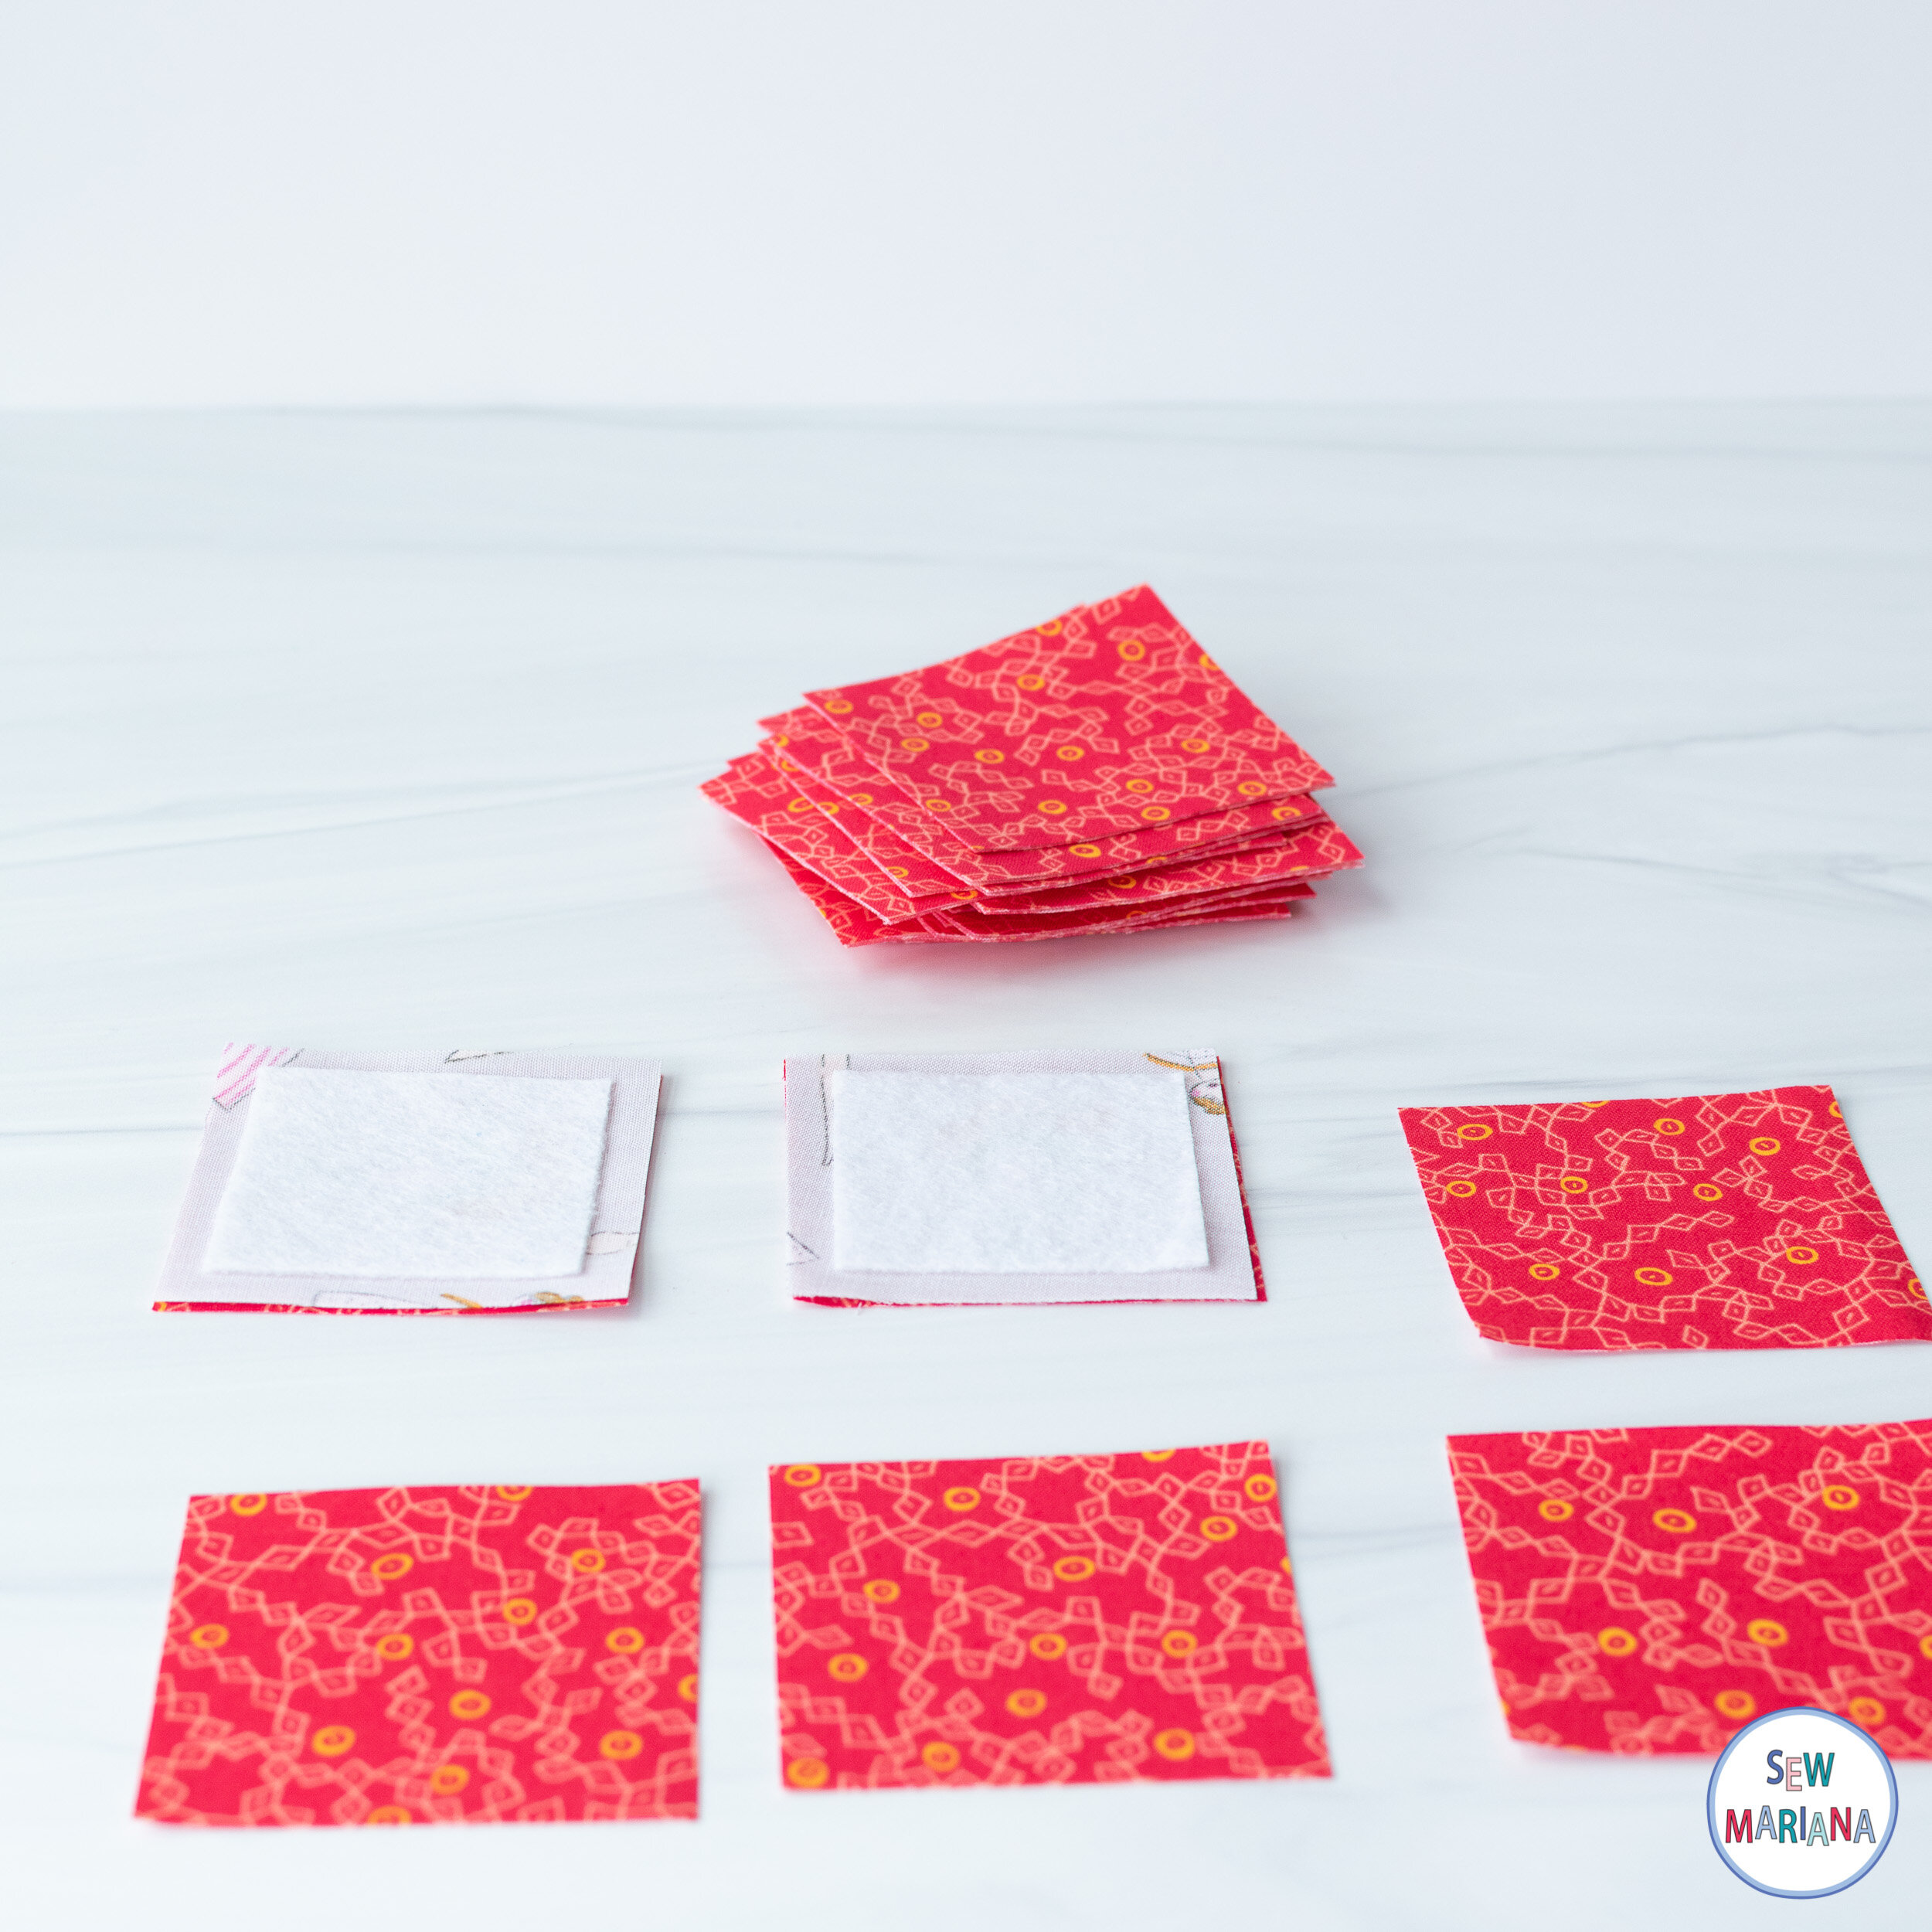
18 pairs of 2 ½” x 2 ½” fabric squares (36 squares total).
1 fat eighth of fusible fleece or batting (Cut 36 squares 2” x 2” each).
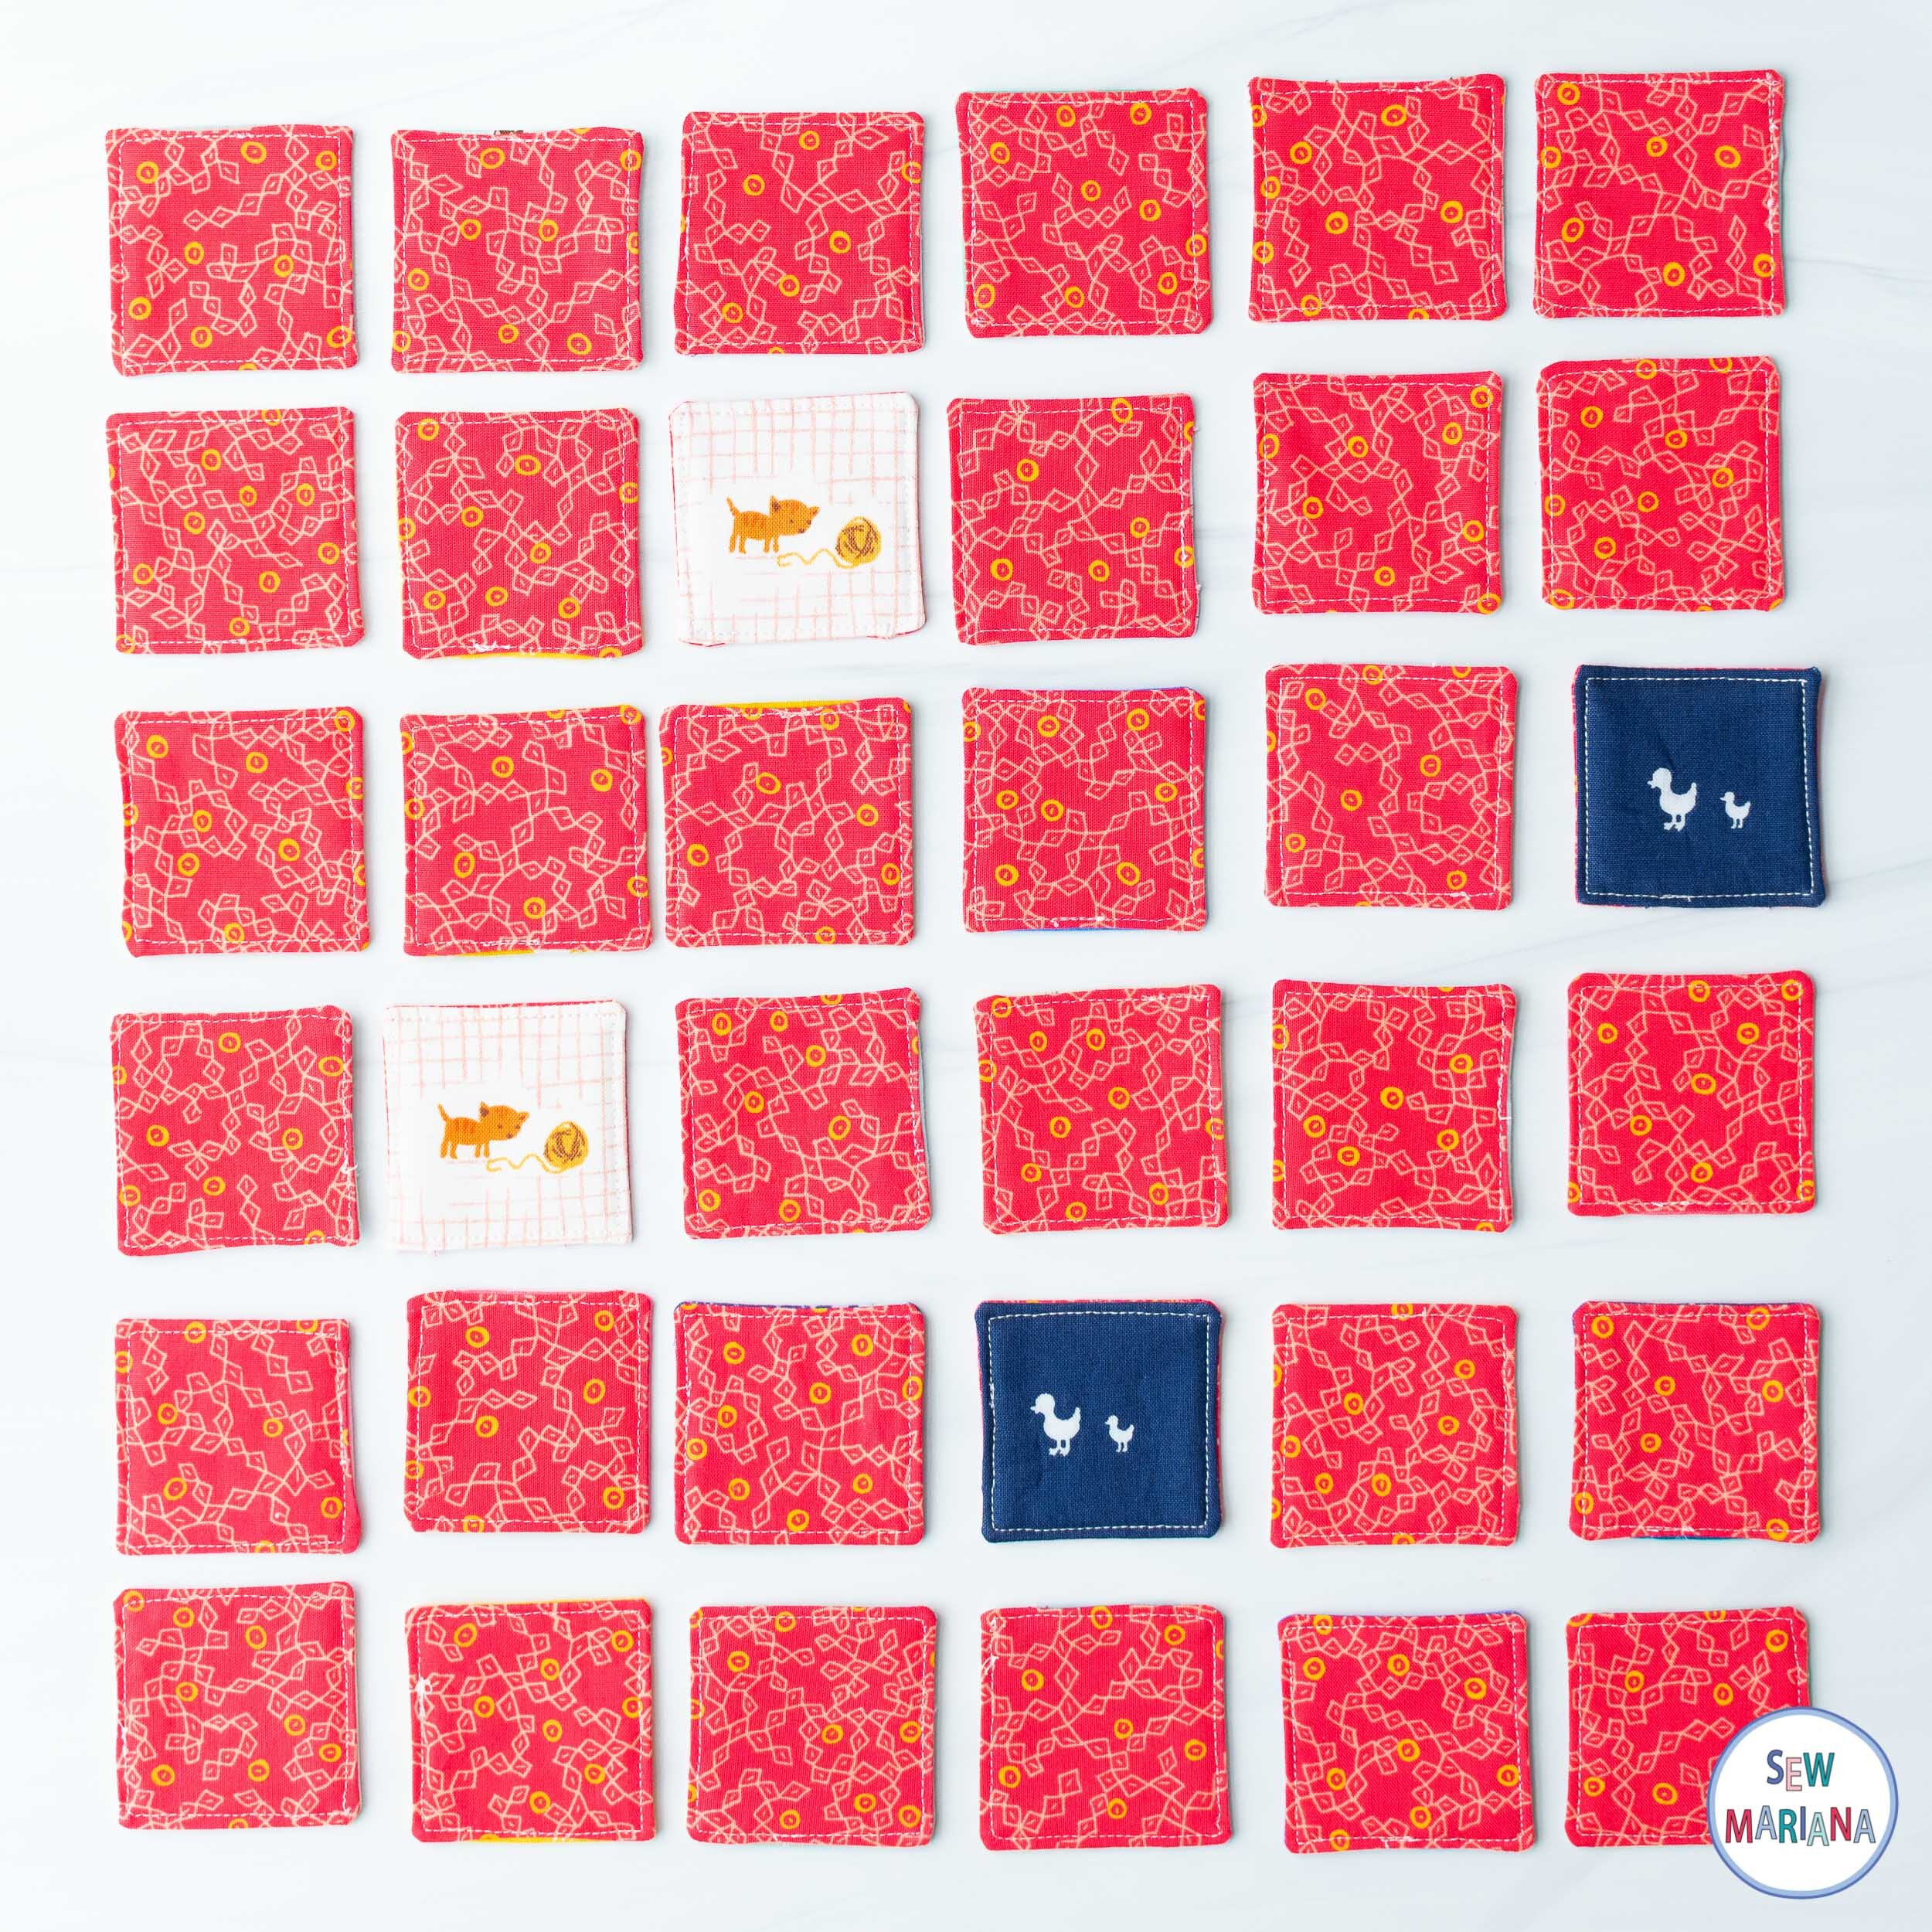
1 fat quarter for backing (Cut 36 squares, 2 ½” x 2 ½” each).
A small ruler (if you have one of those mini squares, wonderful, if not, any ruler will do).

Here’s what to do:
First, you’ll want to iron the fusible fleece on the wrong side of each front fabric square (Follow the manufacturer’s directions and stick the fleece squares to the back of your front fabric squares).

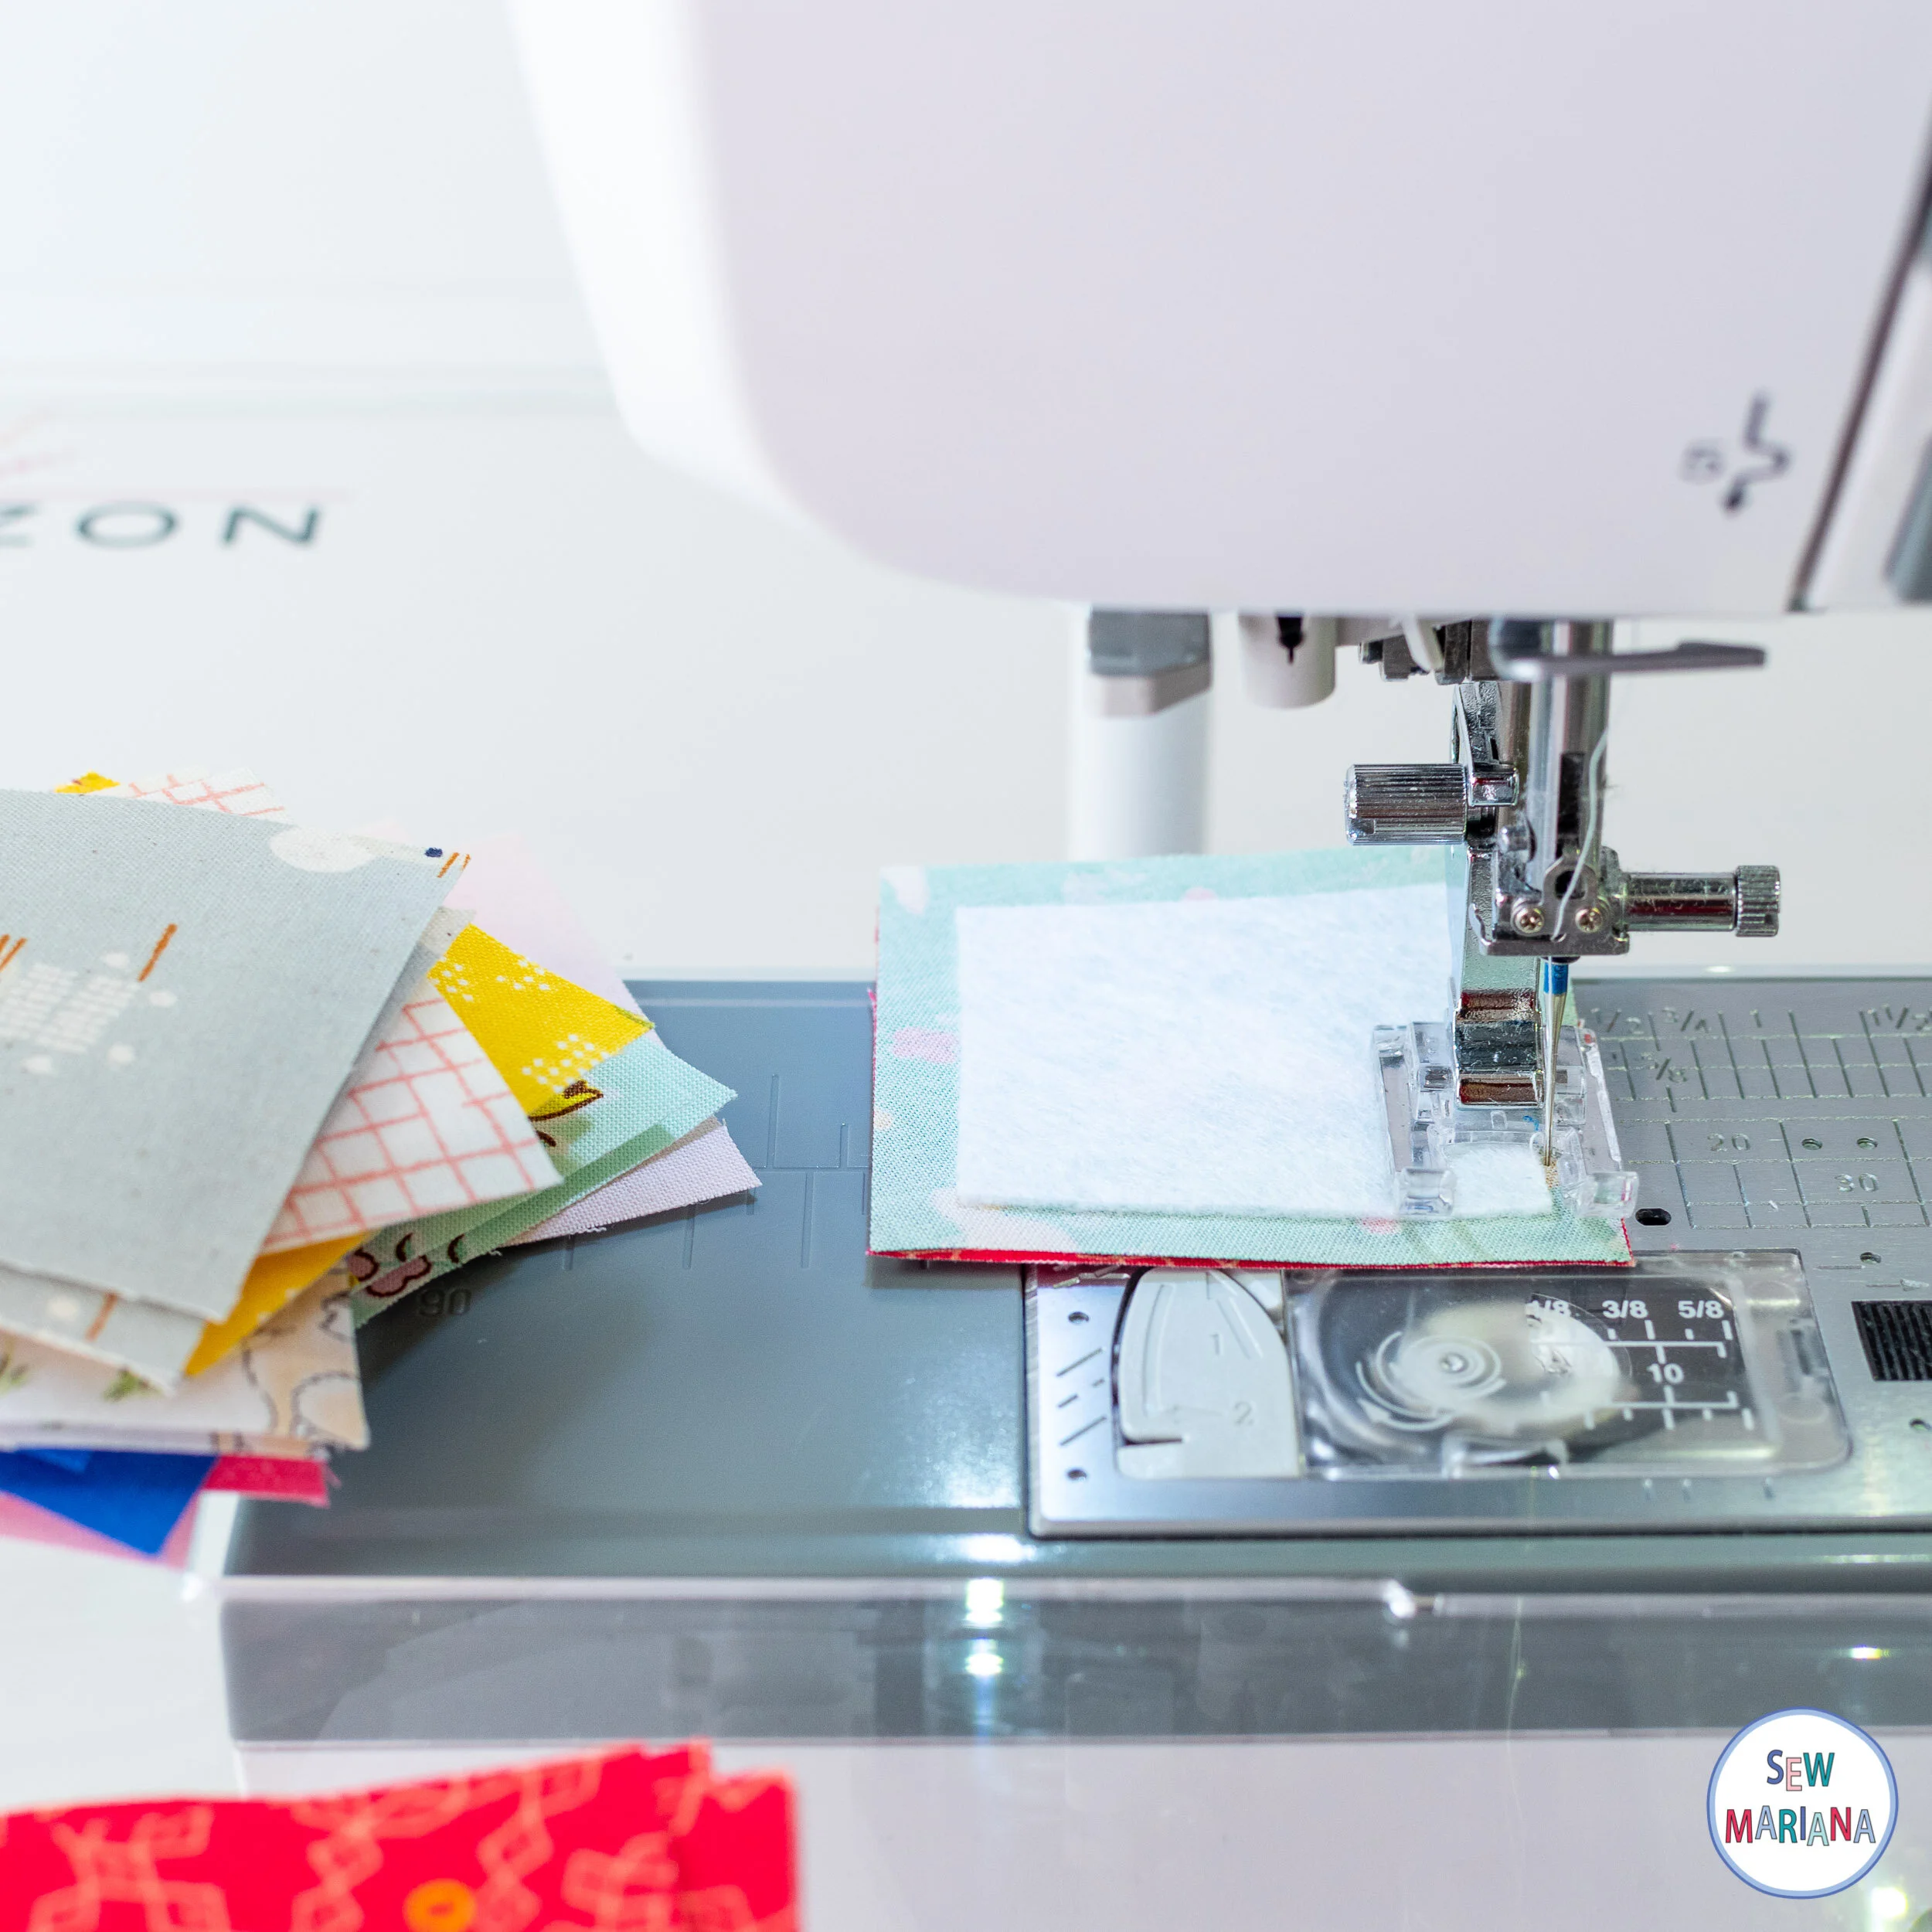
Keeping right sides together, align each backing square with a square of front fabric in pairs.

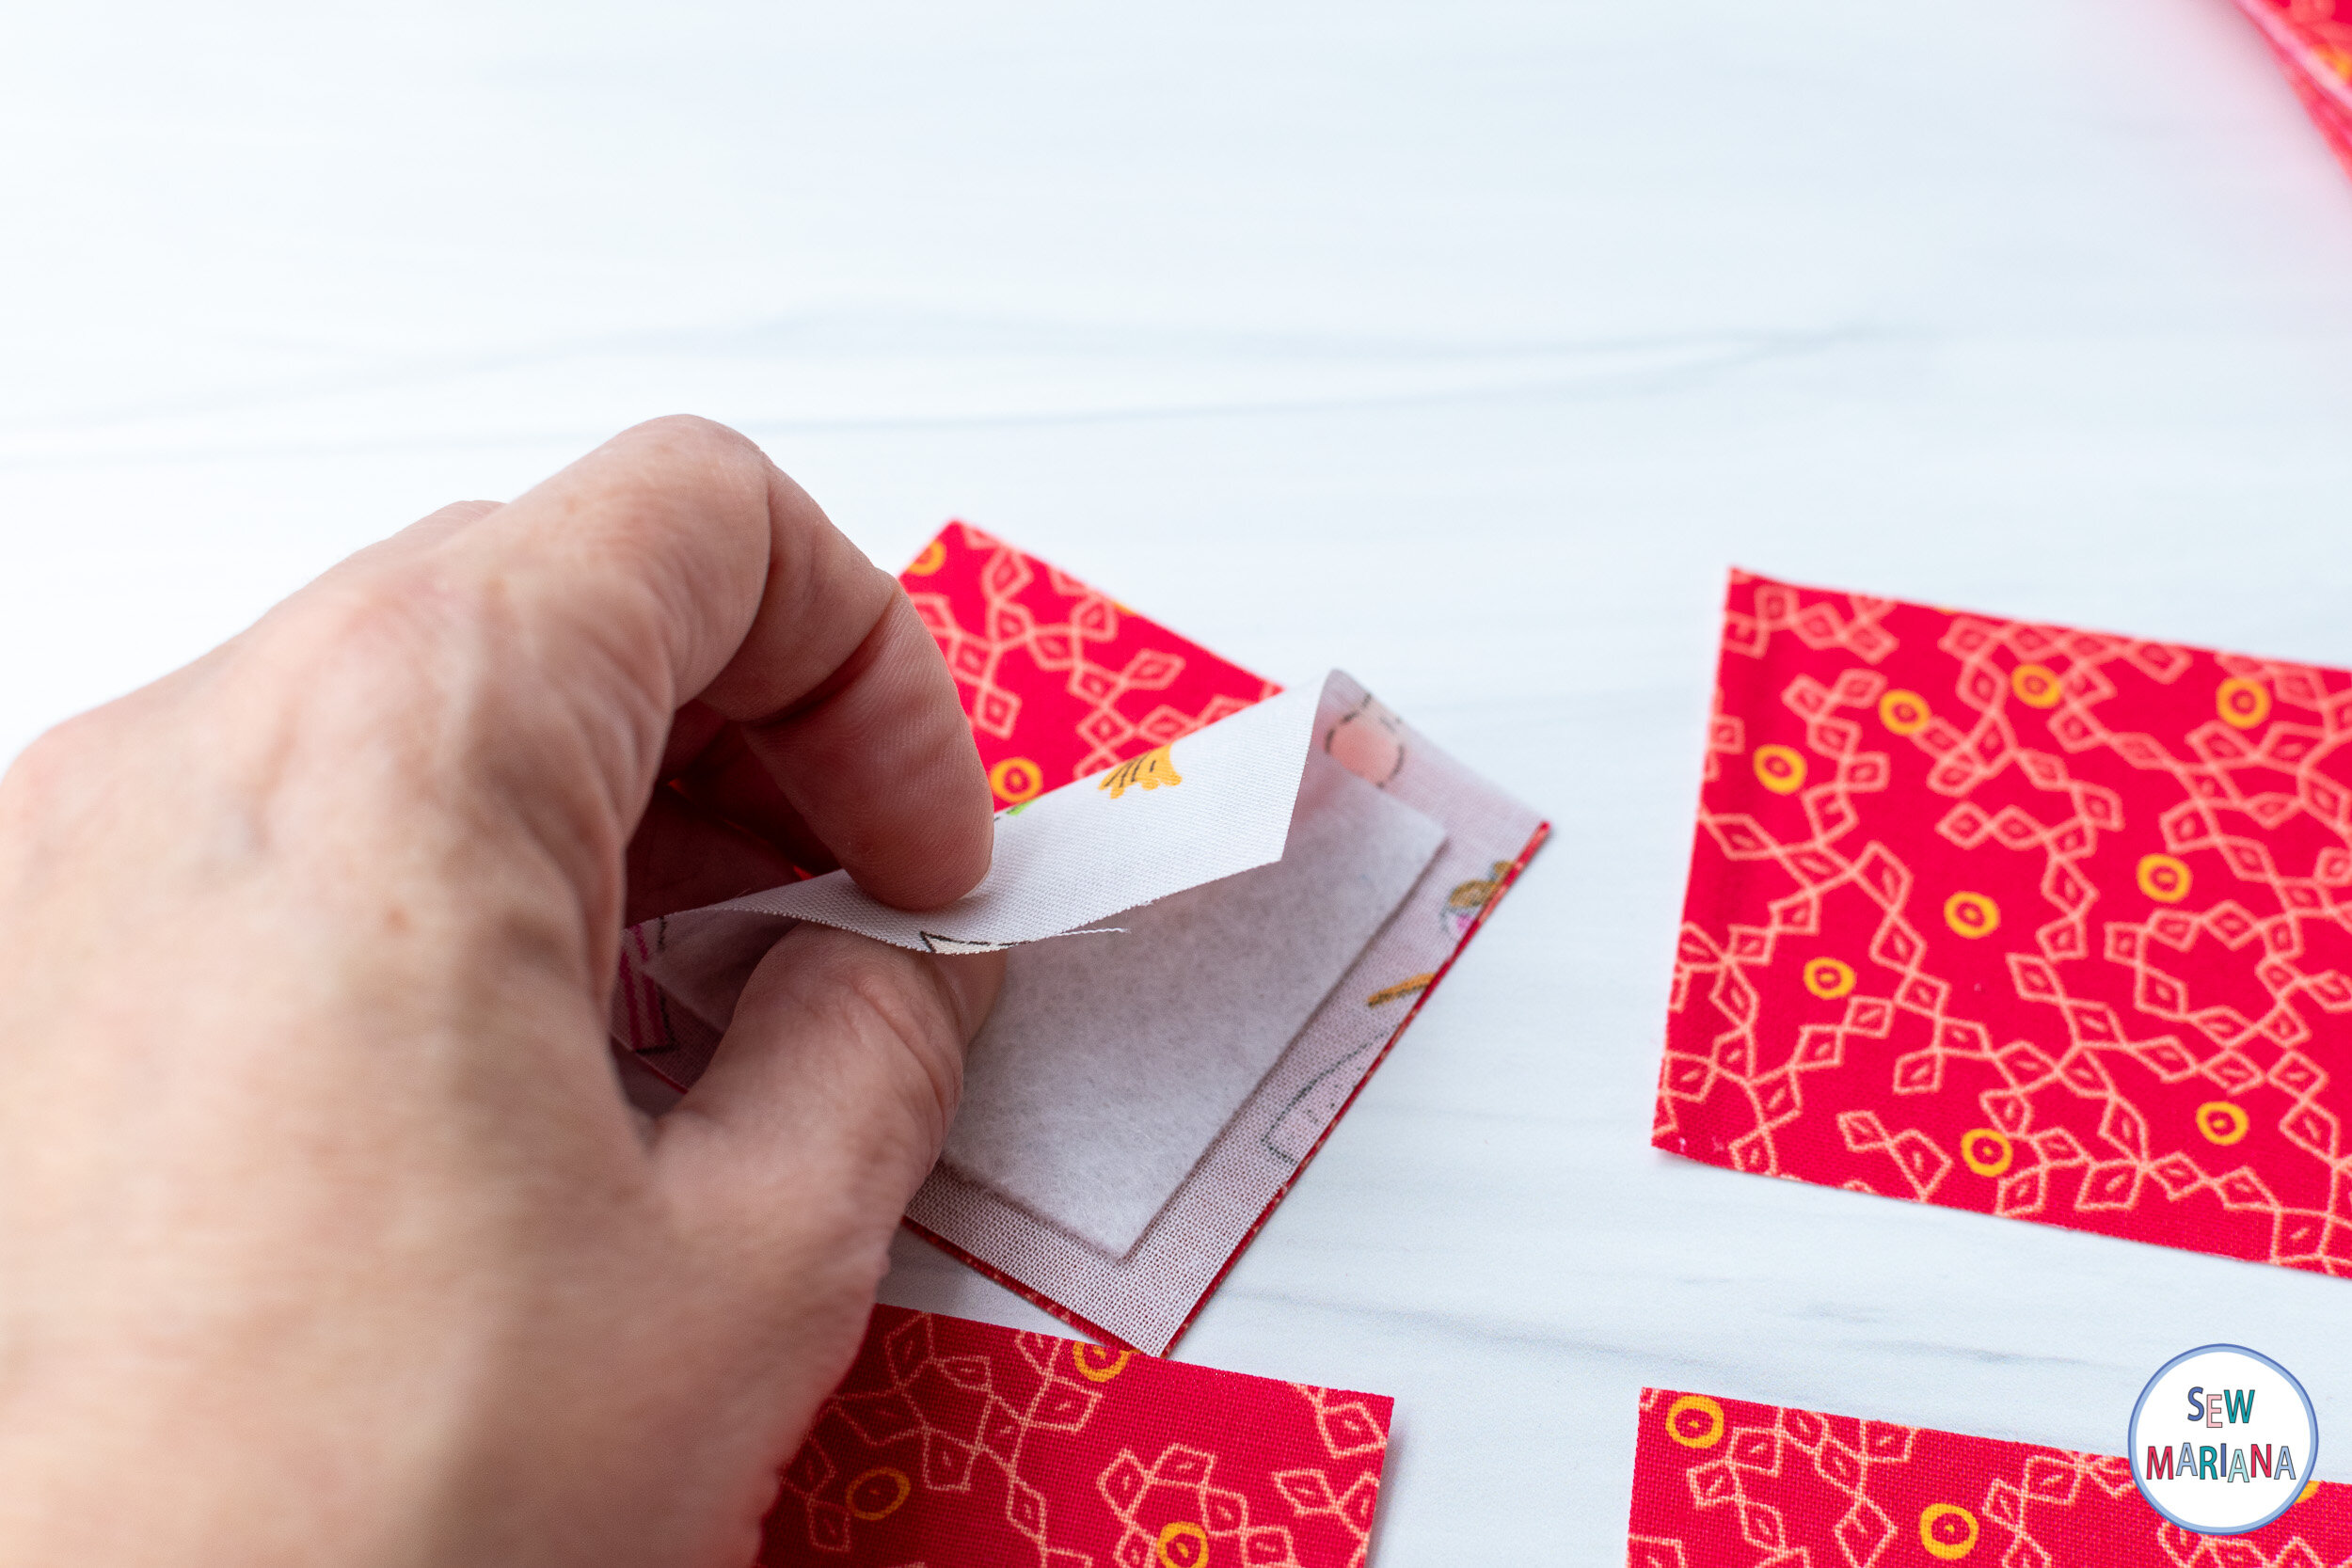
Sew around each square with a 1/4” seam allowance or using the fleece square as your guide. Leave approx 1” open for turning. Remember to backstitch at the beginning and at the end, so your stitches won’t get loose when turning!
Cut the corners of the squares, making sure you don’t cut the stitches.
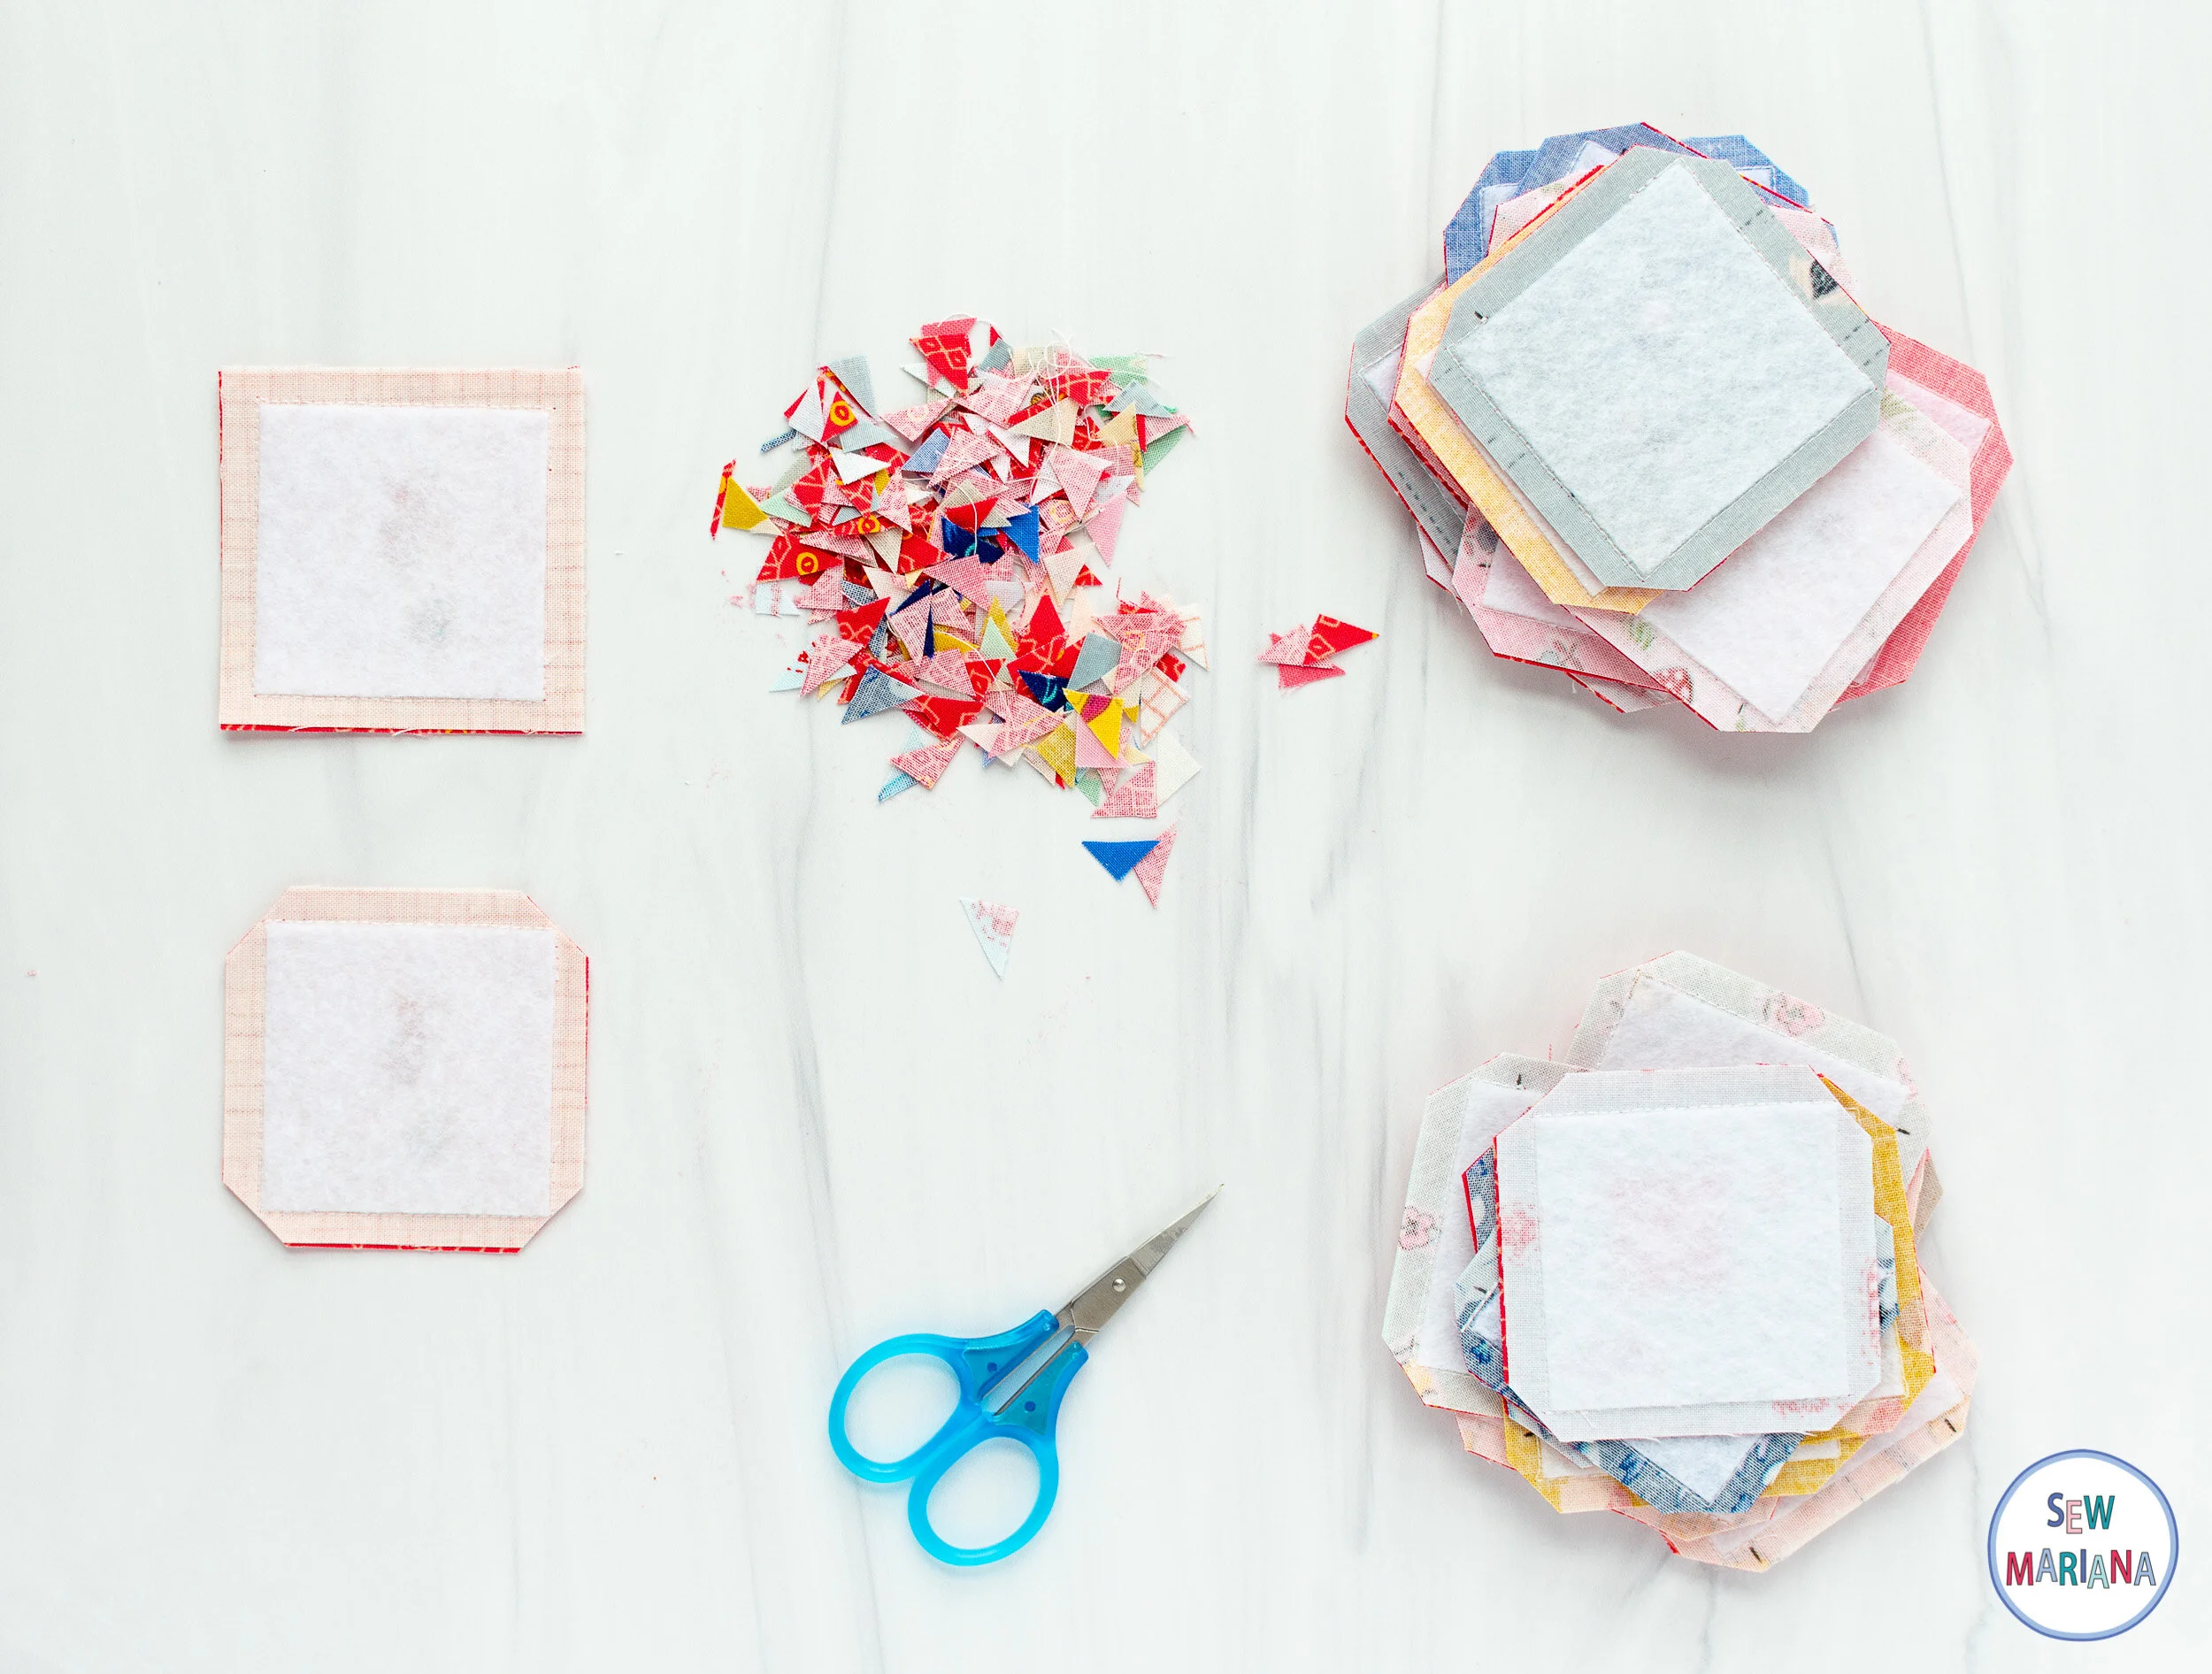
Turn all the squares right sides out, pulling through the opening. Gently push out the corners.
Press the opening under 1/4”.

Top stitch with a 1/8” seam allowance. This will secure the opening and make them all nice and finished.

Join the kids and have some fun!

If you make one, tag me on IG, I’d love to see it!